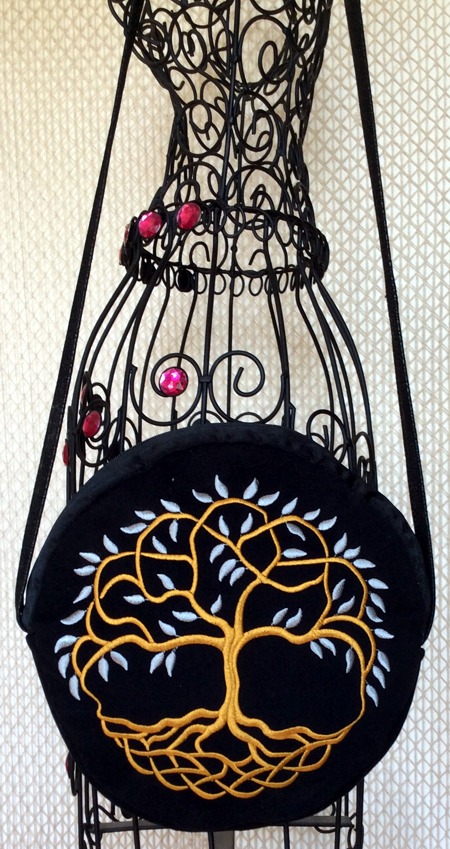
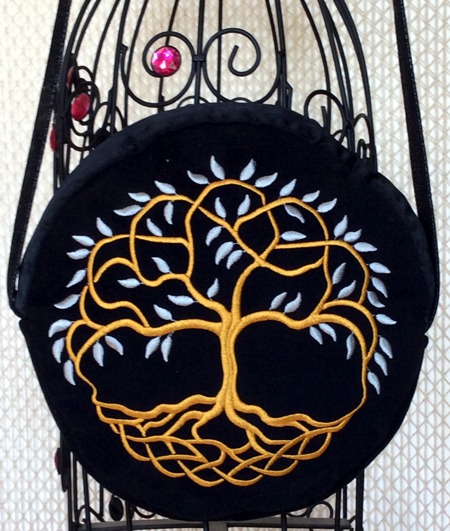
This round purse is very fetching and quite easy to sew. We included a printable template to make it easier!
We used the two-color design of Celtic Tree of Life II for the commercial size hoop. However, other sizes can also be used.
Other designs can be used for the project too. We suggest: Celtic Tree of Life, Spiral Mandala, Yin Yang Tree Applique, Bird Art Nouveau Decorating Set, Owl. |
|
You will need :
- embroidery thread (either polyester or rayon),
- polyester craft felt was used instead of embroidery stabilizer (we used black felt, and recommend to choose the felt the color of your outer fabric)
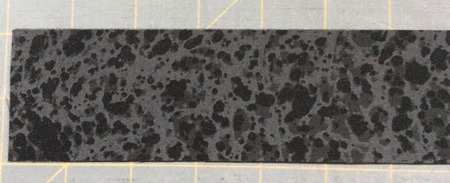
- about 1/2 yard of medium-weight polyester fabric for the outer bag (we used 2-sided fabric: one side with satin finish, the other with velvet finish),
- about 1/2 yard of cotton fabric for the lining,
- a strip of polyester leatherette for the handle,
- light-weight and medium-weight iron-on sewing interfacing/stabilizer,
- Floriany Stitch N Shape stabilizer, or Pellon Peltex 71f interfacing (ultra firm one-sided fusible), or similar product - heavy weight iron-on stabilizer),
- chalk pencil or disappearing fabric marker depending on the color of the fabric you use,
- sewing needle 90/14, embroidery needle 80/12,
- 20"-22" long zipper.
|
| Embroidery: |
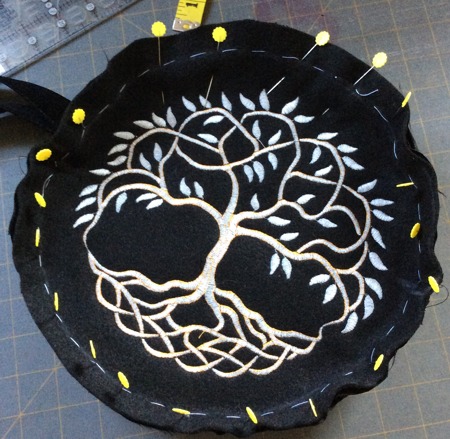
Hoop the fabric for the outer bag with the polyester felt stabilizer. Embroider the design of the Celtic Tree of Life II.
When it's finished, unhoop and set aside for now. |
Shoulder Strap:
|
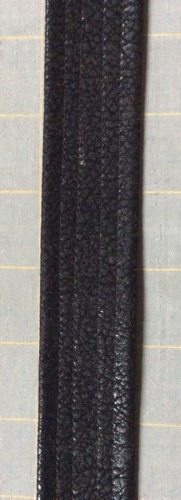
Out of a strip of leatherette, cut a strip measuring 2 1/2" x 46". The finished strap will be about 44" long. If you want it longer or shorter, cut a strip of the desired length + 2".
Out of light-weight interfacing, cut a strip of the same size.
Following the manufacturer's instructions, adhere the interfacing strips to the back of the leatherette strip.
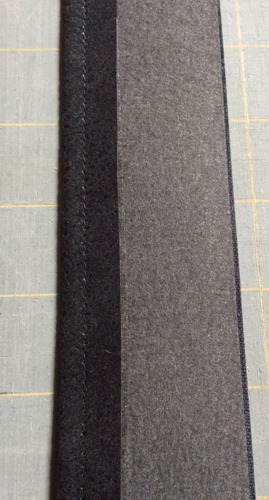
Fold the strip lengthwise in half and mark the folded line.
Fold one of the edges to the center (marked line) and topstitch 1/4" from the edge.
|
|
| Repeat with the other side. Then topstitch the strap again 1/4" from each of the first two lines. |
|
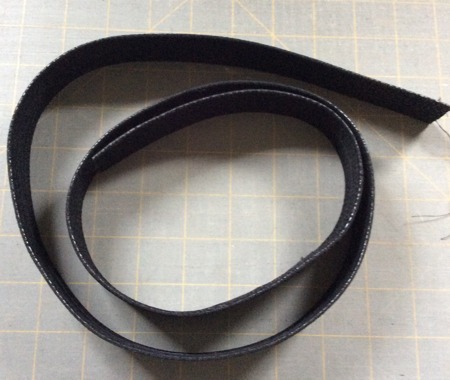
| Set the strap aside for the time being. |
|
| Sewing the Zipper Part: |
For this part, out of the fabric for the lining, light-weight iron-on stabilizer and outer fabric, cut 2 strips each measuring 2" x 18".
Please note that the zipper is longer than the strips, it will be easier to work with it this way.
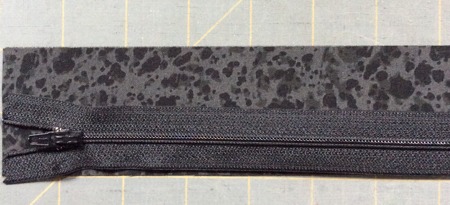
Press the stabilizer strip to the wrong side of the lining strip. |
| Place a lining strip on the working table, face up. |
|
| Position the zipper along the lower edge, face up. |
|
| Cover with the strip for the outer bag, face down. |
|
Align the lower edges, pin or baste. Sew together 1/4" from the zipper's teeth.
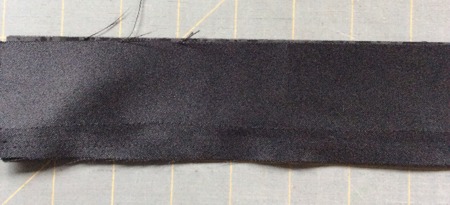
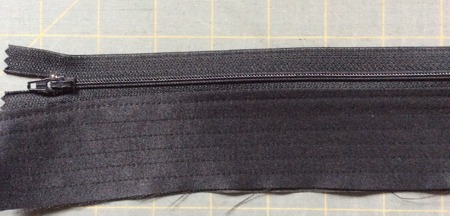
Open the lining and the outer strips. |
|
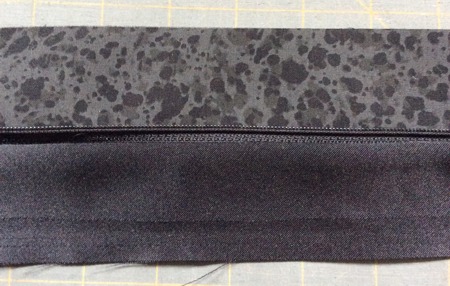
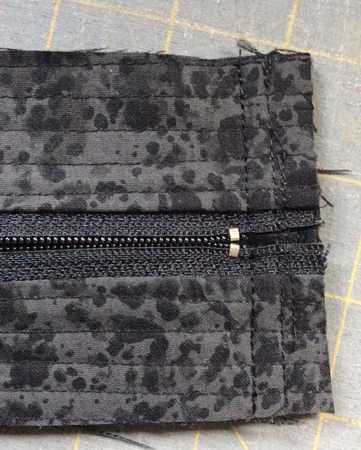
| Fold the lining back. Press. Topstitch 1/8" from the seam, then topstitch several times with a spacing of 1/4" between the lines. |
|
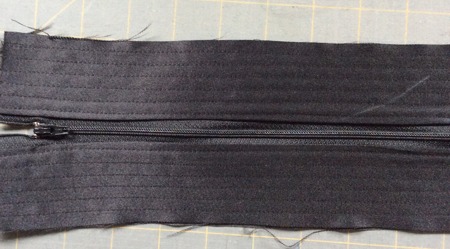
| In the same way sew and quilt the other side of the zipper. |
|
| Trim this part to 3" x 17". With a chalk pencil mark the 3/8" seam allowance on the long edges and 3/4" on the short edges. |
|
| Sewing the Bottom: |
Out of the outer fabric, the lining and heavy weight stabilizer, such as Floriani Stitch N Shape or similar product, cut 1 strip each measuring 3 1/2" x 16".
Fuse the lining and the stabilizer.
Position the stabilized lining on the wrong side of the outer fabric strip, face up. Pin.
Quilt the bottom with straight lines going lengthwise.
Trim the piece to 3" x 15 1/2".
With a chalk pencil mark the 3/8" seam allowance on the long edges and 3/4" on the short edges. |
| Assembling the Side Panel with Strap: |
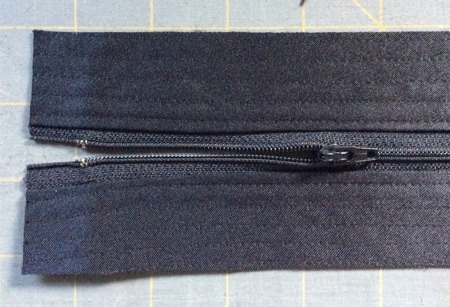
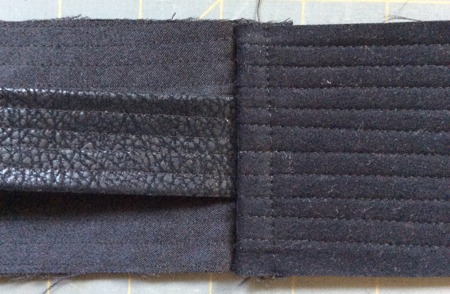
Pin or baste the short edges of the strap to the short edges of the zipper part on the right side. Align the center of the strap with the center line / opening of the zipper.
Topstitch the strap to the zipper part with seam allowance 1/4" . |
|
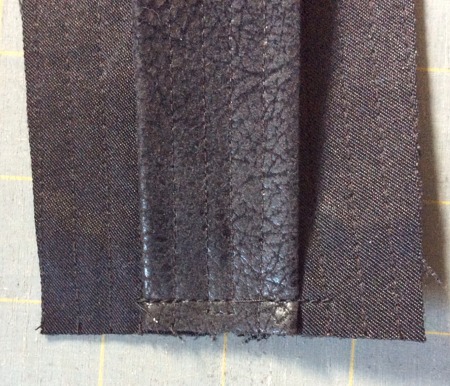
Place the bottom and zipper parts with right sides together, and sew them together along the short edges, with seam allowance 3/4".
Finish the row edges with zig-zag stitch (optional). |
|
| Turn the right side out. Fold the seam allowance to the bottom part and topstitch 1/4" from the seam. |
|
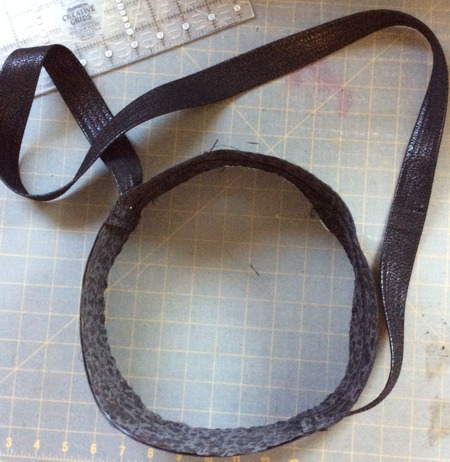
| The side panel will look like this: |
|
| Cutting and Quilting the Main Panels: |
| For the front and back panels, you can use our printable template. To open and print the template, which is a PDF file, you will need Adobe Reader or a similar program. The program is free to download and install. |
| Template Download (PDF file) |
| Print 2 copies of the template and cut them out. Use tape to join them along the flat edge and form a circle. |
| If you do not have a printer, you simply need to draw a circle 8 3/4" in diameter. Add 3/8" seam allowance all around it. |
| Front Panel: |
Place the template over the stitch-out. With the chalk pencil mark the template. Mark the 3/8" seam allowace. Cut the part out.
Cut out a similar circle out of the fabric for the lining, also marking the 3/4" seam allowance.
Pin the lining and the outer bag panel wrong side to wrong side. Stitch them together along the seam allowance line. |
| Back Panel: |
Out of the fabric for the outer bag, heavy-weight iron-on interfacing/stabilizer and lining, cut out 3 circles using the template. Mark 3/4" seam allowance on the lining.
On your working table, place the lining with its right side down, cover with the interfacing, top with the outer bag circle with its right side up. Pin.
Stitch together along the seam allowance.
Unfold the seam and with small sharp scissors cut away the stabilizer from the seam allowance as close to the stitches as possible. Take care not to cut through the stitches and fabric.
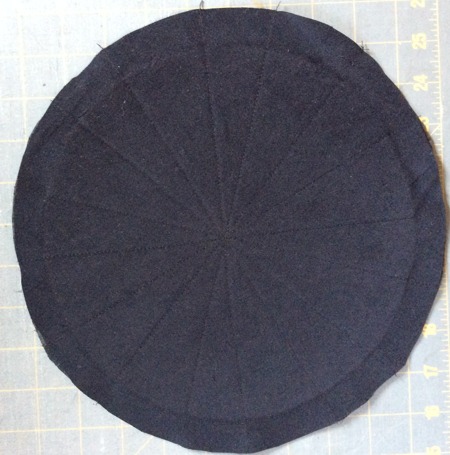
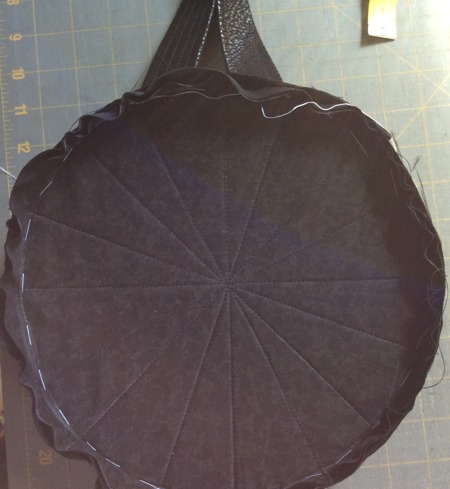
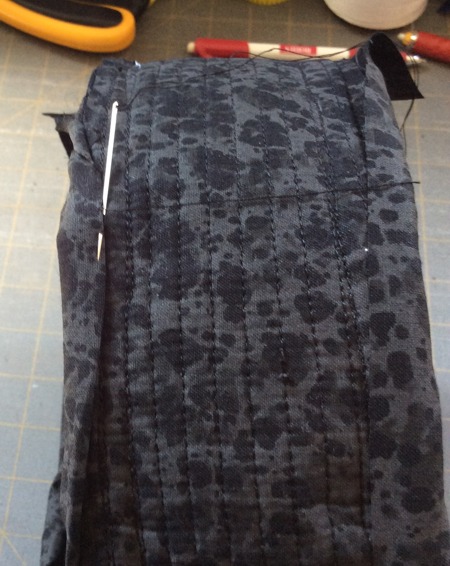
Quilt the panel with several straight lines through the center of the circle. |
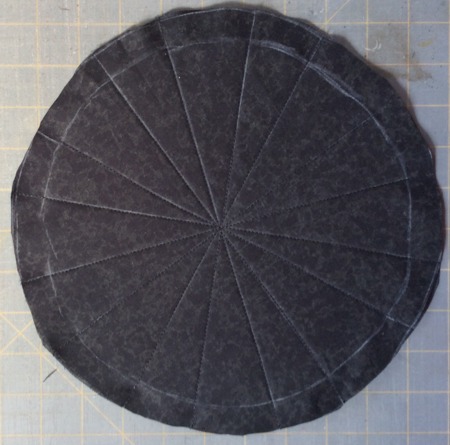
The back panel, lining side. |
The back panel, outer bag fabric side |
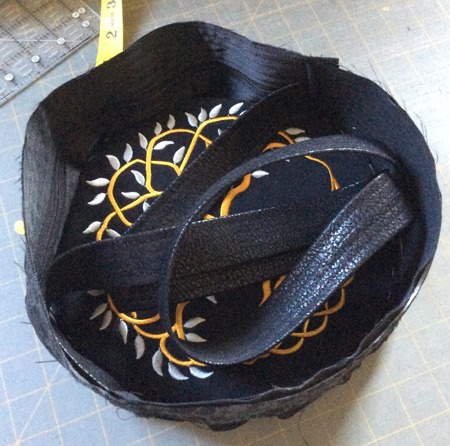
| Assembly of the Purse |
Turn the side panel with the strap wrong side out. Pin the front panel, aligning the 3/4" seam allowance lines. Baste. Make sure that the embroidery is oriented correctly (the top of the tree should be towards the top of the bag).
Stitch the parts together from the front panel side, following the seam-allowance line. |
|
| The right side of the work: |
|
| Open the zipper. In the same way, attach the back panel. |
|
| Finishing: |
Out of lining fabric, cut 2 bias strips 32-33" long.
Position one of the bias strips over the seam allowance in the front of the purse.
|

|
Wrap it around the seam allowance and hemstitch, by hand, in place.
Repeat for the seam allowance at the back of the purse. |
|
| Turn the work right side out. You are done! |
|
Enjoy!
|
|
Back to Celtic Tree of Life II
|
Back to the Project Page
|


