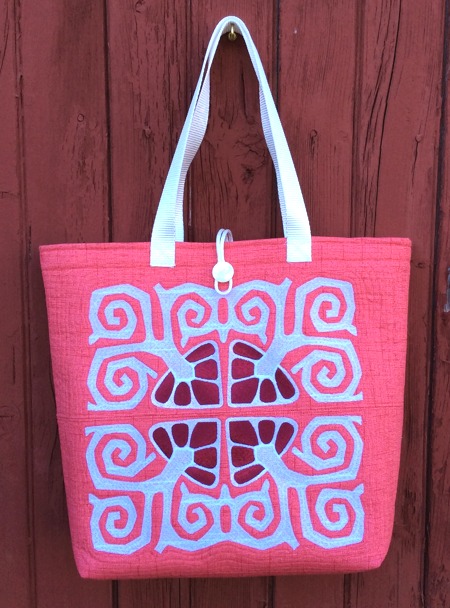
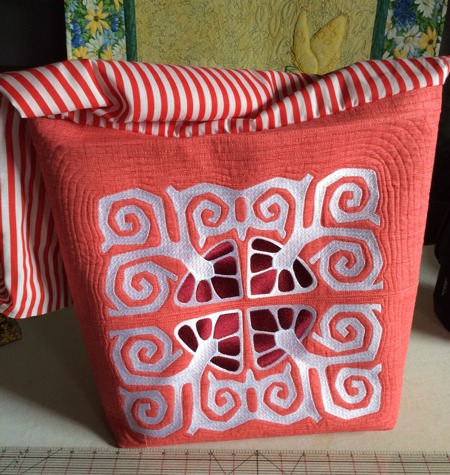
For this summer tote we used the Art Nouveau Decorative Border I design for the commercial hoop. The design is also available for small (4" x 4") and large (5" x 7") hoops. The large design can also be used for this tote, but the embroidery will be smaller. The small design can be used to make a matching purse for this tote
The finished size of the bag is about 13 1/2" high x 17" wide x 5" deep. |
|
You will need
- embroidery thread (either polyester or rayon), choose colors to your taste,
- about 3/4 yard of dense fabric for the outer bag,
- about 1/2 yard of cotton fabric for the lining,
- about 1/2 yard of polyester craft felt, it will work as stabilizer and batting,
- 1" wide webbing for the handles (about 44"),
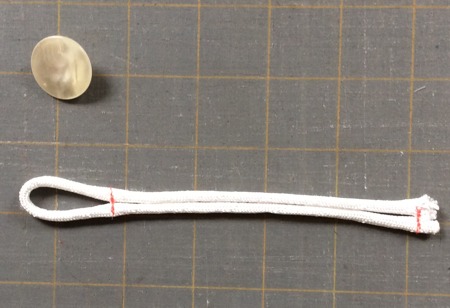
- a 12" piece of thin polyester cord and a button closure (optional),
- sewing threads,
- quilter's ruler and rotary cutter, or scissors and graph pencil.
|
| Embroidery: |
Cut the fabric for the outside of the bag into 3 pieces, each about 20" x 20". One piece will be for the back panel, and two pieces are for the front panel with embroidery.
Stabilize each piece with craft felt.
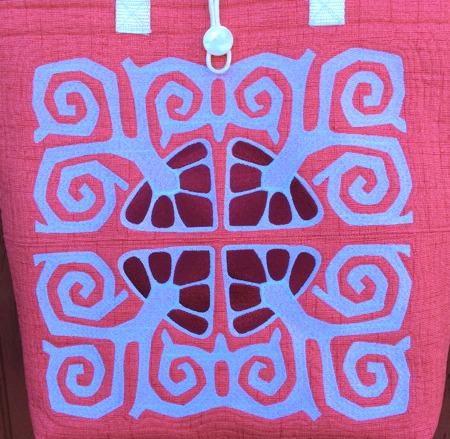
Upload the file ... into the machine. Embroider the design on the 2 pieces for the front panel
We chose white and burgundy threads to match the pink fabric. |
|
Making the Outer Bag
|
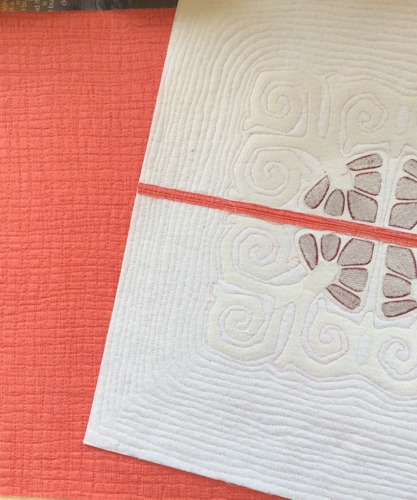
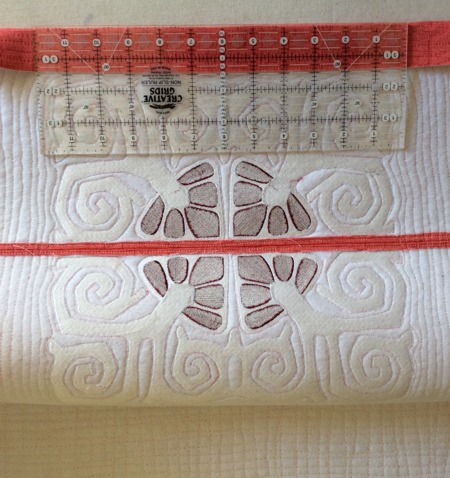
Trim the embroidered pieces on one edge, leaving a 3/4" margin by the embroidery. Place the pieces face to face, align the trimmed edges, and sew along the margin with seam allowance 1/2".
Cut away the felt from under the seam allowance as close to the stitches as possible. Open and press the seam. Topstitch the seam allowance 1/8" on each side of the seam. |
Quilt both back and front panels. Note that there are only 2 layers - fabric for the outer bag and polyester craft felt. We quilted in a free motion style.
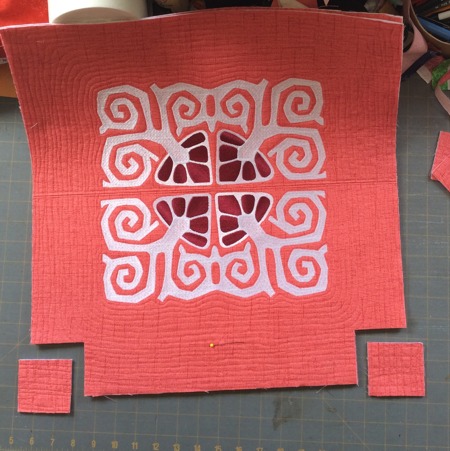
After the quilting is done, trim the panels to 18" (wide) x 19 1/2" (high). |
|
| Cut 2 1/2" squares in the lower corners of both panels. |
|
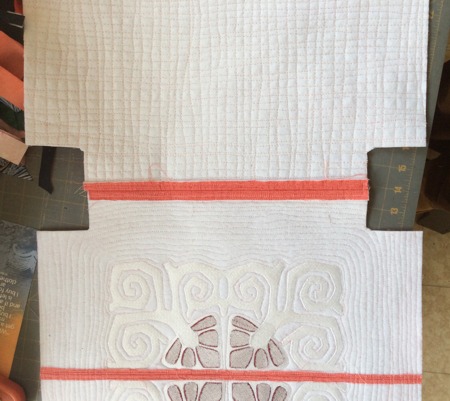
| Sew the bottoms of the panels together. Seam allowance is 1/2". Unfold the seam, press, topstitch on both sides 1/4" from the seam. |
|
| Fold the upper edge of both panels 1 1/2" back and press. |
|
Fold the working piece face inwards. Stitch one side of the panels together, seam allowance 1/2". Open the seam and press. Topstitch 1/4" on both side of the seam.
Repeat for the other side. |
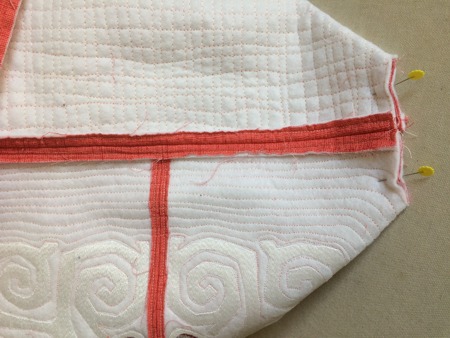
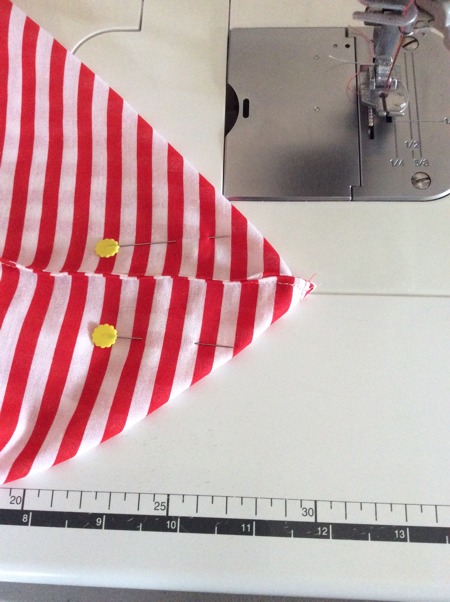
| To shape the bottom, pinch the corners as shown in the diagram below. Pin. Stitch them closed. |
|
|
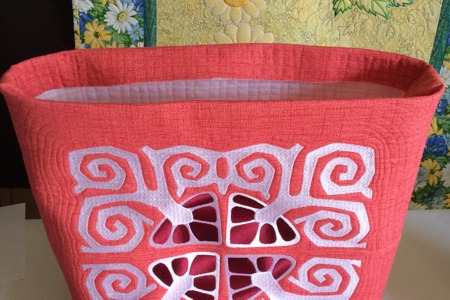
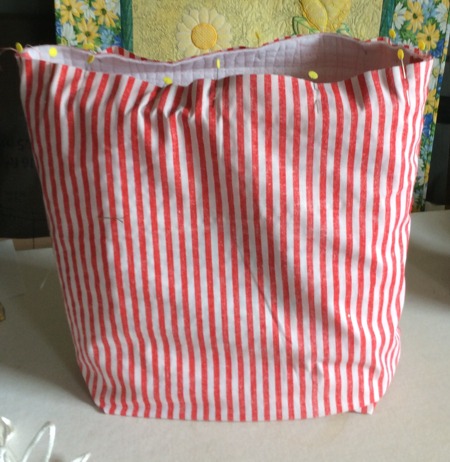
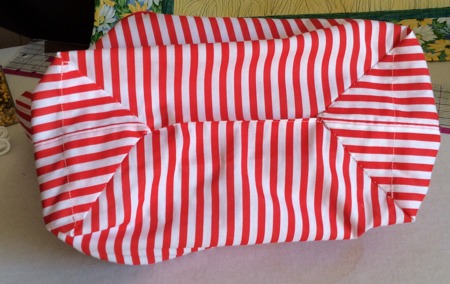
This is what the outer bag should look like:
|
|
| The Lining: |
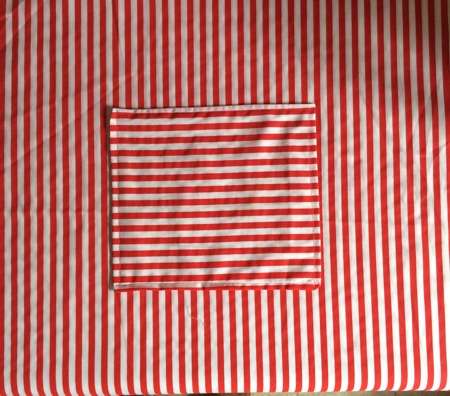
| For the lining cut 2 pieces measuring 18" x 18" and a piece measuring 8" x 18" for the pocket. |
Fold the piece for the pocket widthwise, face inside. Stitch along the long sides. Seam allowance 1/4".
Turn right side out. Press. Tuck the raw edges 1/2" inside and topstitch |
Position the pocket on one of the lining panels, about 3 1/2" from the upper edge and an equal distance from the sides. Pin.
Topstitch the pocket in place. |
|
| Place the lining panels face to face and stitch the sides together. Seam allowance 1/4". Open and press the seams. |
| Closure (Optional) |
Fold a piece of cord in half. Topstitch the ends. Topstitch about 1" from the loop end.
Pin the loop to the upper edge on the back panel, equal distance from the sides.
Topstitch it in place. |
|
| Assembly of the Bag: |
Turn the lining right side in and put it on the bag. Align and pin the upper edges. Note that the lining is slightly wider than the bag, so make tiny pleats, if necessary.
Stitch along the upper edge from the side of the outer bag. Seam allowance is about 1/2". |
|
| Turn the lining out. |
|
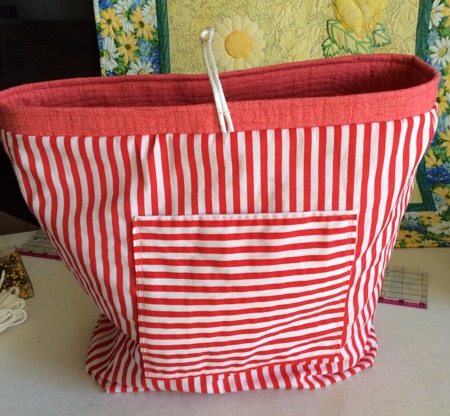
Tuck the raw edges of the lining in about 1/2", press. Topstitch.
Make box corners at the bottom of the lining. For this, separate the front and back at the corners. Center the seams on each side of the corner on top of each other. Measure 2 1/2" along the seam from the corner and draw a line perpendicular to the seam across the corner and machine-stitch it. Do not trim the seam. |
|
| Turn the "ears" to the bottom of the lining and handstitch them to the lining. |
|
| Topstitch the bag 1/4" and 1" from the upper edge of the bag. Turn it right side out. |
|
Attaching the Handles.
|
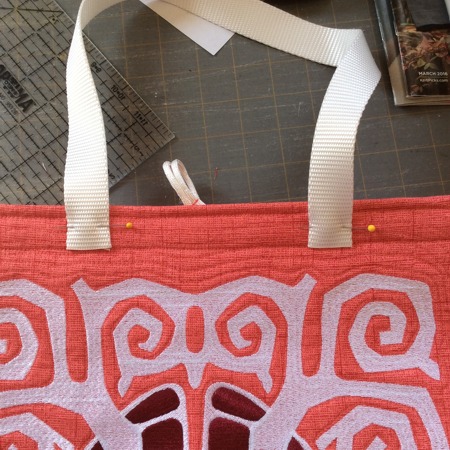
Cut 2 pieces of webbing 22" long (or longer if you want longer handles).
Pin the ends as shown to the upper edge of the front panel 5 1/2" from the side seams.
Topstitch them in place.
Repeat for the back panel. |
|
| Sew the button to the front panel. |
|
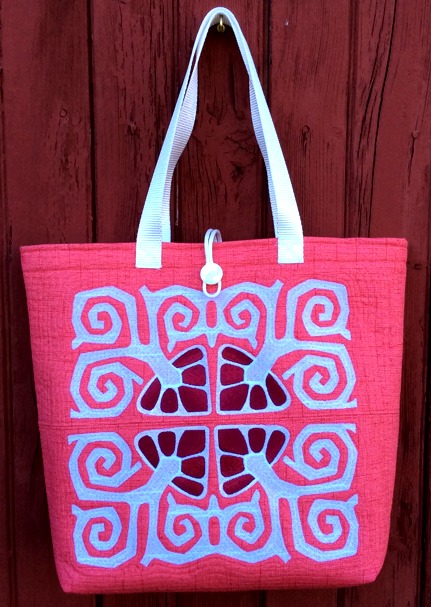
| Your tote bag is done. Enjoy! |
|
|
|
Back to Art Nouveau Decorative Border I
|
Back to the Project Page
|


