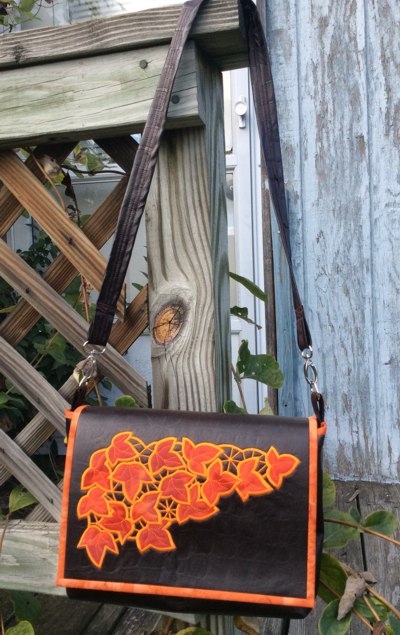
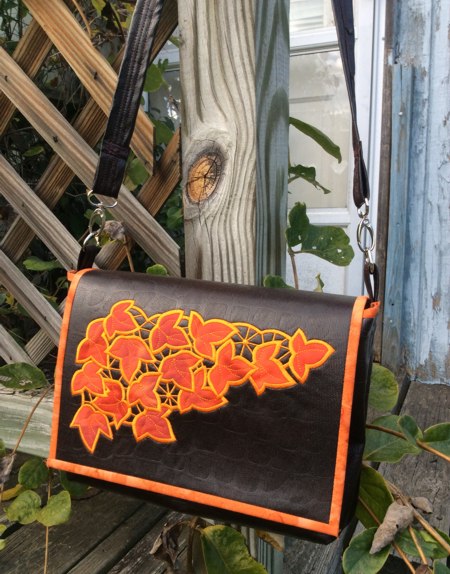
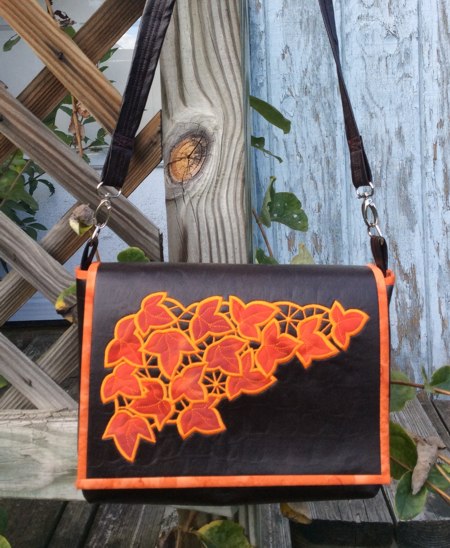
For this elegant Fall-themed purse, we used the design of the Leaves Cutwork Applique Lace for the mega (6" x 10") hoop.
We embroidered the design as applique, and did not cut out the "lace" spots.
The finished size of the bag is about 8" high x 2" deep x 10 1/2" wide. |
|
|
You will need :
- embroidery threads (either rayon or polyester),
- light-weight cut-away iron-on stabilizer,
- 1/2 yard of polyester medium-weight leatherette/faux leather,
- 1/2 yard of cotton dense fabric for the lining (we used batik which is nor fraying easily),
- fabric for the applique,
- 1/2 yard of double-sided self-adhesive mesh, like Stem-A-Seam2, or similar product,
- 2 D-rings,
- 2 swivels,
- dual duty sewing thread,
- #16 sewing needle,
- a small piece of Velcro tape with self-adhesive back,
- quilter's ruler and rotary cutter (or scissors), and chalk pencil or any other removable marker.
|
Making the Template of the Bag:
|
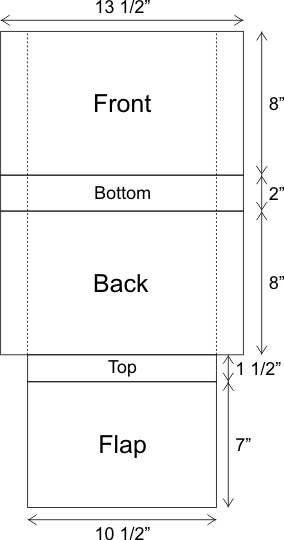
The bag is cut out of a single piece of fabric using a template. You can draw the template on paper first, or right on the fabric (faux leather). In the latter case, use a removable marker.
The template is quite simple to construct and consists of several rectangles of different sizes. Use the diagram below to make it.
|
|
| After you make the template, trace it onto the faux leather with a chalk pencil or other removable marker. Do not cut out yet! |
Embroidery:
|
| Stabilize the whole piece with iron-on cut-away stablizer. Hoop the "flap" part and embroider the Leaves Cutwork Applique Lace. Do not cut out the "lace" spots, embroider the design as applique. |
Cutting out and Sewing the Top:
|
After the embroidery is finished, cut out the top along the lines of the template.
Using the same template, cut out the lining. |
Out of remaining faux leather, cut
- 1 strip measuring 2" x 10" and
- 1 strips measuring 2 1/4" x 39".
|
| Out of remaining lining fabric, cut a strip measuring 5 1/2" x 12" for the pocket. and 4 strips 1 1/2" wide and about 14" long. |
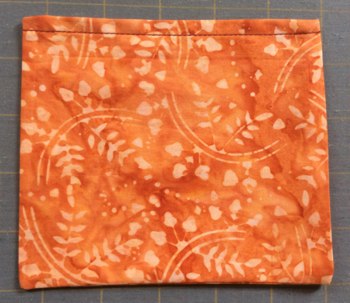
| Pocket: |
Fold the lining 5 1/2" x 12" strip in half widthwise, align the edges.
Stitch the sides together, seam allowance 1/4".
Turn right side out.
Tuck in the top edges 1/2" inside, press. Topstitch.
|
|
Position the pocket on the "back" part of the lining. Pin. Topstitch to the lining along 3 sides. The opening should point towards the "flap" part.
|
Attaching the Lining to the Top:
|
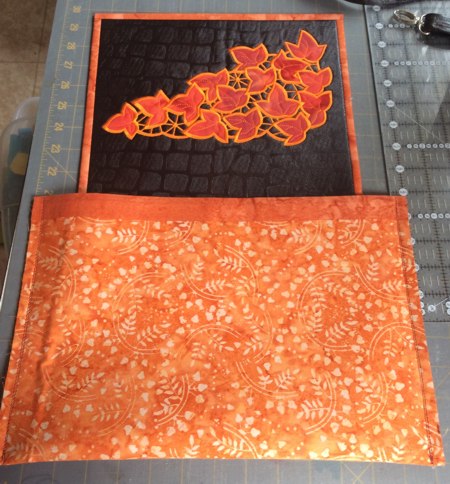
Position the top of the bag on the table, face down, evenly cover with the fusible mesh. Cover with the lining, face up. Align all edges and smooth all creases.
Following the manufacturer's instructions, press to melt the mesh and bind the lining with the top.
|
Finishing the Raw Edges:
|
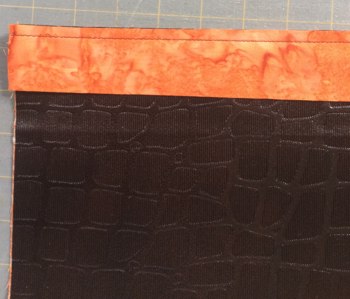
To finish the raw edges of the top bag, you'll need the 1 1/2" lining strips.
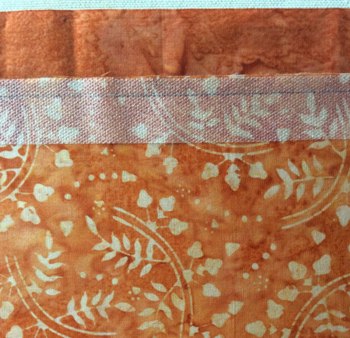
With right side facing, position the first strip along the upper edge of the "front" part. Topstitch with seam allowance 1/4". Unfold the strip and lightly press. Cut away the excess protruding ends.
|
|
| With wrong side facing, position a strip of self-adhesive mesh along the upper edge. |
|
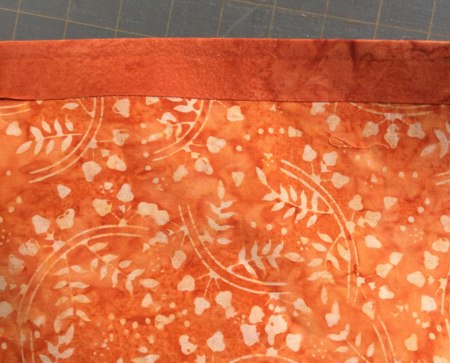
Fold the binding onto the mesh strip. Press to adhere the binding to the lining.
|
|
In the same way, finish the raw edges of the "back" and "flap" parts.
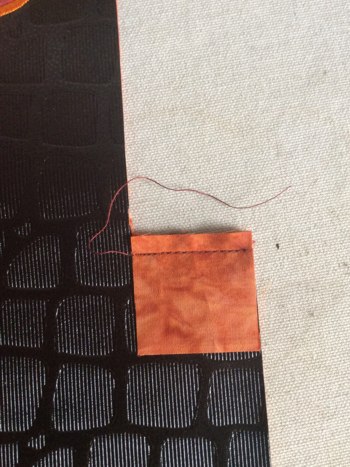
For the back part, cut 2 pieces measuring 1 1/2" x 1 1/2".
Sew, fold, place a piece of mesh, press to adhere. |
|
| In the same way, first finish the side edges, then the upper edge of the flap. |

|
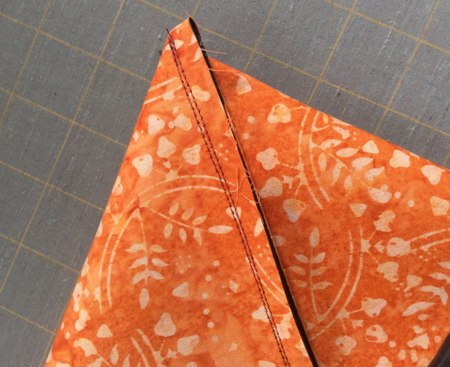
| Sewing the Top: |
| Fold the bag to align the sides of the front and back parts. Pin. Topstitch twice, with seam allowance 3/8" and 1/4". |
|
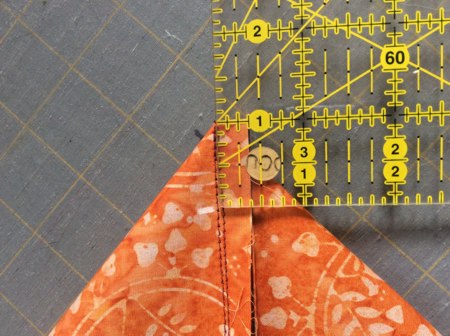
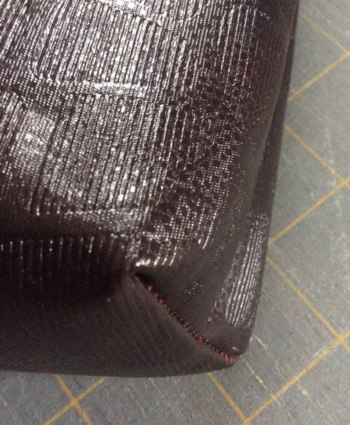
| Bottom with Boxed Corners: |
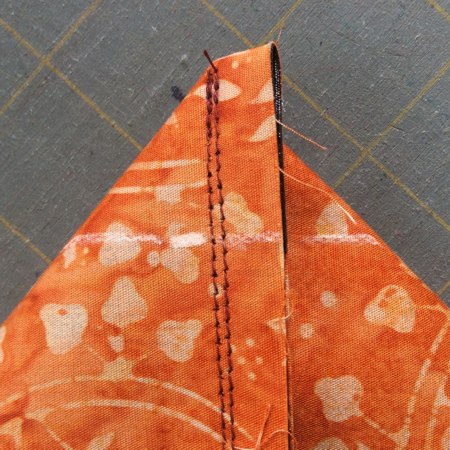
| To make boxed corners, separate the front and back sides at the corners. Center the seam on the side with the bottom line. |
|
| Measure 1" along the seam from the corner. |
|
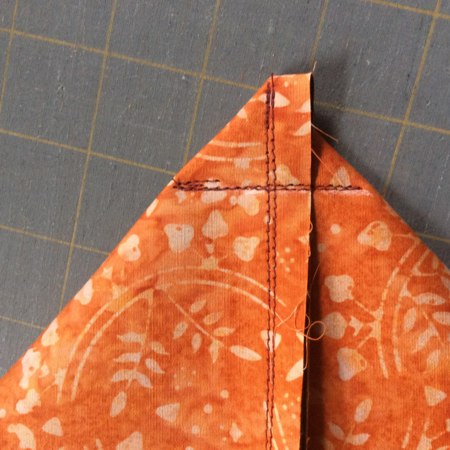
| Draw a line perpendicular to the seam across the corner and machine-stitch it. |
|
| Do not trim the seam. |
|
| Repeat for another side. Fold the corners onto the bottom. Turn the working piece right side out. |
|
| The Loops: |
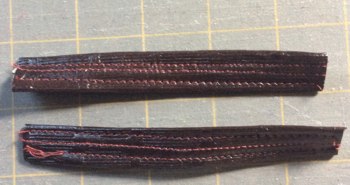
| Fold the long edges of the 10" long strip towards the center to make them meet. Let them overlap s lightly. Press. |
Topstitch 1/4" from each edge. Cut the strip in half to get 2 strips, each 5" long.
Put on the D-rings.
|
|
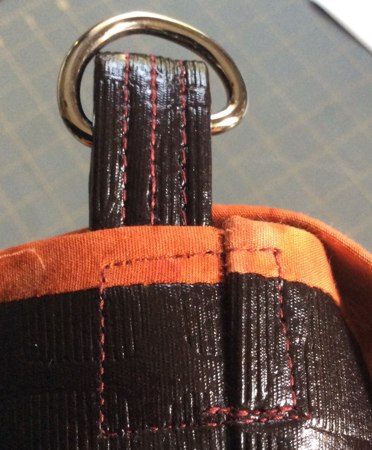
| Fold the strips in half to form loops. Align the ends and topstitch 1/4" from the edges. |
| Position the loops with rings along the side seams of the bag, approximately 1" - 1 1/2" deep and topstitch in place. |
|
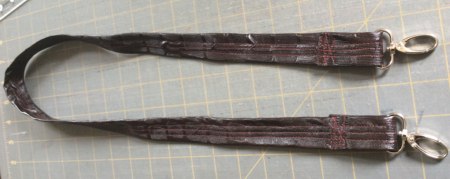
| The Handle: |
Fold the long edges of the 39" long strip towards the center to make them meet. Let them overlap slightly. Press.
Topstitch 1/4" from the edges. |
| Put the ends through swivels, fold them about 1 1/2" back onto the lining and topstitch several times |
|
| Cut a small piece of Velcro tape (about 1"). Adhere one part of the Velcro tape onto the wrong side of the flap and another part onto the face of the front to make a closure. |
|
| Enjoy! |
|
|
Back to Leaves Cutwork Applique Lace
|
Back to Projects Page
|


