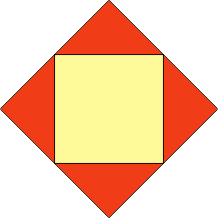
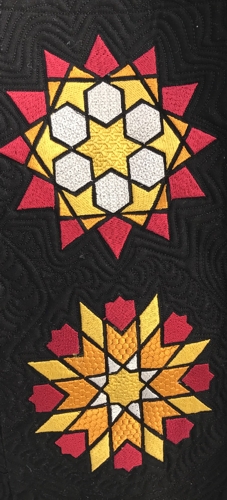
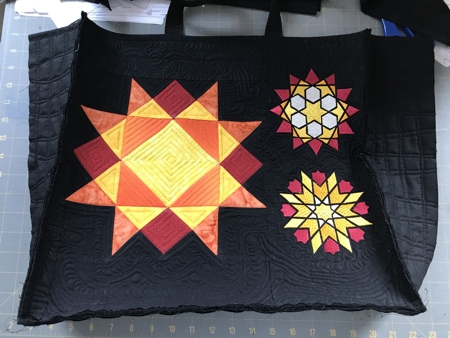
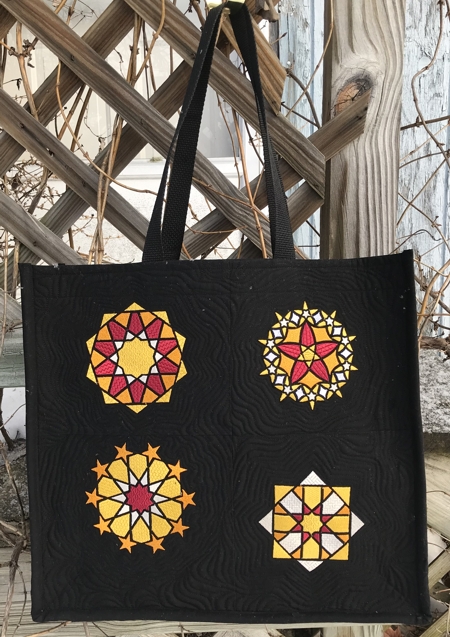
For this eye-catching DIY tote bag, we pieced an abstract star from fabric, then decorated the back and front with designs from the Geometric Star Set in matching colors. All designs are for the large hoop (5" x 7").
The finished size of the tote is about 15" H x 16" W x 3 1/2"D.
|
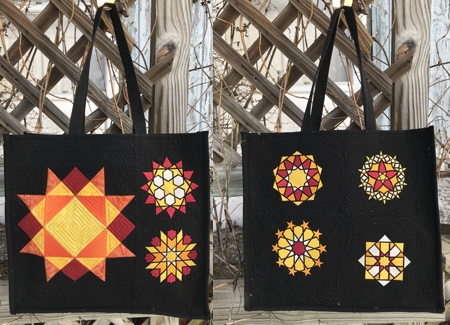
The front and the back of the tote bag.
|
|
You will need :
- embroidery threads (we chose shades of red, orange, burgundy, bright and light gold to match our fabrics);
- medium-weight cut-away stabilizer;
- about 1 1/2 yard of solid black fabric;
- small amounts of 5 fabrics for the pieced star - burnt orange, bright orange, bright yellow, pale yellow and dark red;
- batting, preferably of black color;
- #12 and #18 universal sewing needles, #12 quilting needle;
- quilting threads of matching colors;
- 2 pieces 26" long, each, of polyester black webbing 1" wide;
- chalk pencil;
- rotary cutter;
- quilter's ruler;
- iron.
|
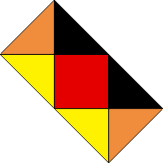
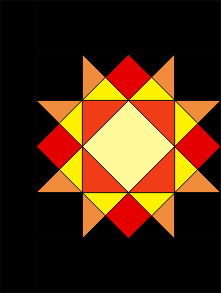
The Block:
|
| Cutting: |
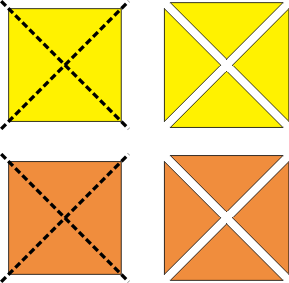
Out of black fabric, cut
- 4 squares measuring 3" x 3" and
- 2 squares measuing 3 3/4" x 3 1/4".
Stack the 3 3/4" squares, aligning all edges and cut them along both diagonals into 8 triangles.
|

|
| Out of bright yellow and burnt orange each, cut 2 squares measuing 3 3/4" x 3 3/4". Stack them, aligning all edges, and cut them along both diagonals into 8 triangles. You'll get 8 yellow and 8 orange triangles. |
|
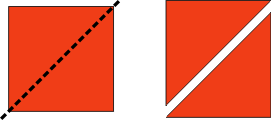
| Out of bright orange fabric, cut 2 squares measuring 3 1/2" x 3 1/2". Stack the squares, cut them along one diagonal to get 4 triangles. |
|
| Out of dark red fabric, cut 4 squares measuring 2 1/2" x 2 1/2". |
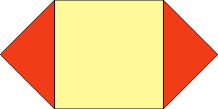
| Out of light yellow fabric, cut one square measuring 4 1/8" x 4 1/8". |
| Assembly: |
| Note: seam allowance for the block is 1/4". Press every seam immediately after you makee it. Use a #12 universal needle. |
| Sew 2 of the bright orange triangles to the opposite sides of the pale yellow square. |
|
| Repeat with the remaining 2 triangles. |
|
| Sew a bright yellow triangle to a red square, as shown. Sew a black triangle on the opposite side of the red square, as shown. |

|
| Sew a burnt orange and black triangle together as shown. |

|
| Sew a bright yellow and burnt orange triangle together as shown. |

|
| Sew all 3 parts together as shown. |
|
| Make 4 such strips. |
| Sew 2 strips to the upper and lower edges of the central part of the star. The yellow triangles should be on the inside and the black triangles on the outside. |
|
| Sew the black squares to the ends of the remaining 2 strips. |

|
| Sew the strips with the black squares to the left and right edges of the star. |
|
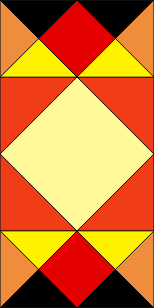
Embroidery:
|
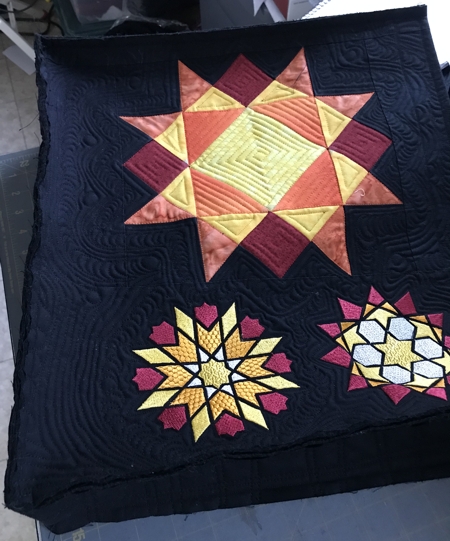
On a piece of black fabric, mark a rectangle 5" x 12". Upload any 2 designs from the Geometric Block Set and embroider them within this rectangle one above the other. Use medium-weight cut-away stabilizer.
|
|
| After the emroidery is done, trim the stitch-out to 7 1/2" x 16 1/2" piece, leaving 1/2" margin on the left side of the embroidery . |
|
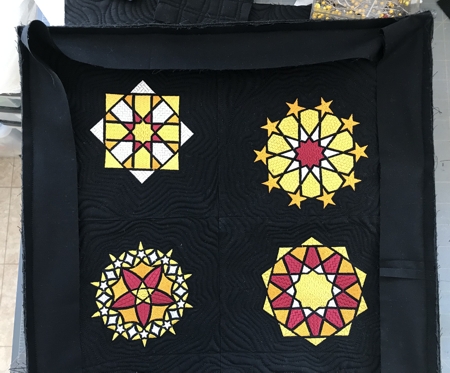
| For the back panel, out of black fabric, cut a piece measuring 17" x 19" and embroider 4 more designs from the set close to the center of the piece. |
The Tote Bag:
|
Front Panel:
|
Out of black fabric, cut
- 2 strips measuring 3 1/2" x 10 1/2" and
- 1 strips measuring 2 1/2" x 16 1/2".
Sew the first 2 strips to the upper and lower edges of the Star Block. Sew the 2 1/2" x 16 1/2" strip to the left edge of the Star Block. |
|
| Sew the embroidered 7 1/2" x 16 1/2" strip to the right edge of the Star block. |

|
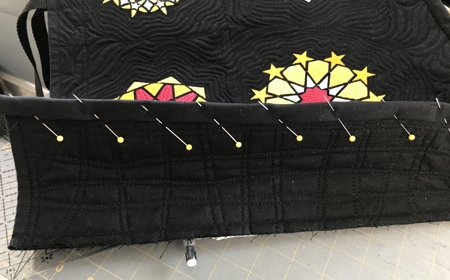
| Side Panel: |
| Out of black fabric cut 2 strips measuring 4 1/2"- 5" wide and 49" long. Cut the same size panel out of batting. |
| Quilting the Panels: |
| Note: Use #12-14 quilting needle. |
Out of black fabric, cut 2 rectangles for the backing. Place one of them on the table, right side down, cover with batting, then cover with the front panel, right side up. Pin all three layers together. Quilt in a free motion style.
|
| Repeat for the back panel. Then for the side panel. |
Press with steam. Trim the front and back panels to 15 1/2" H x 16 1/2" W.
Trim the side panel to 4" x 47 1/2". |
| Assembly: |
| Note: Use #16-18 universal needle. |
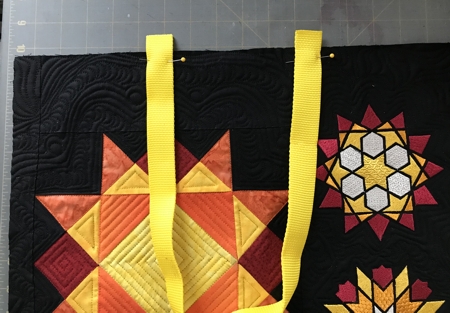
| The Handles: |
Out of black fabric, cut 2 strips 3" x 16 1/2".
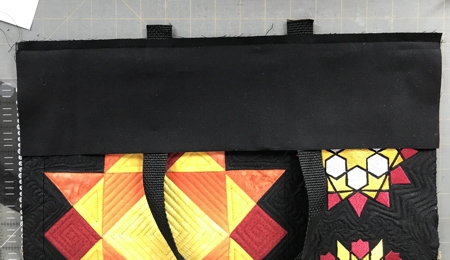
Position the front panel on the table, right side facing. Fold a piece of webbing in half and position its ends 5" from the sides, 1" protruding over the upper edge.
|
|
Stitch in place 1/4" from the panel's upper edge.
|
|
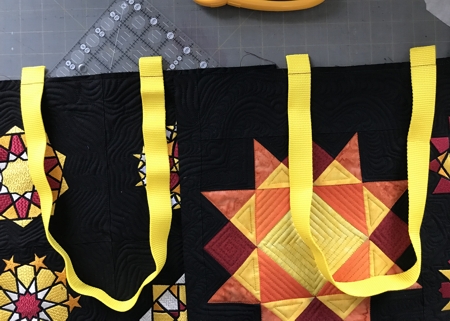
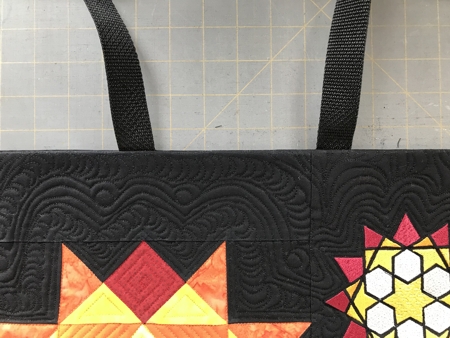
| Cover with the 3" x 16 1/2" strip. Top-stitch 3/8" from the edge. |
|
| Fold the strip and handle back. Press the seam. |
|
|
| Topstitch 3/8" from the edge from the right side. |

|
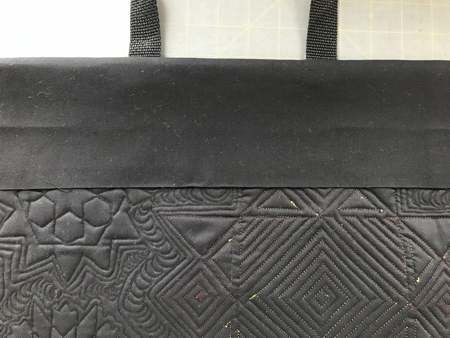
Fold the raw edge in, tuck it up to the seam. Press. Topstitch from the wrong side along the folded edge.
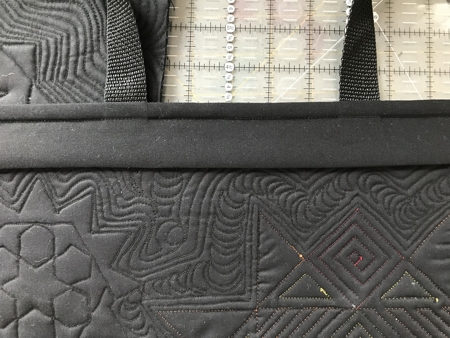
Repeat for the back panel, but stop before the last seam along the folded edge of the strip. Do not finish this seam now! |
|
| Pocket |
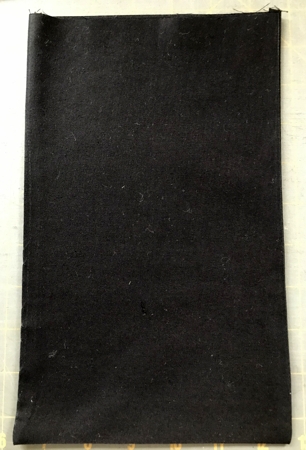
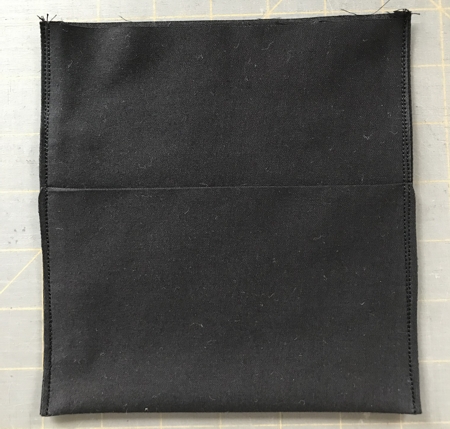
| For the pocket, cut a strip 8" x 20". Fold it widthwise in half. Stitch along the long sides, seam allowance 1/4". Leave the upper short side open. Trim the corners. |

|
| Turn the pocket right side out. Press. |
|
| Fold the lower edge 3 1/2" over the working piece. Press. Topstitch the sides. |
|
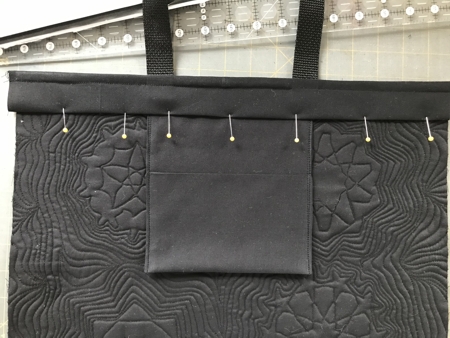
| Tuck the upper edge of the pocket under the strip on the back panel. |
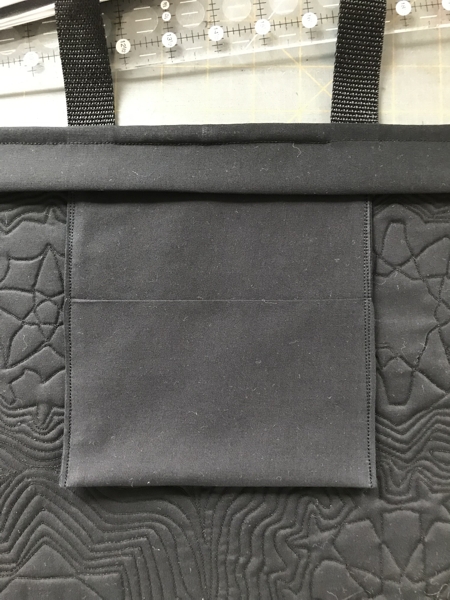
|
| Pin. Topstitch in place along the folded edge of the strip. |
|
| Attaching the Side Panel. |
| Finish the short edges of the side panel with binding. |
Working first with the front and then with the back panel, attach the side panel, making the seam to the outside. Pin the panel first to the right edge, then to the bottom, and then to the left edge of the front panel.
Topstitch starting 1/4" from one side and finishing 1/4" from the other side. Seam allowance is about 3/8".
|
|
| In the same way, attach the back panel. |
|
| Finish the raw edges with binding. |
|
|
| If you want a closure, stitch a piece of Velcro to the back of the front and back panels. |
| You're done. Enjoy! |
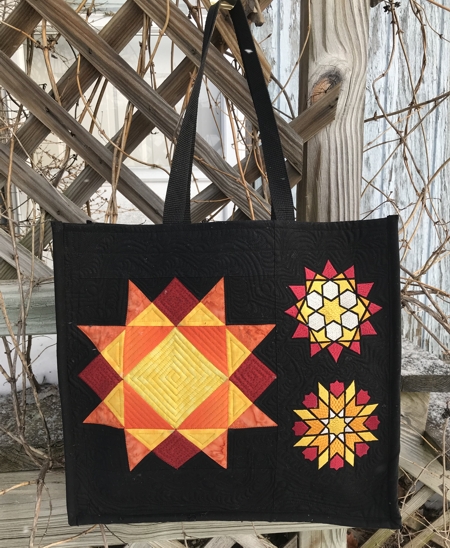
Front View
|
|
| Back View |
|
Back to Geometric Block Set
|
Back to Projects Page
|


