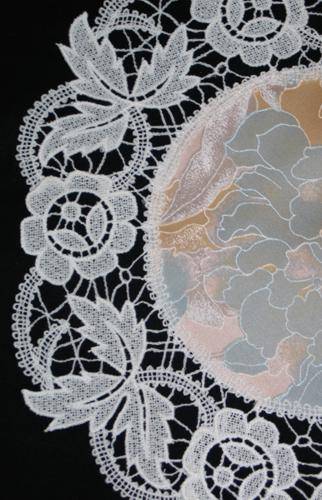
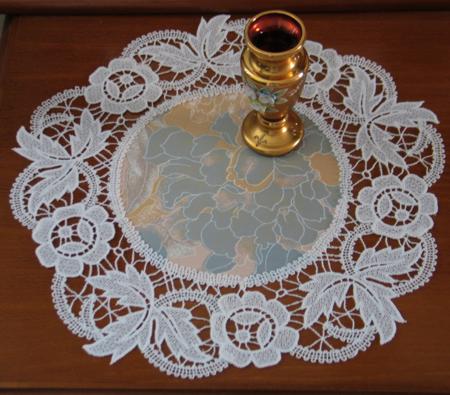
The FSL Battenberg Rose Lace Doily is one design, which should be embroidered several times and assembled into a circular lace. You can then use it as an edge lace, like we did in this tutorial, or as a round insert in other projects.
Stabilizers: We recommend to use water-soluble mesh, such as Vilene. Vilene D0102 is a non woven dissolvable stabilizer which is imported into the US, is sold in large rolls and is sometimes repackaged under different brand names. Two of these brand names are Wash-Away and Aqua Magic. Film-like water soluble stabilizers, such as Solvy, are not suitable for Free-Standing Lace embroidery.
Threads: At least one of the threads, either in the bobbin or in the needle, should be cotton.
If you are using 50- or 60-weight cotton, you should use it both in the bobbin and in the needle. If you use 40-weight cotton thread for the needle, you can use regular polyester bobbin thread. If you are using a specialty thread such as metallic thread, then always use cotton thread in the bobbin.
The thinner the thread, the finer the final product will be.
We recommend Signature machine quilting thread, Brother (Pacesetter) 50wt machine quilting thread, Mettler 50wt or 60wt machine quilting thread and similar threads of other companies.
Needles: We use size 75/11 embroidery needles. The needles should be sharp, so it's advisable to change them after every project.
Most Importantly: ALWAYS make a test stitch-out of the design and wash away the stabilizer. This helps you to select the threads, needles, stabilizers and settings of your machine correctly. DO NOT embroider several designs in one hoop.
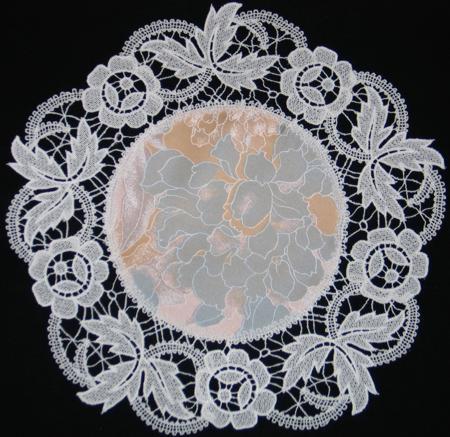
The finished size of the doily is about 13 inches in diameter. You will also need a piece of fabric of about 10" x 10".
Step One: Make a test stitch-out of the design. If you are satisfied with the results, embroider the file five times.
Rinse the stabilizer and leave to air dry.
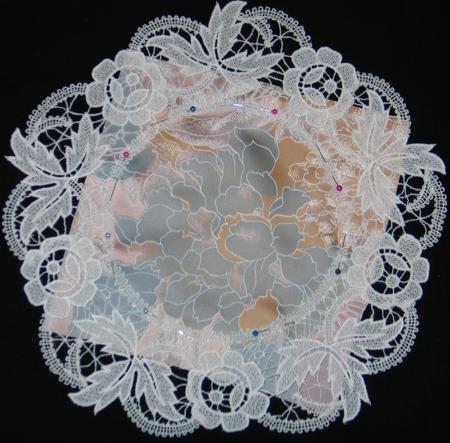
Press all parts with steam. On your working table, lay out the designs in a circle.
Either manually, or on your sewing machine, join the parts. Use a zig-zag stitch and a matching thread.
Step Two: Place the lace frame on a piece of fabric and pin in place.
Step Three: With a straight stitch along the inner outline of the lace attach the lace to the fabric.

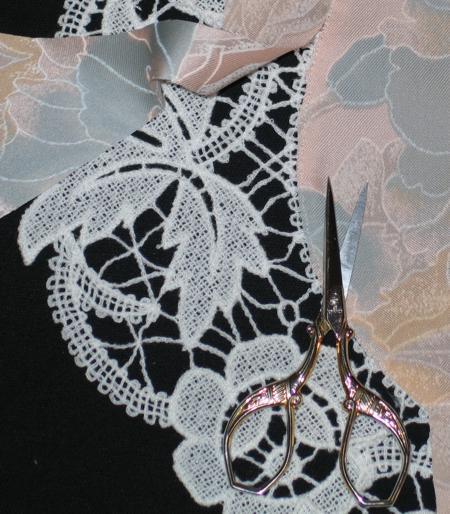
Step Four: With a pair of sharp scissors cut away the excess fabric close to the stitch.
Step Five: Return to your sewing machine and using short and dense zig-zag, stitch over the straight stitch.