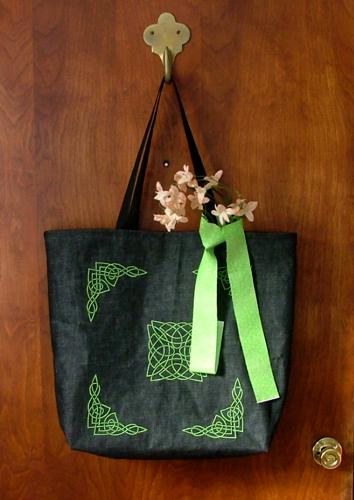
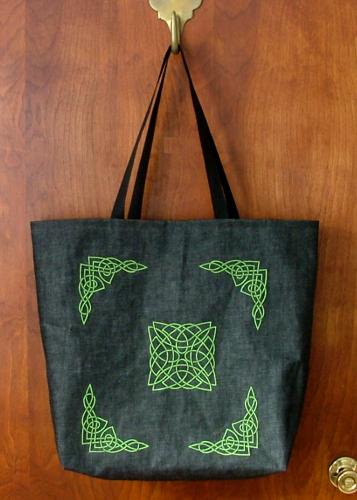
To embellish this tote bag, we used the Celtic Motif Set I. The finished size of the tote bag is 18" high x 22" long x 4" wide. You will need two 23" x 23" pieces of heavy-weight denim or duckcloth fabric and 3 yards of belting.
Step One: Lay the fabric squares on the table and make the following markings: draw a line 1 1/2" from the upper edge, and a second line 4 1/2" from the upper edge; draw lines 5 1/2" from the bottom and side edges.
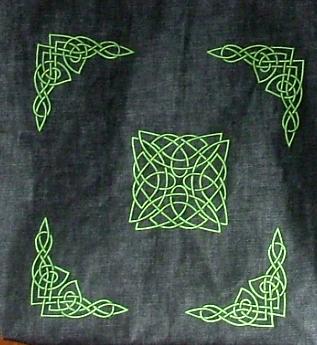
Mark the spots for the embroidery within the marked lines and embroider the designs you like. We did not use any stabilizer.
Step Two: Mark 2 1/2" squares in the corners on the bottom side of each square and cut them out. Finish all raw edges with a zig-zag stitch.
Step Three: Place both halves of the bag right side to right side. Stitch the pieces together along the bottom edge, leave 1/2" of seam allowance. Press the seam open and topstitch 1/4" on each side of the seam.
Step Four: Put the right sides together again and stitch the pieces along the two side edges, leaving 1/2" seam allowance. Press the seams open and topstitch 1/4" on each side of the seam.
Step Five: Now pinch each corner so that the end of the side seam matches the end of the bottom seam (see the diagram below; the ends of the side seams and the ends of the bottom seams are marked in red). Pin. Stitch through all the layers across the bottoms of the corners (see the last picture in the diagram below). This will square the bottom of the bag. Now you can turn the bag right side out.
Step Six: Turn the working piece right side in. Fold the raw upper edge of the bag back 1 1/2". Pin in place.
Step Seven: Out of belting, cut 2 pieces 30" long for handles. Pin the handles to the folded upped edge. Place the remaining piece of belting to cover the raw edge of the folded upper and to catch the handles. Topstitch along each side of the belt. Turn the bag right side out and enjoy!

This is what the finished bag looks like: