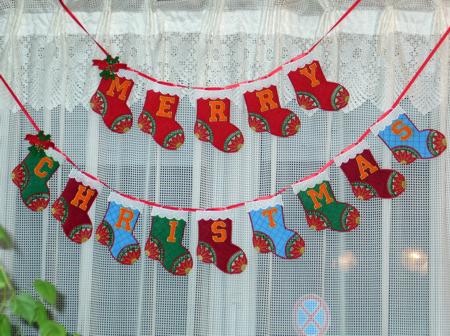
The Christmas Stocking Garland is a set of 13 designs. There are 10 files that contain letters, one file for an FSL Bow design and two files that can be made into a 3-D stocking to fill with small gifts.
The files should be embroidered as described below.
For the project, you will need scraps of fabrics, water soluble mesh stabilizer and embroidery threads.
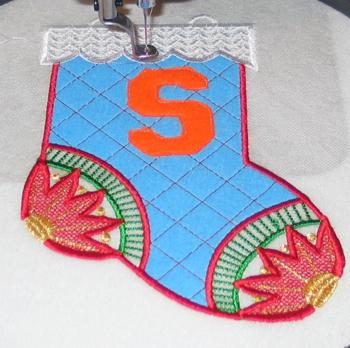
All files with letters, LA, LC, LE, LH, LI, LM, LR, LS, LT and LY, are embroidered in the same way. As an example, we used the file LS.
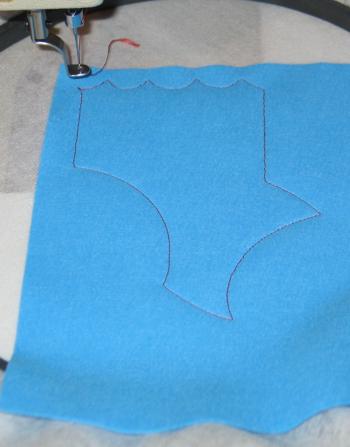
Step One: Hoop two layers of watersoluble mesh. Start the machine. It will emboider the outline of the stocking and stop.

Step Two: Place a piece of fabric over the outline and start the machine. It will embroider the same outline over the fabric.
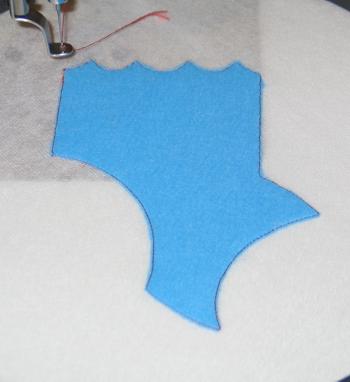
Step Three: With a pair of sharp scissors cut away the excess fabric as close to the outline as possible. Be careful not to cut the stabilizer!
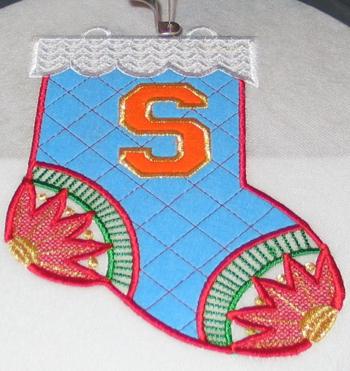
Step Four: Changing threads in accordance with the color card, embroider the lace part of the design. After the machine embroiders the outline of the letter, it will stop.
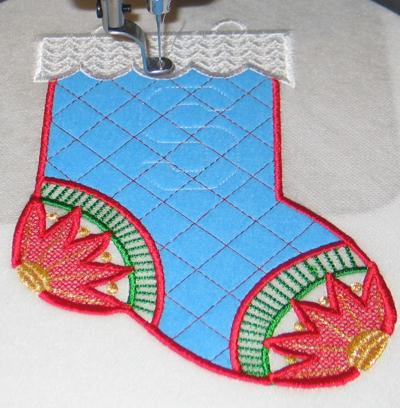
Place a piece of fabric over the outline and re-start the machine. It will embroider the same outline over the fabric.

Step Five: Cut away the excess fabric as close to the stitches as possible.
Start the machine. It will finish the raw edges of the letter.
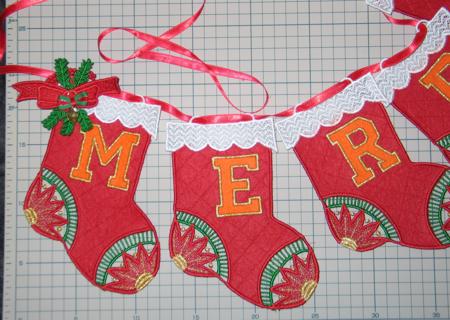
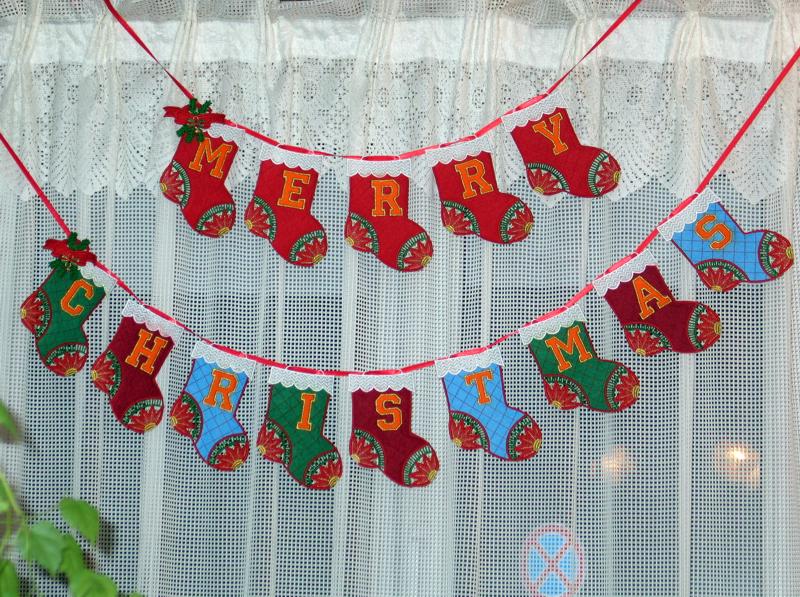
Embroider all stockings to make the phrase Merry Christmas. Cut away the excess stabilizer and rinse away the remainder. Press.
Insert ribbons in the loops and hang the garland where you want it - over a window, door or fireplace. You can also decorate the garland with several stitch-outs of the FSL Bow design.
The bow design should be embroidered on a water soluble mesh stabilizer.
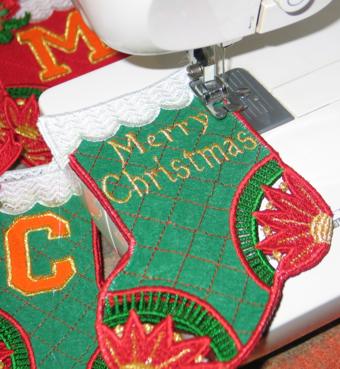
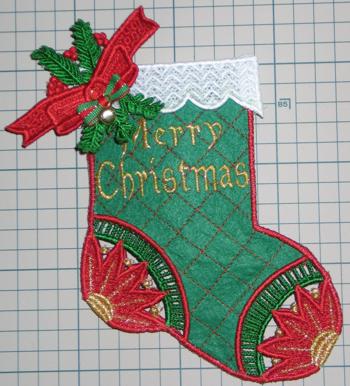
To make a Christmas Stocking for stuffing, embroider files Stocking and Stocking2 following steps One through Four. Instead of one applique letter, the machine will embroider Merry Christmas with the last color.
Cut away the excess stabilizer, wash away the remainder, air dry flat and press.
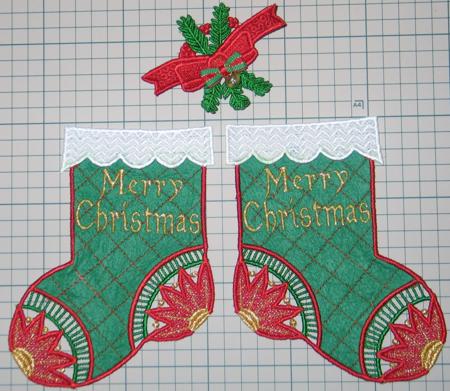
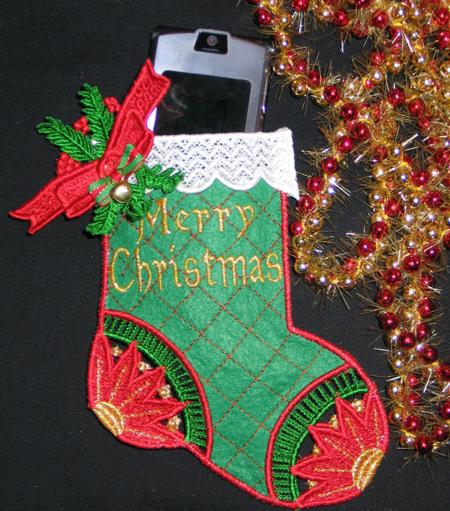
When both halves are ready, place them wrong side to wrong side and using a zig-zag and invisible thread, stitch together over the edge.
Decorate with the Bow pattern.
Stuff with small-sized gifts.
We hope that you liked our idea and will come up with many of your own.


