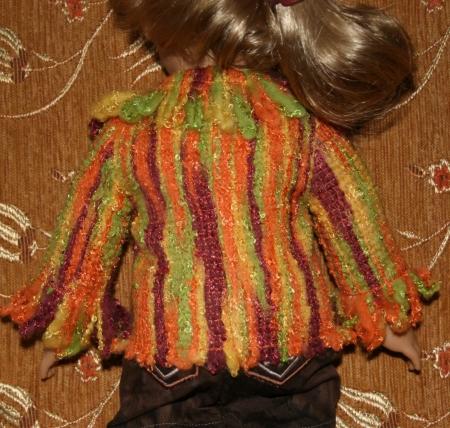
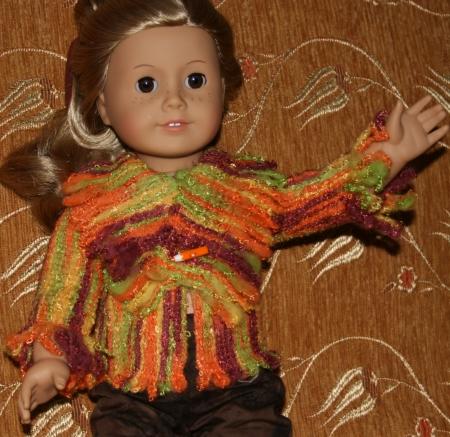
These are instructions on how to embroider and assemble the faux knit jacket for 18-inch dolls of the American Girl Doll type.
If you want a knit jacket for your 18-inch doll, but don't wish to knit it manually, this Faux Knit Doll Jacket set of machine embroidery designs will allow your embroidery machine to do the work for you.
For the project, you will need any yarn and sticky water-soluble stabilizer. If you do not have sticky water-soluble stabilizer, you can use water-soluble mesh and attach it using temporary water-soluble gluestick.
There are seven embroidery files in the set: Back, Back2, Front, Front2, SleeveL, SleeveR and Collar. Each file should be embroidered once, except the Collar file, which should be embroidered twice.
Step One: Cut a piece of sticky water-soluble stabilizer for the 5" x 7" hoop. Do not remove the protective paper. Hoop it with the paper facing up.
If you're working with regular water soluble mesh, hoop it by itself.
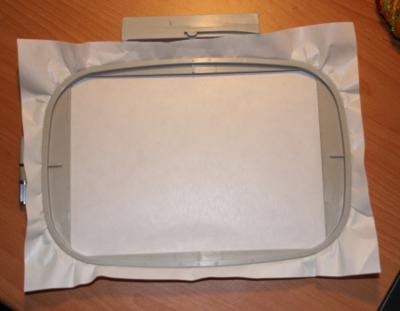
Step Two: Upload the file "Back" into the machine. Embroider the first color which is the outline of half of the jacket's back.
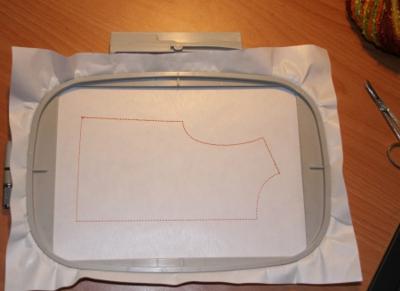
Step Three: Remove the paper inside the pattern, being careful not to damage the stabilizer!
If you work with regular water soluble mesh, spread a thin layer of watersoluble glue inside the pattern.
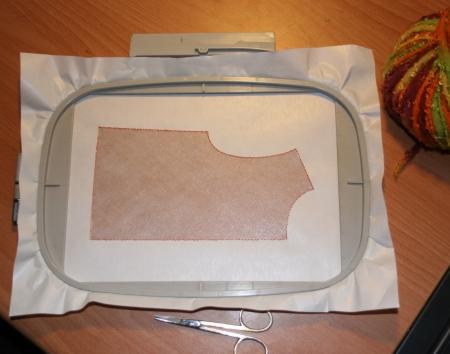
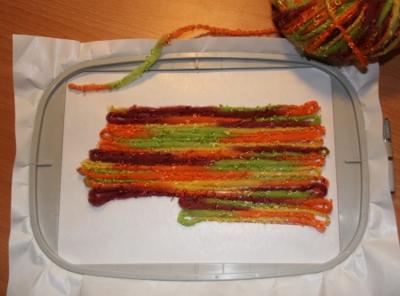
Step Four: Start placing yarn onto the sticky surface. Start from the neckline and go to the hem, then double back. Place the yarn down row by row, very close to each other, until the entire outline is covered. Do not cut the yarn. When you turn the yarn make the loops go slightly beyond the edges of the pattern.
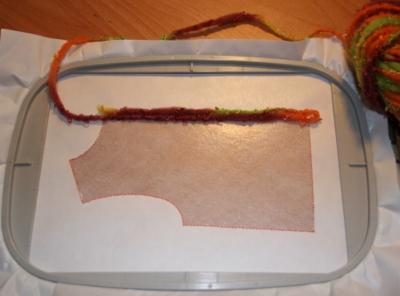
This is what the pattern should look like after you finish laying the yarn.
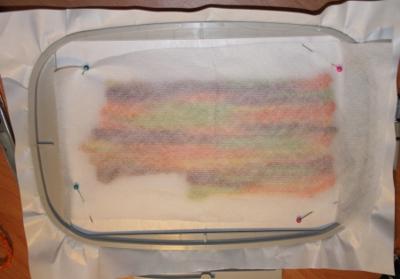
Step Five: Cover the design with a layer of water soluble film or mesh. Secure it with pins close to the hoop and out of the embroidery area.
Return the hoop into the machine and finish the embroidery.
Step Six: Repeat the procedure described in Steps One through Five with all the other files.
When you're laying the yarn for the sleeves, make the loops go 1" beyond the cuff of the sleeve outline.
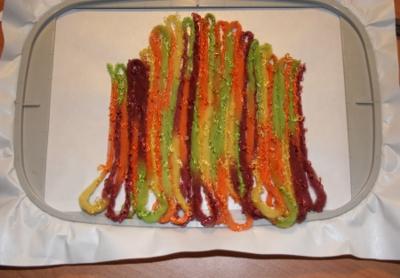
You can also change the shape of the collar changing the length of the loops used for that part.
When all the parts are embroidered, cut away all excess stabilizer as close to the stitches as possible. Soak the parts in a bowl of luke-warm water for about an hour, changing the water several times.
Air dry flat on a towel.
You should get 8 parts for the jacket: 2 back halves, two front halves, two sleeves and two collar halves.
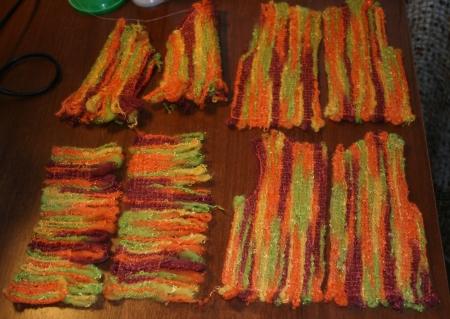
Step One: Join the back halves with a straight stitch very close to the edges. Seam allowances should not exceed 1/8".
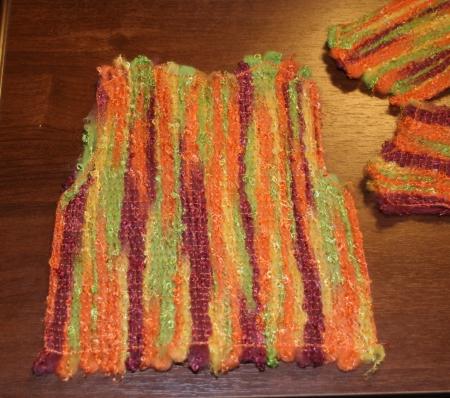
Step Two: Join the shoulder seams.
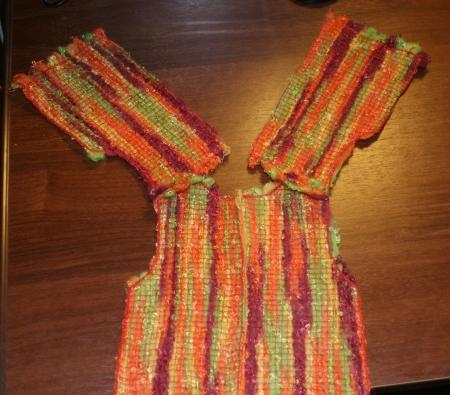
Step Three: Insert the sleeves.Align the sleeve with the arm hole of the jacket. The sleeve and jacket are placed with their right sides together. Pin in place. Then machine-stitch with a straight stitch.
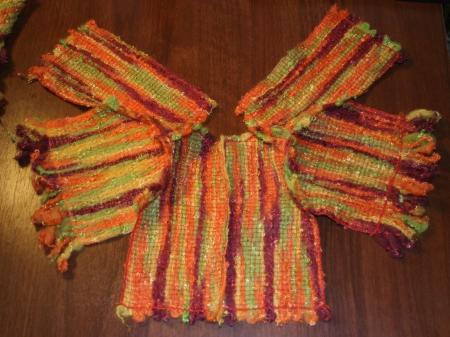
After both sleeves are attached, fold the jacket along the shoulder lines, right side inside. Stitch the sleeve seam and the side seam closed with one straight stitch. Turn the jacket right-side out.
Step Four: Join the collar parts. Attach the collar to the jacket.
Here is a picture of the finished jacket from the back.
