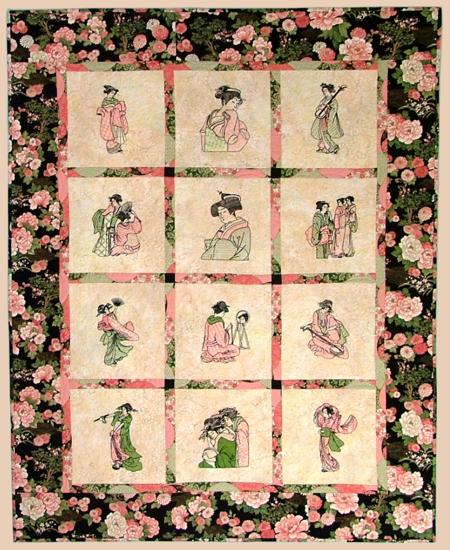
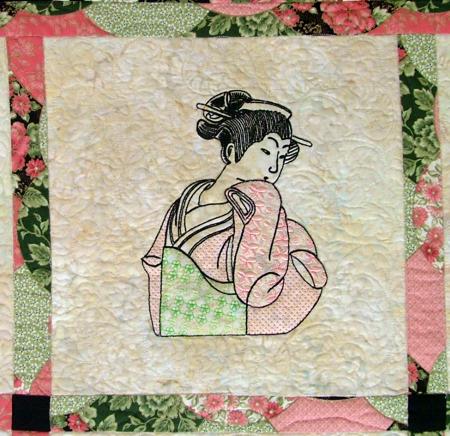
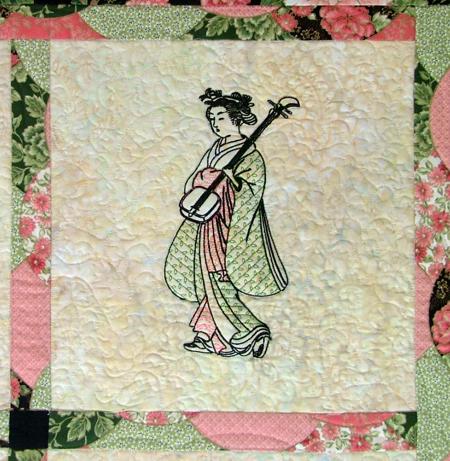
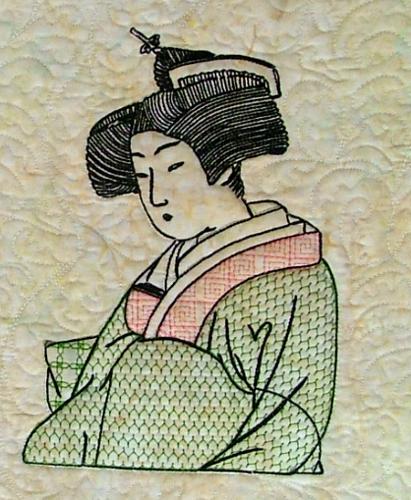
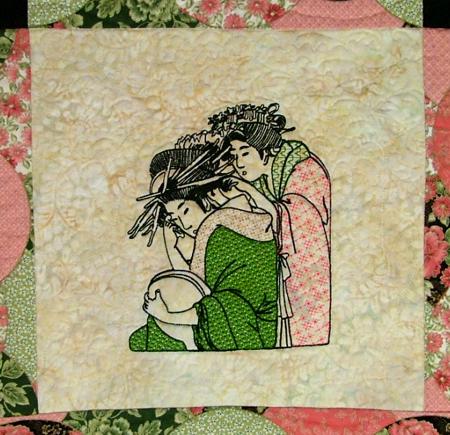
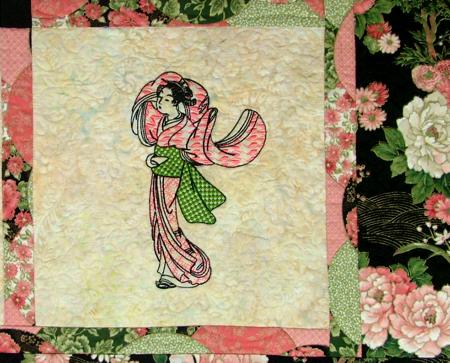
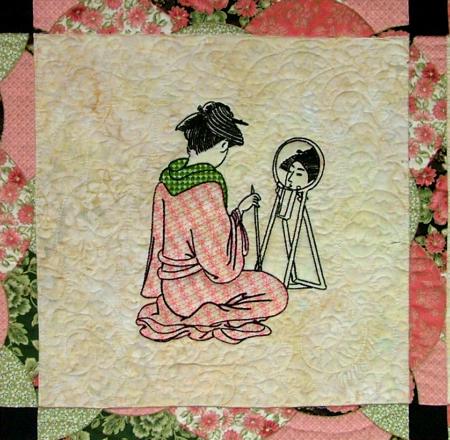
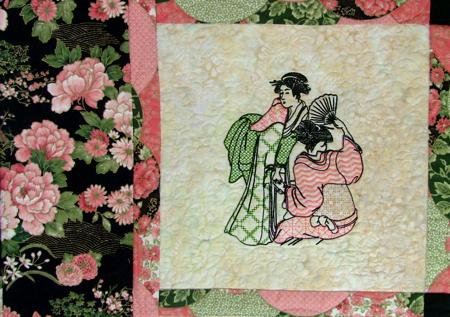
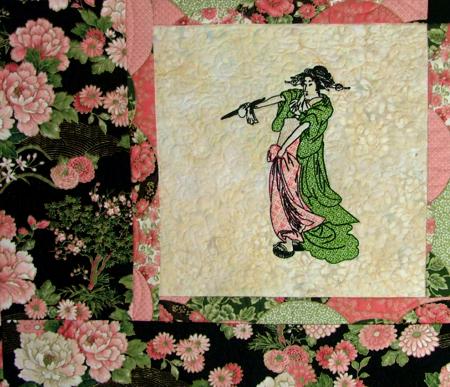
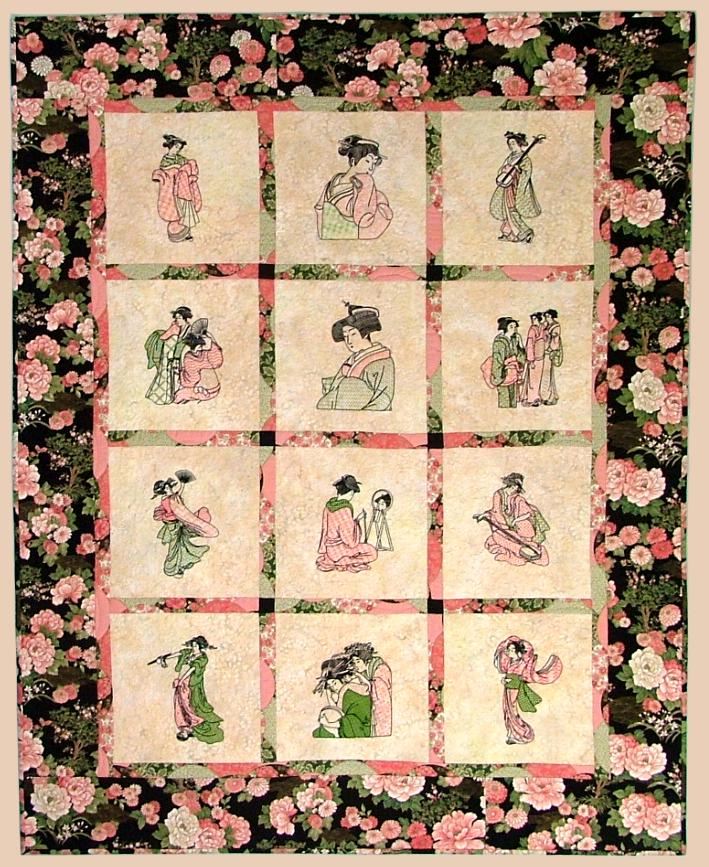
| For the Geishas in the Garden wall quilt we used designs from the Geisha Blackwork Set I and Geisha Blackwork Set II. |
Click to enlarge |
| The finished size of the quilt is about 55" x 44". Each block is 10" x 10", the sashing is 1" wide, the first border is 1" wide and the second border is 5" wide. |
For the top, you will need:
1 yard of light colored fabric (we used very pale batik),
1/2 yard of patterned fabric for the sashing and the first border,
3/4 yard of patterned fabric for the outer border. For the quilt, you will also need fabric for the backing and the binding, quilting cotton thread of the matching color, invisible thread and batting.
For embroidery you will need craft felt (we used it as a stabilizer), embroidery rayon or polyester theads.
|
| We first assembled the top, then embroidered it, then quilted and finished the edges with binding. |
Cutting: Out of light colored fabric for the blocks, cut 12 squares measuring 10 1/2" x 10 1/2".
Out of fabric for sashing and the first border, cut eight strips measuring 1 1/2" x 10 1/2",
five strips measuring 1 1/2" x 32 1/2"; and two strips measuring 1 1/2" x 45".
Out of fabric for the outer border, cut two strips measuring 5" x 45" and two strips measuring 5" x 44". |
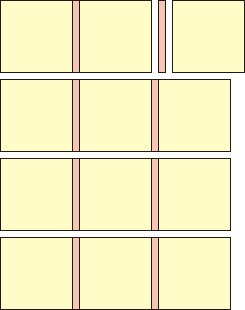
| First, stitch together four rows according to the following diagram: |
|
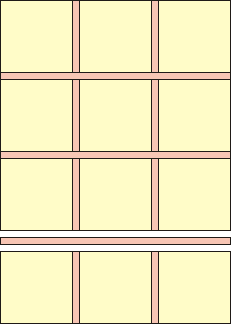
| Then, put them together in accordance with the diagram below: |
|
| Finally, add the borders: |

|
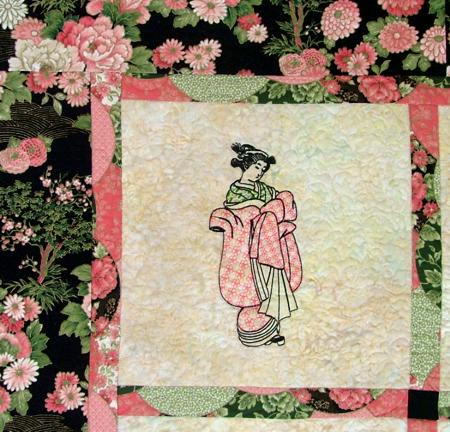
To embroider the designs, make a test stitch-out first. The designs are mostly 3-colored, so choose threads to match the colors of your fabric. Our fabric was mostly black, green and pink, and that's why we used black, green and pink for the geishas. Note: these are NOT the colors shown in the designs' color chart.
Embroider the designs one by one. Hoop each block with craft felt or low loft Dream Poly batting under the fabric. Make the embroidery, then cut away the excess felt as close to the embroidery's outline as possible. |
Now place the backing on a flat surface (table) face down. Spread the batting over it and spread your working piece over the batting. Pin all layers together with 1" pins and start quilting.
With an invisible thread, quilt around the embroidery boundaries and through the embroidery around the geisha's faces and kimono pleats. This quilting will help to keep the embroidery in place and give a trapunto effect. Continue quilting with a cotton thread in the background of the block. Then quilt in the ditch around the blocks and along the sashing. Work with one block at a time.
Quilt the outer border as you like. You can follow the pattern of the fabric. |
| Press the quilt with heavy steam. Square the quilt and finish the edges with binding. We made binding out of the same fabric with which the outer border is made. |
|
The wall quilt is ready. Enjoy!
|
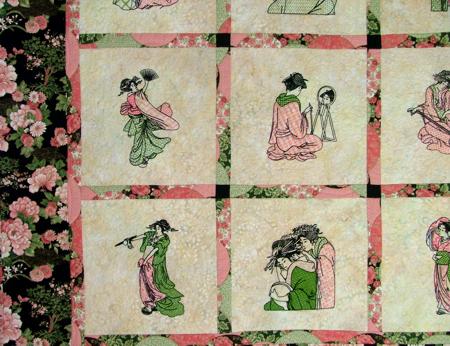
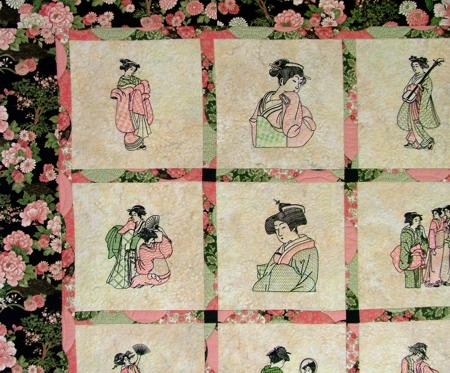
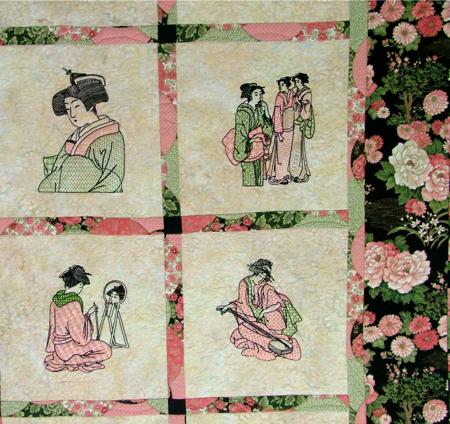
| We hope that you like our idea and will come up with many of your own. Here are some more pictures: |
|
|
|

|
|
|
|
|
|
|
|
|
|
|
Back to Projects Page
|


