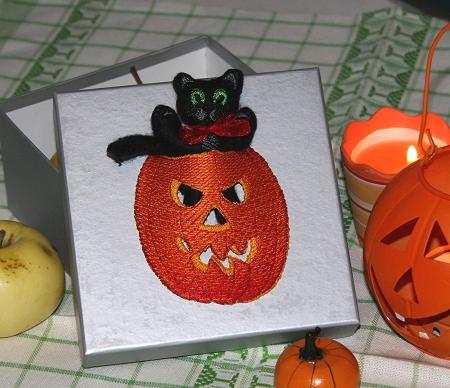
These are instructions on how to embroider and assemble the Cat and Jack-O-Lantern In-the-Hoop Set.
You can use the designs to embellish a child's pocket, a purse, to make a greeting card, and so on.
For the cat, we recommend to use thin knit cloth with a suede like finish or cotton flannel.
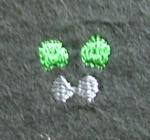
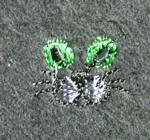
Step One: Hoop a piece of fabric with a soft tear-away stabilizer. Embroider the first four colors. Change the threads in accordance with the color card.
 Third color |
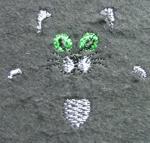 Fourth Color |
Step Two: After the forth color, cover the embroidery with another piece of the same fabric, right side down. Start the machine. It will embroider the outline of the cat and its tail, and stop.
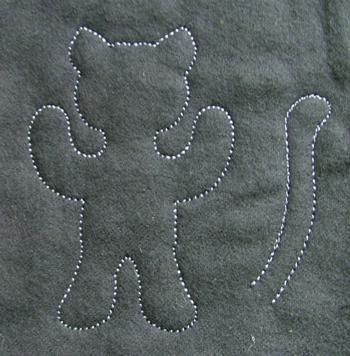
Step Three: Take the work from the hoop and with a pair of sharp scissors cut out the cat and its tail.
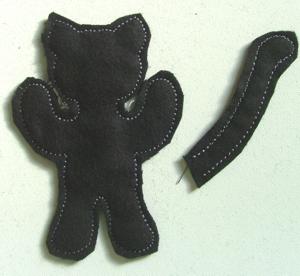
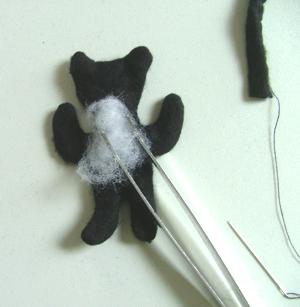
Step Four: Make a straight cut on the back of the cat to make an opening, and with the help of tweezers turn the cat right side out.
Turn the tail right side out as well.
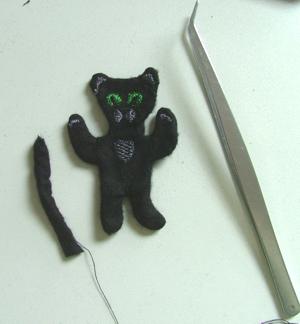
Step Five: With the help of tweezers fill the cat with fluffy stuffing.
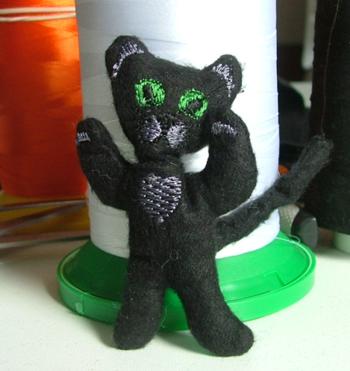
Step Six: Place the open edge of the tail into the opening on the back. Slipstitch the opening closed.
Step Seven: Embroider the pumpkin on a water-soluble mesh. Wash away the stabilizer and air dry the embroidery. In order to give it a spherical shape, dry it on a small ball (like a tennis ball).
Step Eight: Zig-zag the pumpkin onto a background fabric.
Step Nine: Insert the the cat into the pumpkin.
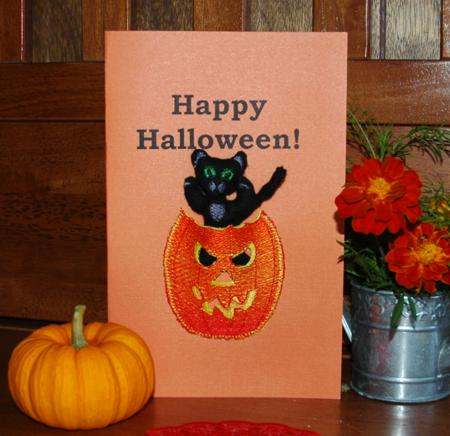
We hope that you liked our idea and will come up with many of your own.


