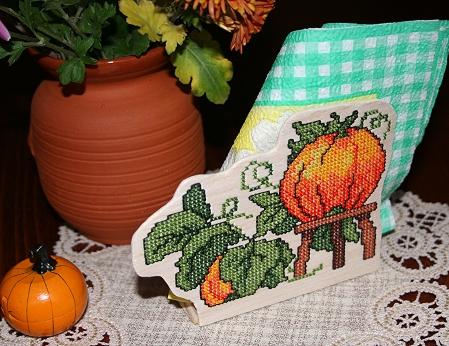
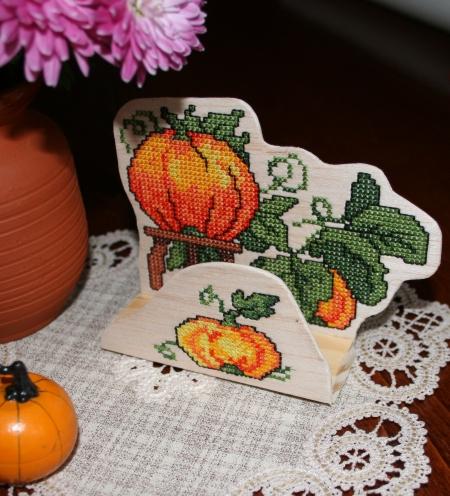
This country- style napkin holder is great for the Thanksgiving table. It makes a nice small gift for friends or family members.
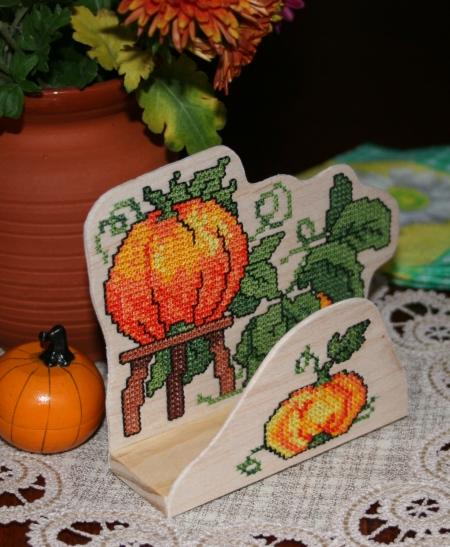
For the project we used the Pumpkin Set of 2 designs in the cross-stitch technique.
For the project you will need:
four balsa wood sheets about 5" wide, 1/16" thick and 5" long;
a piece of wood 1 1/4"- 1 1/2" wide, 4" long and about 1/4" thick to use as the base;
wood glue;
self-adhesive tear-away stabilizer;
water-soluble film stabilizer;
wood polish (optional);
embroidery threads.
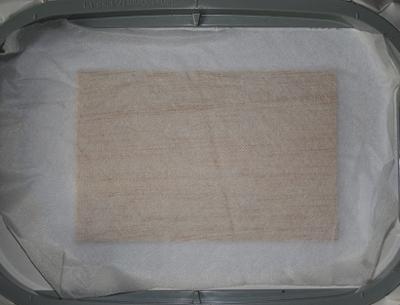
Step One: Hoop a piece of self-adhesive tear away stabilizer, sticky side up.
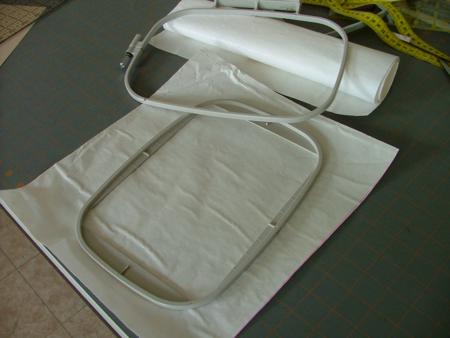
Remove the paper which covers the sticky side inside the hoop.
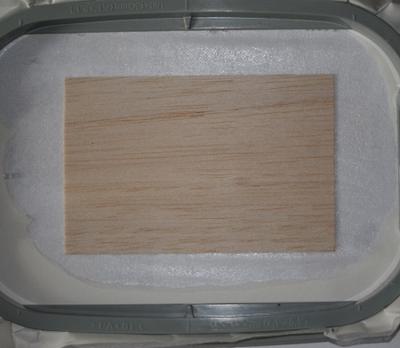
Stick a balsa sheet onto the stabilizer. Try to place balsa in the center of the hoop.
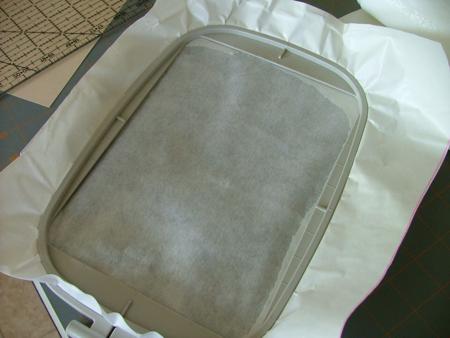
Cover the balsa sheet with a piece of watersoluble film stabilizer. Stick the film to the edges of the sticky stabilizer.
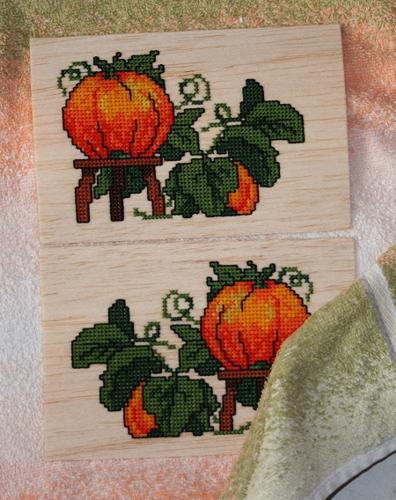
Embroider the larger pumpkin design.
Step Two: Hoop another piece of balsa as described in Step One.
Embroider the mirror image of the same design.
Step Three: Cut away all excess stabilizer. Place the sheets in a bowl with hot (but not boiling) water to remove the water-soluble stabilizer. If needed, change the water to remove the water-soluble stabilizer completely.
Do not remove the remainder of the tear-away stabilizer.
Wipe with a towel, but do not dry. Balsa wood is easier to work with when warm and wet.
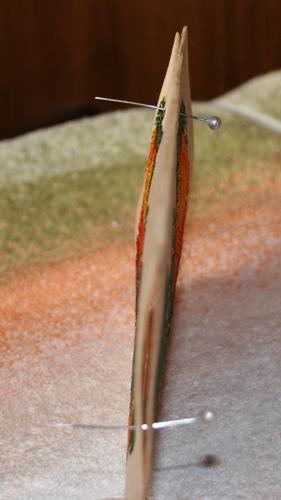
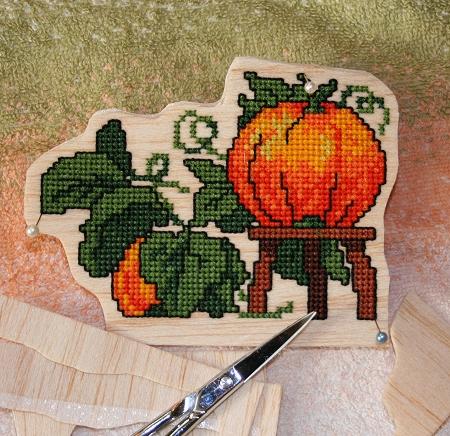
Step Four: Place the embroidered sheets back to back. With the help of pins, check align the embroideries on both sides.
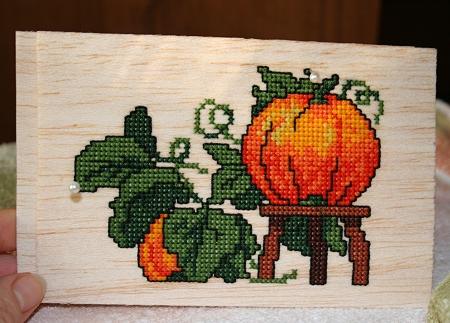
Step Five: While balsa is still wet, cut out both sheets simulteneously with small sharp scissors. The lower edge should be straight and about 4" long, while all other edges should follow the outline of the embroidery.
Leave to air dry. When dry, apply a thin layer of glue and join the parts. Leave to dry under something heavy (e.g. a book)
Step Six: Embroider the smaller design in the same way. You need to embroider it only once. Follow steps 1 through 3.
To cover the back of the embroidery, place a spare sheet of balsa in hot water. Wipe away excess water with a towel. While both (embroidered and plain) sheets of balsa are warm and wet, place them back to back and cut to shape with small sharp scissors. The lower edge should be straight and 4" long.
Leave to air dry. When dry, apply a thin layer of glue and join the parts. Leave to dry under something heavy (e.g. a book)
Step Seven: When both panels are dry, glue them to the piece of wood that you are using as the base.
Step Eight: After the glue is completely dry, polish the edges of the balsa with a nail file, if necessary. Cover with wood polish, if you like.
The napkin holder is ready! Just add napkins!
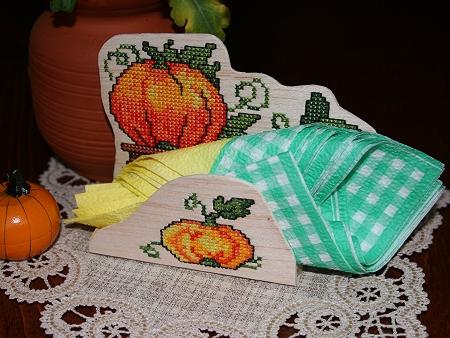
We hope that you liked our idea and will come up with many of your own.


