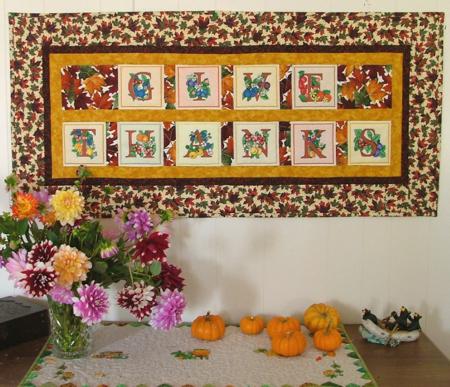
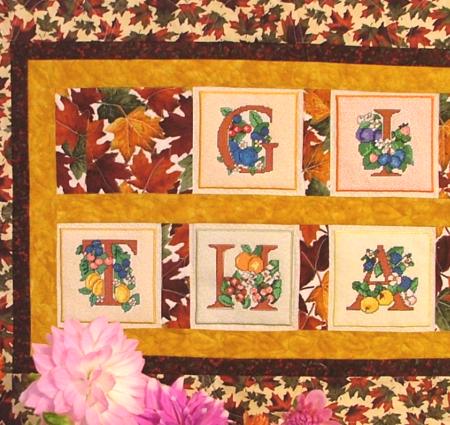
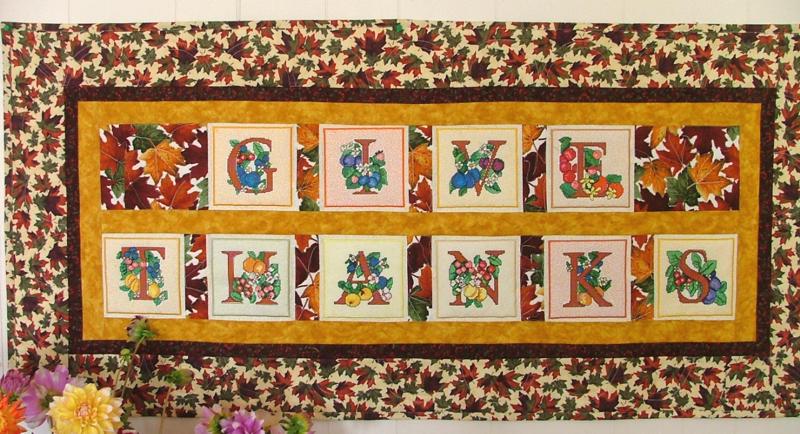
For this autumn-themed wall quilt we used the Harvest Alphabet Quilt Block Set.
The size of the quilt is 25 1/2" x 53 1/2".
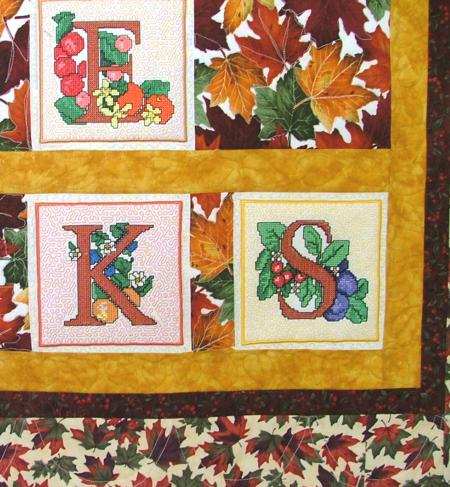
We used light cream fabric for the blocks with embroidery and 4 different autumn patterned fabrics for sashing and borders.
You will need about 1/2 yard of light fabric for the embroidered blocks, 1 fat qua4ter for the sashing, 1/4 yard of ochre yellow for the sashing and the first border, 1/4 yard of burgundy for the second border and about 1 yard of patterned fabric for the third border and binding.
You will also need either white DreamPoly batting or white polyester felt for the embroidery; it will be used as a stabilizer. You can also use your favourite medium-weight cut-away stabilizer. Iron-on stabilizers are preferrable, because cross-stitch designs pull the fabric strongly.
You will need batting and backing for the quilt.
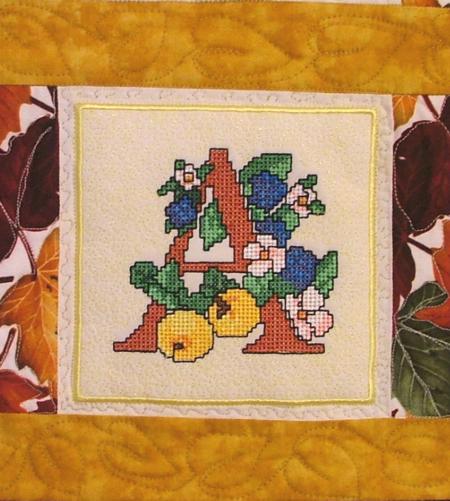
We first made the embroidery, then cut out the blocks.
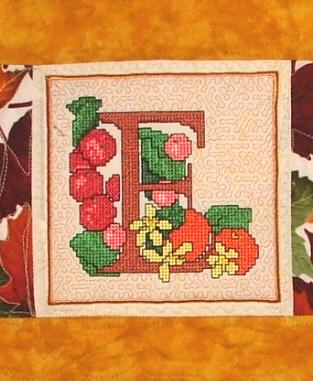
Stabilize the light fabric with DreamPoly batting or white polyester felt. Embroider the letters.
Cut out a block measuring 6" x 6" around each letter.
Cut away the stabilizer as close to the embroidery as possible.
You should get a total of 10 blocks.
Out of a fat quarter cut 8 strips measuring 2" x 6" and 2 rectangles measuring 6" x 7 1/2".
For the first border, out of ochre yellow fabric cut 3 strips measuring 2" x 41"and 2 strips measuring 2" x 16".
For the second border, out of burgundy fabric cut 2 strips measuring 1 1/2" x 18" and 2 strips measuring 1 1/2" x 44".
For the outer border, cut 2 strips measuring 4 1/4" x 46" and 2 strips measuring 4 1/ 4" x 25 1/2". Cut binding out of the same fabric.
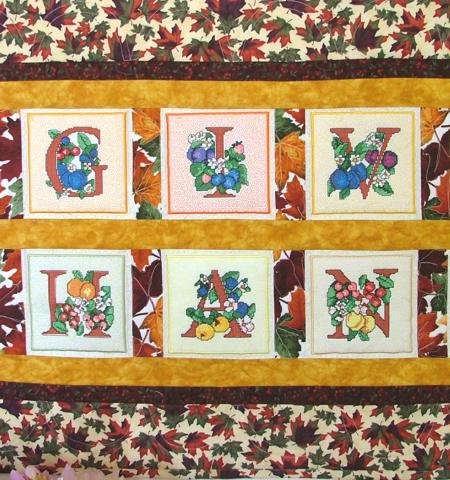
Step One: Lay out the letter blocks into rows: GIVE is in the first row and THANKS is in the second row.
Insert the 2" x 6" strips between the neighbouring letters. Attach the 6" x 7 1/2" rectangles at the beginning and at the end of the first row. Don't forget to press seams after every stitch.
Step Two: Attach one of the long ochre strips to the bottom of the first row, then attach the second row to this strip.
Step Three: Attach the ochre strips, first to the top and bottom, then to the left and right, to make the first border.

Step Four: Attach the second burgundy border in the same way.
Step Five: Attach the third outer border.
Step Six: Press the top. Make a traditional "sandwich" out of the backing, batting and top. Pin all three layers together with 1" pins and started quilting. We quilted along the lines of the embroidery block, made stippling around the embroidery and then quilted the sashing and borders in a free-motion style.
Step Seven: Press the quilt with heavy steam. Square the quilt and finish the edges with binding. We made binding out of the same fabric as the outer border.
We hope that you like our idea and will come up with many of your own. Here are some more pictures:


