For this project we used the designs from the Violet Linen Set , Violet Redwork Quilt Block Set and Quilt Block Set III.
|
Click to Enlarge |
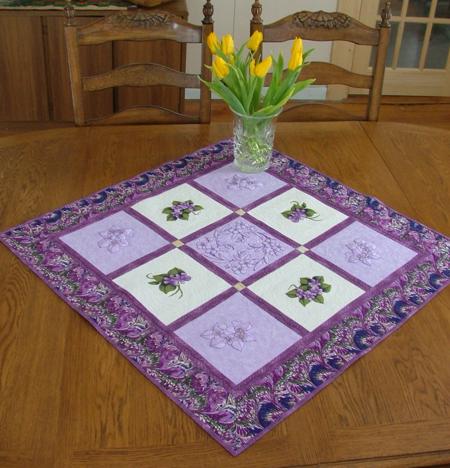
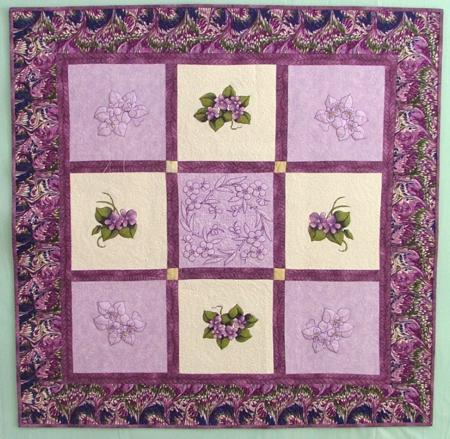
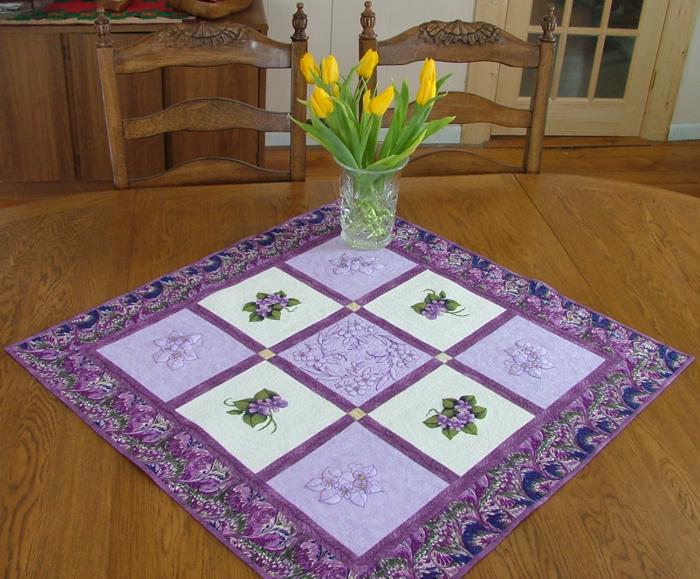
The finished size of the quilt is about 34" x 34". We used four 100% cotton fabrics - light cream fabric for the blocks with embroidery (1 fat quarter), light violet fabric for the blocks (1/2 yard), purple for sashing, binding and backing (about 1 1/2" yard), patterned fabric for the borders (1/2 yard).
We assembled the top first, then embroidered it. |
|
Cutting:
|
Out of light cream fabric cut 4 squares 8 1/2" x 8 1/2" each and four squares 1 1/2" x 1 1/2" each.
Out of light violet fabric cut five squares 8 1/2" x 8 1/2" each.
Out of purple fabric cut:
12 strips 1 1/2" x 8 1/2" (for the sashing)
2 strips 1 1/2" x 27" (for the first border) and
2 strips 1 1/2" x 29" (for the first border).
We made the backing and the binding out of the same fabric. Out of patterned fabric cut 4 strips 4" wide along the full legth of the fabric, to make mitered corners. If you prefer boxed corners, cut 2 strips 4" x 29" and 2 strips 4" x 36".
|
|
Sewing:
|
First, sew the rows.
The first and the third rows have the following pattern:
violet square - sashing strip - white square - sashing strip - violet square.
The second row has the following pattern:
white square - sashing strip - violet square - sashing strip - white square. |
|
Now sew the sashing between the rows:
sashing strip - small white square - sashing strip - small white square - sashing strip.
You will need two such sashings. |

|
| Sew the sashing and rows together. |
|
| Attach the borders. |
|
|
Embroidering:
|
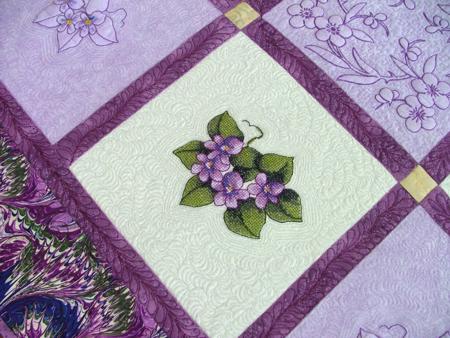
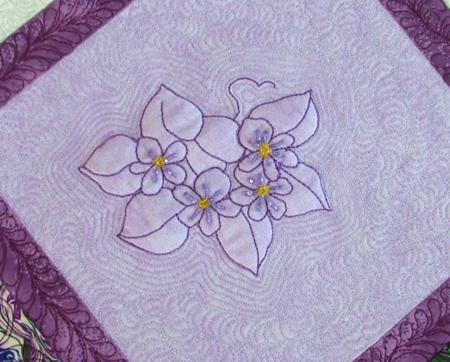
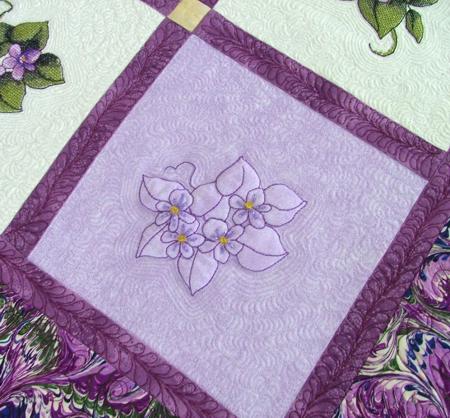
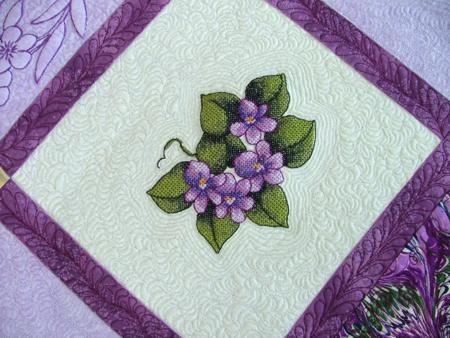
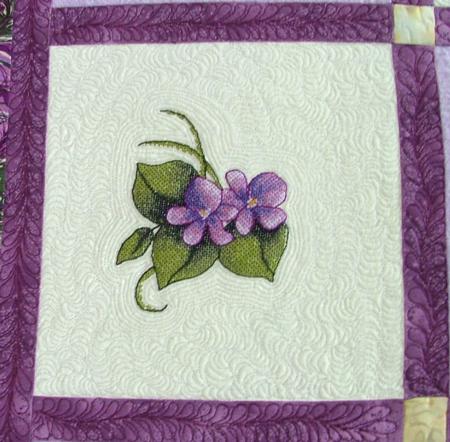
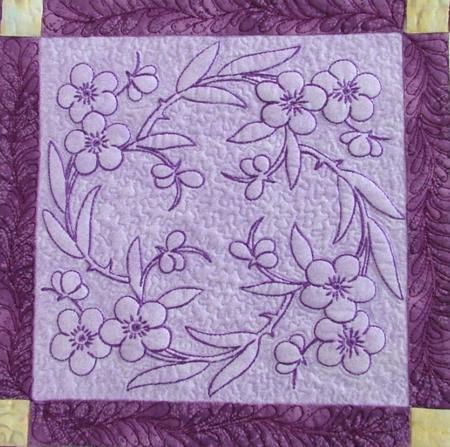
| To stabilize the fabric we used low-loft DreamPoly batting. Embroider the centers of the blocks with the designs. We embroidered white blocks with the designs from the Violet Linen Set and the violet blocks with redwork designs from the Violet Redwork Quilt Block Set. The central violet block is embroidered with a design from Quilt Block Set III. You can also make a wreath out of redwork violets in the central block. Cut away the excess stabilizer as close to the embroidery as possible. |
|
|
Finishing the quilt
|
| Now place the backing on a flat surface (table) face down. Cover with batting. Spread your working piece over it. Pin all three layers together with 1" pins and start quilting. We quilted along the lines of the embroidery, made stippling around the embroidery and then stitched in the ditch on the blocks and sashing. We quilted the borders with straight lines which continue the lines of the stars.
For the backing we used the same purple fabric as for the quilt top.
After the quilting is finished, press the work with heavy steam and square the work -- all corners should be 90 degrees and opposite sides should be of the same length.
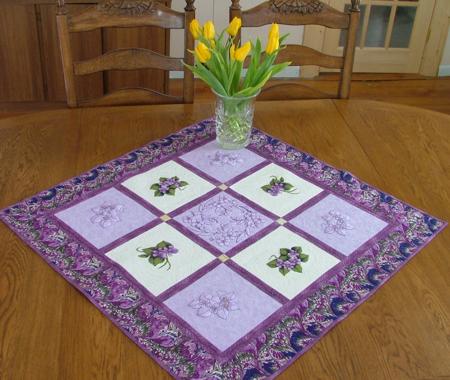
Finish the raw edges with the binding. We used the purple fabric for the binding Press the ready table topper with heavy steam. Decorate with beads, if you like. Here are more close-ups of the quilt.
|
|
|
|
|
|
|
|
| We hope that you liked our idea and will come up with many of your own. |
|
Back to Projects Page
|


