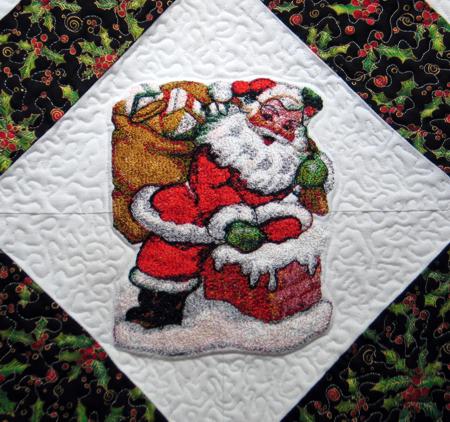
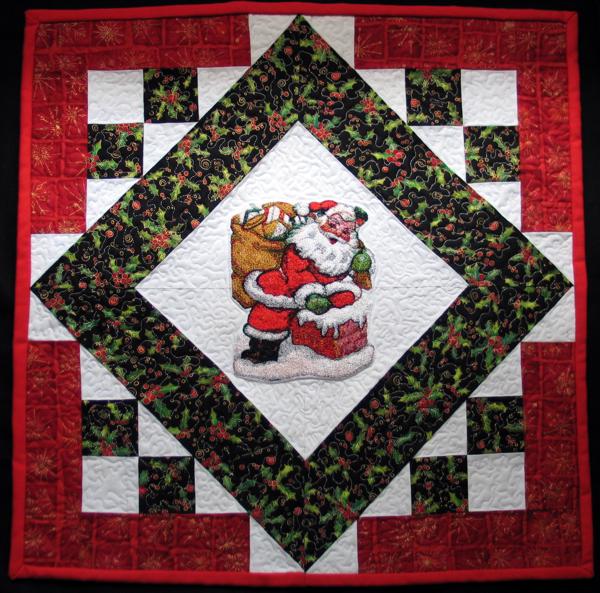
This original wall hanging is simple to piece, and makes a great seasonal decoration for your home. The design Old Saint Nick puts the charming final touch to this project.
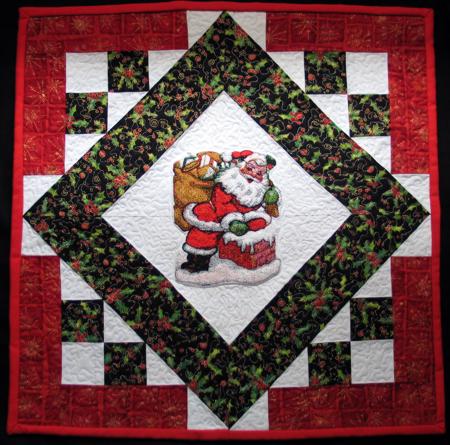
The finished size of this square quilt is about 20" x 20". We used Old Saint Nick for the large (5"x 7") hoop. If you want to use a larger design, you'll have to enlarge the quilt.
You will need 3 fat quarters of white, green and red patterned fabrics.You'll also need fabric for the binding, a piece of batting, and backing.
All measurements include 1/4" seam allowance.
Out of white fabric, cut a square measuring 8 1/2" x 8 1/2", and three strips measuring
2 1/2" x 22" (the length of the fat quarter). Subcut the strips into 24 squares measuring
2 1/2" x 2 1/2".
Out of red fabric, cut 3 strips measuring 2 1/2" x 22" (the length of the fat quarter). Subcut the strips into 4 strips measuring 2 1/2" x 6 1/2" and 4 strips measuring 2 1/2" x 8 1/2". The rest of the fat quarter can be used for the binding.
Out of green fabric, cut 2 strips measuring 3 1/2" x 22" (the length of the fat quarter). Subcut the strips into 2 strips measuring 3 1/2" x 8 1/2" and 2 strips measuring 3 1/2" x 14 1/2". Cut another strip measuring 2 1/2" x 22" (the length of the fat quarter). Subcut this strip into 8 squares measuring 2 1/2" x 2 1/2".
Sew the green 3 1/2" x 8 1/2" strips to the left and right sides of the white square.
Press the seams towards the darker strips.

Sew the green 3 1/2" x 14 1/2" strips to the upper and lower sides of the white square.
Press seams towards the dark strips. Place this central part aside for a meantime.
Make 4 strips using 2 white and 1 green 2 1/2" squares each. Press the seams to the green square.
Make 4 strips using 1 white and 1 green 2 1/2" squares. Press the seams to the green square.

Sew the strips together to produce 4 blocks:
Sew a white 2 1/2" squares to the bottom of each of the blocks to make a "staircase".
Sew a white 2 1/2" square to one end of each of the 6 1/2" and 8 1/2" red strips.
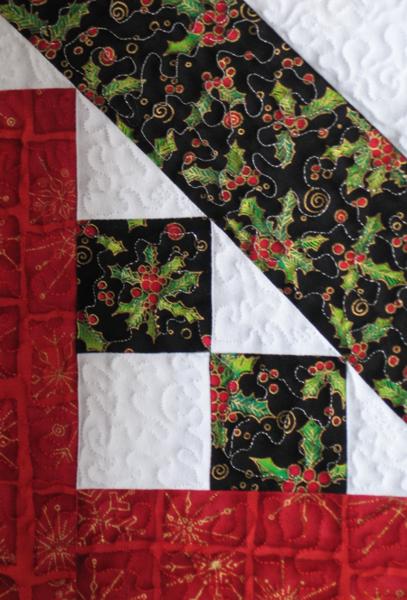
Sew the shorter (8 1/2") red-white strip to the left edge of each green-white block.
Sew the longer (10 1/2") red-white strip to the upper edge of each green-white block.
Press. Place on a cutting table. Place a ruler along the diagonal of the white squares on the edge and cut.
Sew the four triangular units to the edges of the central part. Press.
Stabilize the white square with iron-on cut-away stabilizer. Make the embroidery. Cut away the excess stabilizer.
You can also use polyester craft felt instead of the stabilizer. In this case we recommend to baste the quilt top to the felt in the ditch along the colored units. After the embroidery is finished, rip the baste and cut away the excess felt around the embroidery.
Now place the backing on a flat surface (table) face down. Cover with batting. Spread your working piece over it.
Pin all three layers together with 1" pins and start quilting. We quilted along the lines of the embroidery and made stippling all over the quilt.
After the quilting is finished, press the work with heavy steam and square the work -- all corners should be 90 degrees and opposite sides should be of the same length.
Finish the raw edges with the binding.
The quilt is ready. Enjoy!


