Although it may seem that embroidery and woodworking are about as far from one another as any two things can be, this project proves otherwise. Using balsa wood and ready-made wood plaque blanks, it's possible to make some beautiful rustic-style wood hangings.
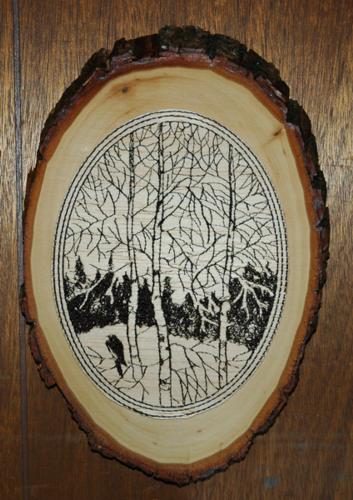
We used the one-color design Late Autumn from the Landscape section of our Catalog.
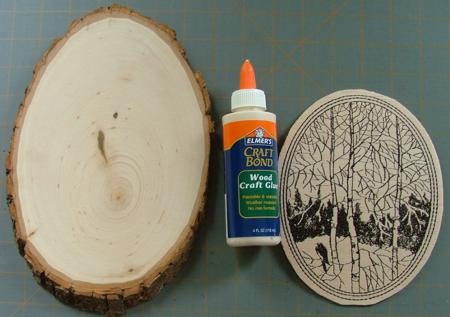
For this project we used sheets of 1/8" thick and 4" wide balsa strip, self-adhesive tear-away stabilizer, wood plaque blanks, wood craft glue, a small ring hanger, and acrylic finish (optional).
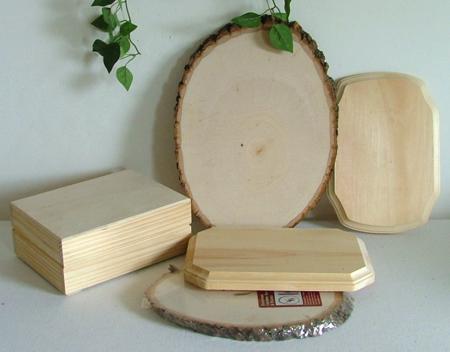
You can find different wood craft blanks in craft stores. For our project we chose an oval pine blank measuring 6 1/2" x 9 1/2".
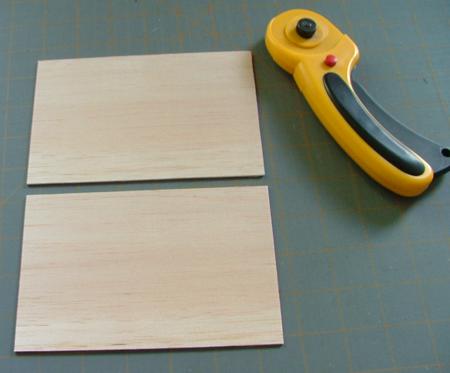
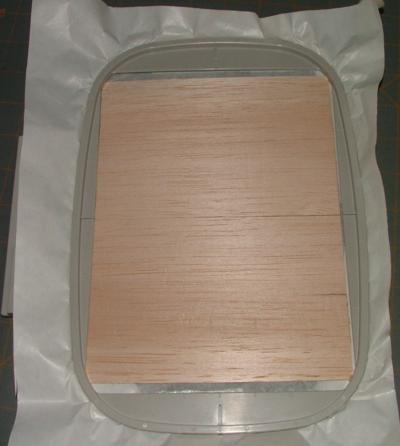
Step 1: Out of balsa strip, cut 2 pieces measuring about 6" long. Use a rotary cutter or a very sharp craft knife.
Step 2: Hoop the self-adhesive stabilizer. Remove the paper which covers the sticky side of the stabilizer inside the hoop. Stick the pieces of balsa onto it, making sure there is no space between them.
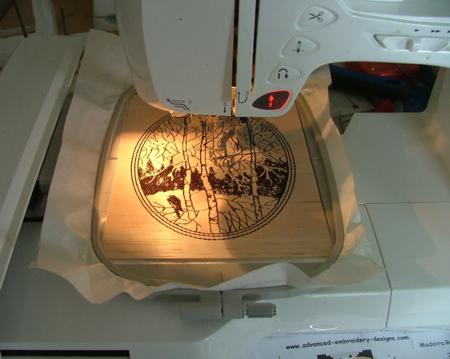
Step 3: Embroider the design. Use 75/11 needles and embroidery rayon or polyester threads. We used a very dark chocolate brown, because it matches the wood better than pure black.
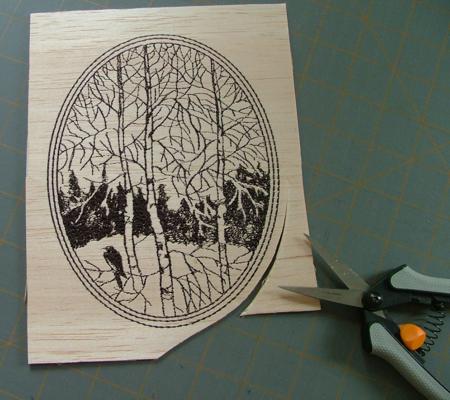
Step 4: After the embroidery is finished, cut away the excess stabilizer. Then, with very sharp scissors cut out the embroidery close to the stitches.
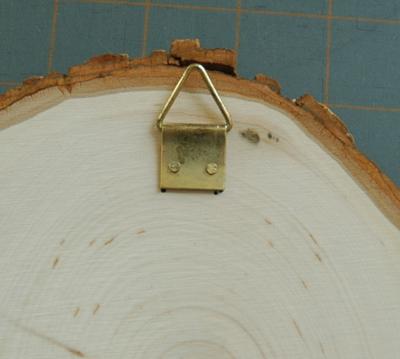
Step Five: Attach the hanger to the back of the wood plank.
Step Six: Apply glue to the back of the embroidered balsa. Place the balsa piece onto the plank. Leave under a weight for some time until the glue dries.
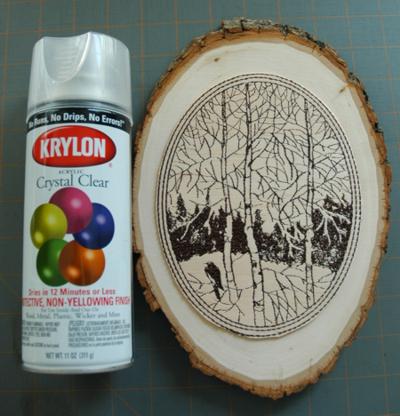
Step Seven: When the glue dries, apply acrylic finish. Make as many coats as you like. We used Krylon, Acrylic Crystal Clear Protective, Non-Yellowing Finish.