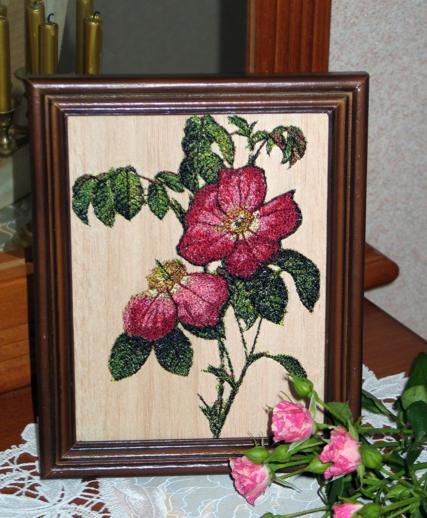
Embroidery done on balsa wood is easy to frame. Balsa wood projects have a charming, country-style appeal. You can hang them up around your home for that warm rustic touch, or you can give them away to your friends and family as novel gifts.
For this project you will need sheets of 1/8" thick balsa, self-adhesive tear-away stabilizer or iron-on sewing interfacing.
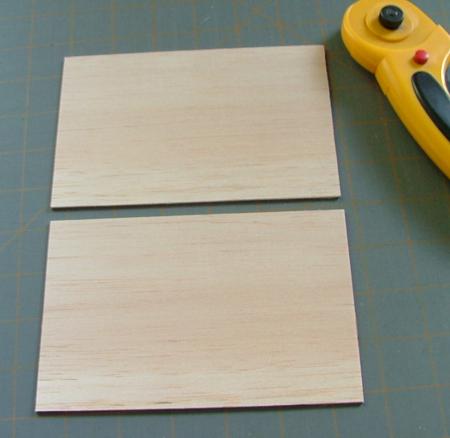
Balsa is commonly sold in widths 4", which means that two pieces of balsa have to be combined to get the size necessary for our project. This is very easily done. Just cut two pieces of balsa that will fit into your hoop:
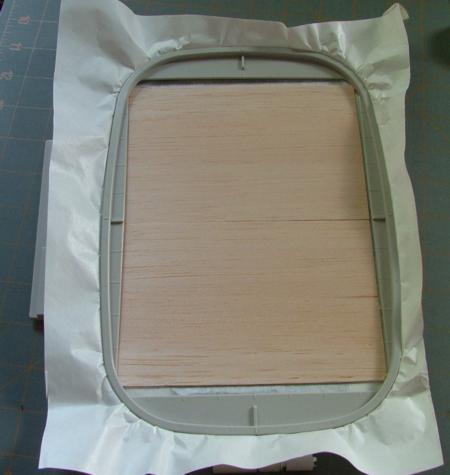
Hoop the self-adhesive stabilizer. Remove the paper which covers the sticky side inside the hoop. Stick the pieces of balsa onto it, making sure there is no space between them.
If you are using iron-on sewing interfacing, first place the pieces of balsa onto the interfacing, press with an iron to fuse, then hoop.
Note: Iron-on sewing interfacing is more heavy-duty than the self-adhesive embroidery stabilizer. If you are using a very dense design, or a design larger than 5" x 7", use the iron-on interfacing.
Now you can make the embroidery. Embroidering on balsa is no different from embroidering on fabric.
After you have finished the embroidery, measure the frame you are using and transfer the measurements onto the embroidered balsa.
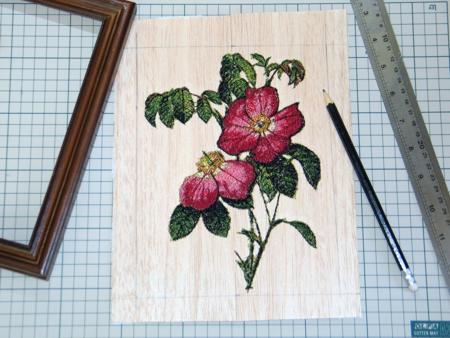
With a pair of very sharp scissors, cut away the excess balsa.
Place the embroidery into the frame and back with a piece of cardboard. Secure the embroidery with staples or tabs (this depends on the type of frame you are using).
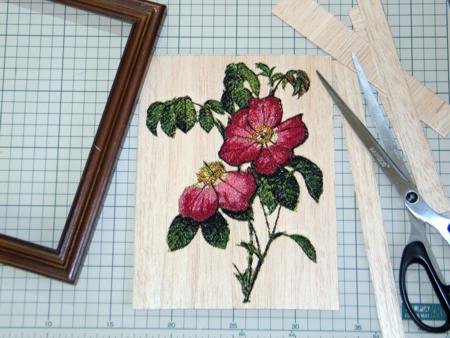
The embroidery is now framed!
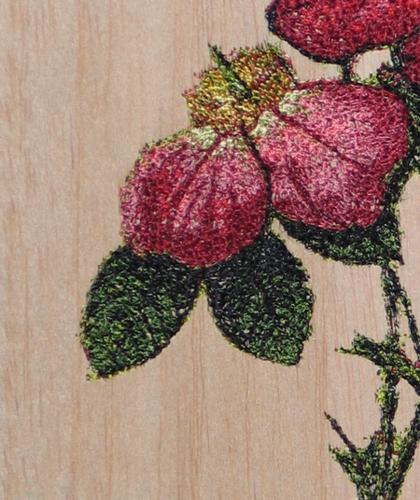
Here is a close up:
We hope that you liked our idea and will come up with many of your own.


