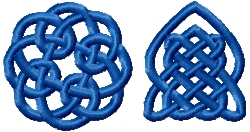
The designs from the FSL Celtic Necklace and Earring Set III are embroidered as free-standing lace. There are two files in the set: "celtic1" and "celtic2".
The designs give you endless possibilities for making all kinds of jewelry pieces: earrings, pendants, necklaces, bracelets, and pins. You can also use the designs as ornaments.
This project talks about just a few possibilities.
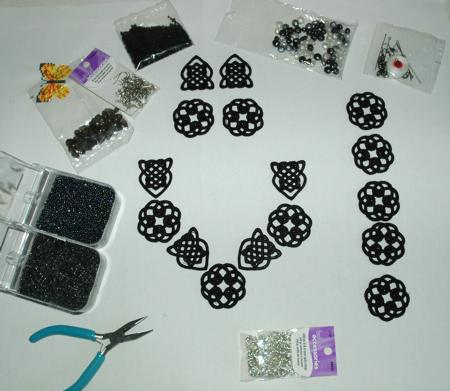
You will need water-soluble mesh, embroidery threads, small beads, and jewelry accessories, such as necklace clasps, earwires, beads and pins.
Step 1: Hoop 2-3 layers of water soluble stabilizer.
We recommend light fabric-like stabilizers, also called mesh, such as Vilene, which dissolve in warm water very quickly. Film-like water soluble stabilizers, such as Solvy , are not suitable for this purpose.
Step 2: Embroider the designs. To get two-sided embroidery, either use the same thread in the needle and in the bobbin, or use a bobbin thread of a matching color. The designs can be embroidered in any color you want your jewelry.
We used 40-weight embroidery polyester in the needle and pre-wound black bobbins.
Step 3: Cut the designs out. Neatly trim the excess stabilizer. Place under warm running water to wash away the remainder.
Press between your hands while the designs are still wet to squeeze water out of them
and lay flat to dry between two towels.
Press with steam, if needed.
Embroider designs as many times as you need. Lay them out and work out the composition that you want.
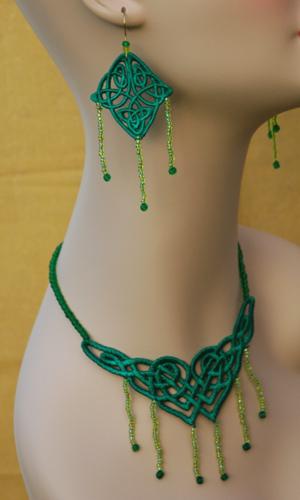
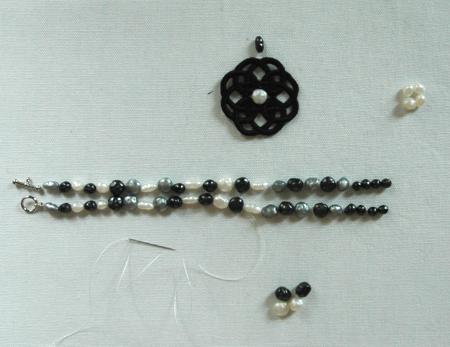
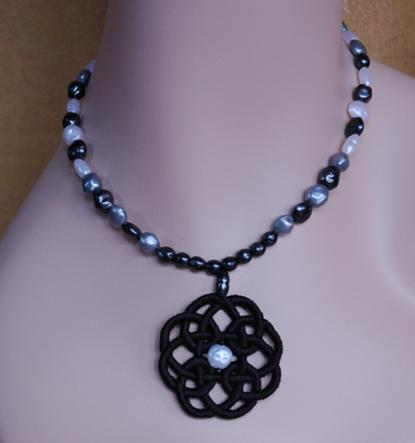
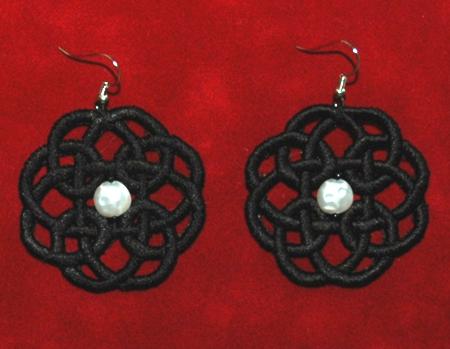
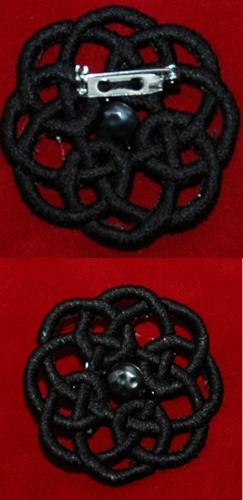
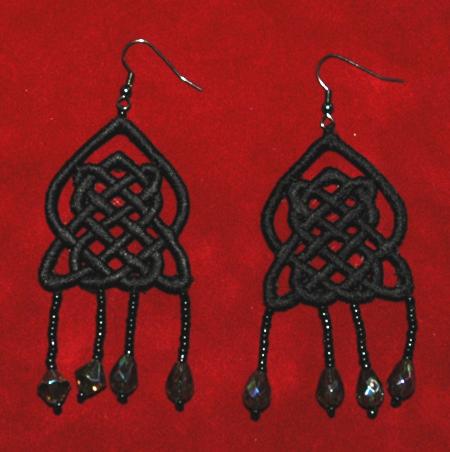
We decided to use the first, round, pattern to make a pendant, a pin and a pair of earrings. For this set you will need four of the round patterns. We used black, grey and white pearl beads of irregular shapes.
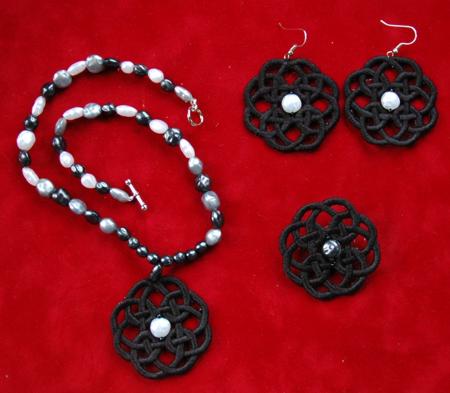
We sewed a round pearl with 2 black seed beads inside each of the four round patterns.
To attach the pendant to the string of beads, we used an oval pearl with 2 black seed beads.

To make a string of pearls, first decide on the length of your necklace. Then lay out the beads in the order you want to string them. This will allow you to make the necklace symmetrical.
String the pearls and attach the pendant.
To the earrings, attach the earring wire.
To make a decorative pin, just attach a pin to the back of the fourth round pattern.
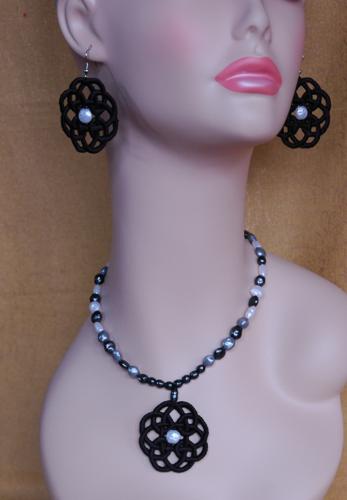
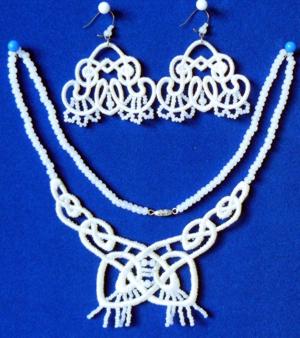
Our second set is more complicated and will take a bit longer to make. We used both embroidery pattterns. Embroider the round pattern once and the oblong pattern 6 times. We used 2 oblong patterns for the earrings and all the rest for the necklace.
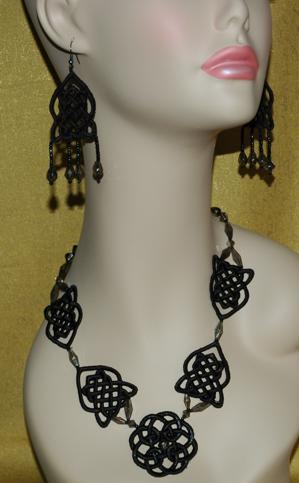
For the second set we used black glass beads and black seed beeds.
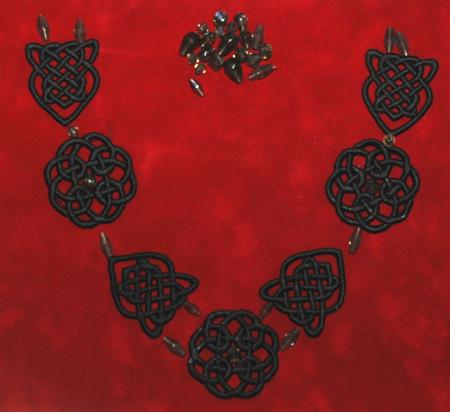
First, lay out the embroidery and the beads in a pattern you like.
On the photo below you can see a version of the longer necklace with 3 round patterns.
We, however, made a shorter necklace with only one round pattern.
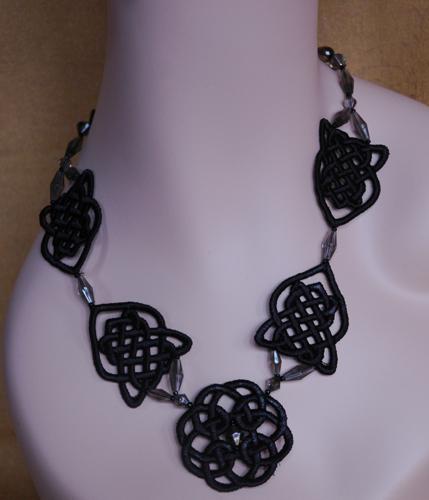
The earring for the set can be either oblong or round, just use the same beads as you used for the necklace and they will unite the set.
If you liked this set, you might also like the FSL Celtic Necklace and Earring Set
Or the FSL Celtic Necklace and Earring Set II.