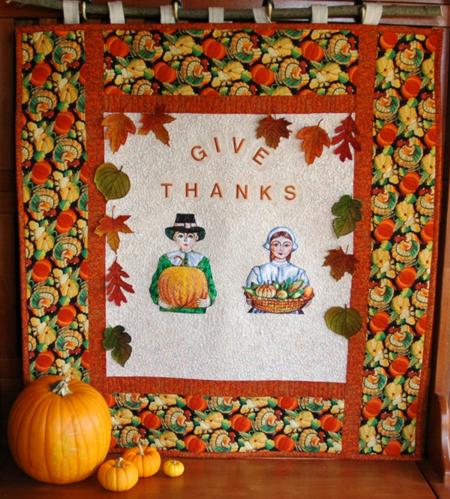
This eye-catching wall quilt is extremely easy to make, and adds a beautiful festive touch to your home.
|
Click to enlarge |
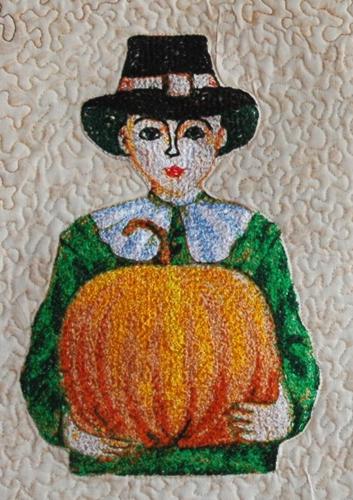
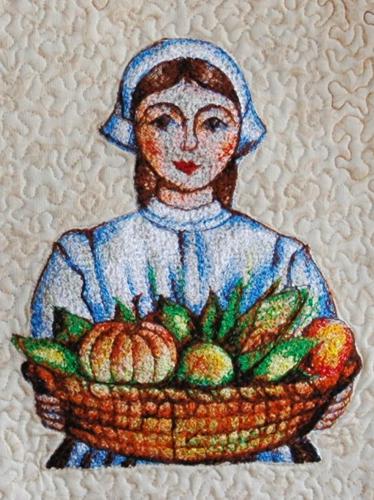
We used the designs Pilgrim Boy, Pilgrim Girl and FSL Autumn Leaves.
The finished size of the quilt is about 35" x 37". |
| You will need 3/4 yard of light-colored cotton fabric for the background, 1/2 yard of rust-colored fabric for the first border and the binding, and 1/2 yard of fall patterned fabric for the second border. We chose a bright fabric with a turkey and pumpkin pattern. You will also need batting and backing.
|
Cutting and Assembly of the Top:
All measurements are based on 40" wide fabric and include 1/4" seam allowance.
|
Out of background fabric, cut a rectangle measuring 20 1/2" x 22 1/2".
Out of rust colored (used for the first border and binding) cut
two strips measuring 2" x 20 1/2"
two strips measuring 2" x 37"
for the binding, cut five strips measuring 2 1/2" wide by the width of the fabric
Out of pattterned fabric for the second border, cut
two strips measuring 6" x 20 1/2"
two strips measuring 6" x 37". |
| Assemble the top according to the diagram below: |
|
|
Embroidery
|
| We made the embroidery of the boy and girl using low-loft DreamPoly batting as a stabilizer. On the top, mark the placement of the embroidery. Hoop the top with a layer of the batting. Make the embroidery. Cut away the batting as close to the embroidery as possible.
|
|
| These are close-ups of the designs... |
|
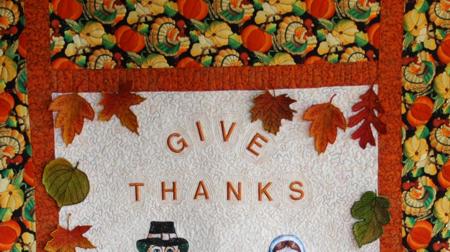
| We made the inscription using built-in fonts in our machine. |
|
|
Finishing the quilt
|
| Now place the backing on a flat surface (table) face down. Cover with batting. Spread the top over it. Pin all three layers together with 1" pins and start quilting. We quilted along the lines of the embroidery to fix it in place, meandered around the embroidery and free-motioned the borders.
After the quilting is finished, press the work with heavy steam and square the work -- all corners should be 90 degrees and opposite sides should be of the same length.
Finish the raw edges with binding, using your favourite method.
|
| The quilt is basically finished. However, we felt that some simple embellishments would add an autumn charm. We embroidered the FSL Autumn Leaves on water-soluble mesh and scattered them around the edge of the central part of the quilt. |
|
|
|
Happy Embroidering!
|
|
Back to Pilgrim Boy
|
|
Back to Pilgrim Girl
|
|
Back to FSL Autumn Leaves
|
|
Back to the Projects Page
|


