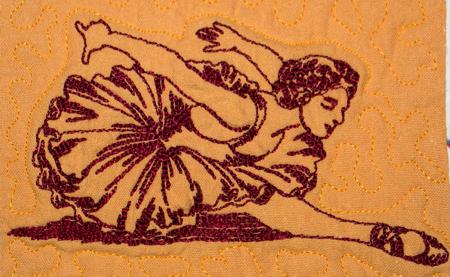
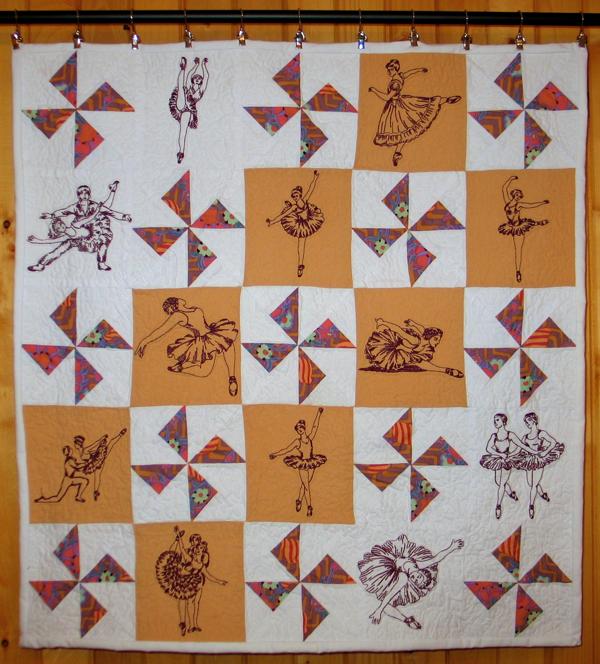
This lovely wall hanging features designs from the Ballet Redwork Set . The "Rocky Mountain" block that we used in this quilt, with its lively, dynamic layout, complements the ballet theme very nicely. The embroidered blocks are simple squares of plain fabric in two different colors.

The finished size of this small quilt is about 30" x 30".
We used about 1/2 yard of dark cream fabric, 1 yard of white fabric and 1/4 of patterned fabric for the blocks. You'll also need a piece of batting and backing.
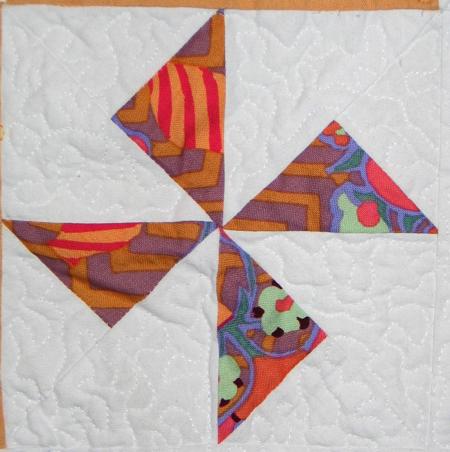
This block is known by several different names, but we chose "Rocky Mountain" because that seems one of the most popular. To make this block, you will need 4 1/4" x 4 1/4" and 3 3/4" x 3 3/4" white squares and patterned squares.
Step One: Take a patterned 4 1/4" x 4 1/4" patterned square and cover it with a white 4 1/4" x 4 1/4" square, face-to-face. Align all edges.
With a sharp graphic pencil draw a diagonal from one corner to the other. Stitch a scant 1/4" on each side of the line.
Press the unit, and cut along the line. Open the two new squares, and press the seams towards the patterned fabric.
Step Two: Take each of the new squares, and place it on top of a 3 3/4" x 3 3/4" white square, face-to-face.. Align all edges. Draw a line from one corner of the square to the opposite one, making sure to bisect each of the two fabrics. Stitch a scant 1/4" on each side of the line.
Press the unit and cut along the line.
Open the new squares. You will need 4 of them for each Rocky Mountain block.
Step Three: Stitch four of the new squares into a block. You will need 13 such blocks.
Assemble the top of the quilt according to the diagram below.
You can also use polyester craft felt instead of the stabilizer. In this case we recommend to baste the quilt top to the felt in the ditch along the colored units. After the embroidery is finished, rip the baste and cut away the excess felt around the embroidery.

Here is another photo:
Now place the backing on a flat surface (table) face down. Cover with batting. Spread your working piece over it.
Pin all three layers together with 1" pins and start quilting. We quilted along the lines of the embroidery and made stippling all over the quilt.
After the quilting is finished, press the work with heavy steam and square the work -- all corners should be 90 degrees and opposite sides should be of the same length.
Finish the raw edges with the binding.
The quilt is ready. Enjoy!


