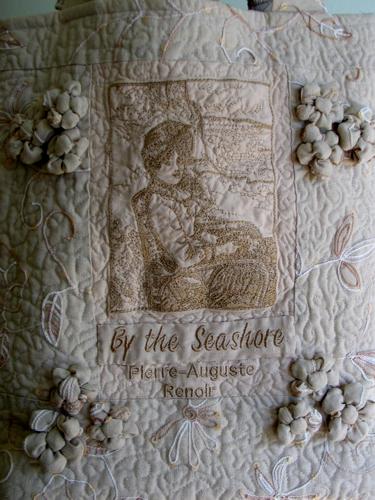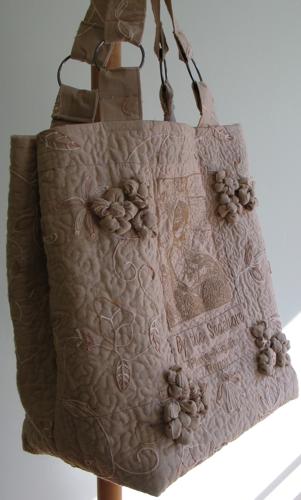
This elegant, stylish tote features a Redwork version of the painting By the Seashore, by the famous French Impressionist Pierre-Auguste Renoir. It's a great piece to complete any outfit, however formal or casual.
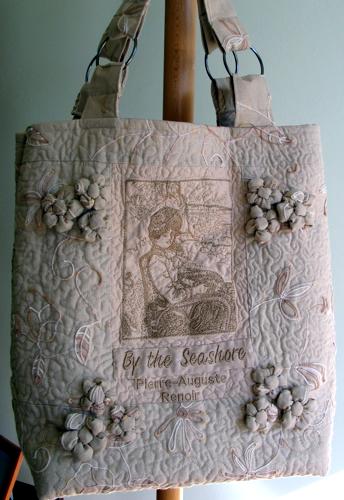
The finished size of this bag is about 14" x 15" x 5".
We used about 1 yard of light beige fabric for the outside of the bag, 1 yard of light cream fabric for the lining and 1 yard of low loft batting. You will also need 4 rings for the handles, a 6" long zipper for the inner pocket and iron-on medium weight sewing intefacing.
Out of the fabric for the bag's top cut two squares measuring 22" x 22" (for the bag's top), 4 strips measuring 4" x 6" and 2 strips measuring 4" x 15" (for the handles).
Out of low loft batting, cut 2 squares measuring 23" x 23".
Out of the fabric for the, lining cut a rectangle measuring 20" x 40", a strip measuring 2" x 7" and a square measuring 7" x 7".
Out of iron-on interfacing, cut 4 strips measuring 2" x 6", 2 strips measuring 2" x 15" (for the handles), 1 strip measuring 1 1/2" x 6 1/2" and a square measuring 6 1/2" x 6 1/2" (for the inner pocket).
Place the 22" x 22" fabric squares, face up, onto the 23" x 23" batting squares.
On one of the squares, measure about 3" from the top edge, 8" from the left and right edges. Place the embroidery frame between these measuments. Hoop the fabric with batting (you do not need any additional stabilizer). Make the embroidery.
Then quilt both squares through 2 layers.
Press both quilted parts with steam and square them to get two 20" x 20" squares.
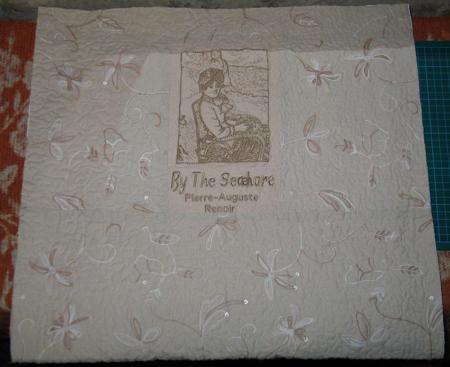
Cut 3" x 3" squares out of the lower corners.
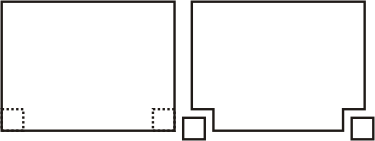
Place both halves of the bag right side to right side. Stitch the pieces together along the bottom edge, leave 1/2" of seam allowance. Press the seam open and topstitch 1/4" on each side of the seam.
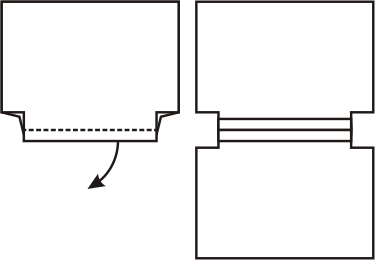
Put the right sides together again and stitch the pieces along the two side edges, leaving 1/2" seam allowance. Press the seams open and topstitch 1/4" on each side of the seam.
Now pinch each corner so that the end of the side seam matches the end of the bottom seam (see the diagram below; the ends of the side seams and the ends of the bottom seams are marked in red). Pin. Stitch through all the layers across the bottoms of the corners (see the last picture in the diagram below). This will square the bottom of the bag. Now you can turn the bag right side out.
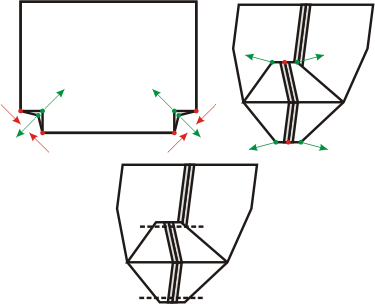
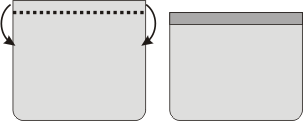
Turn the working piece right side in. Fold the raw upper edge of the bag back 1 1/2". Pin in place.
For the pocket you will need the strip measuring 2" x 7" and the square measuring 7" x 7" that were cut out of the fabric for the lining, and the strip measuring 1 1/2" x 6 1/2" and the square measuring 6 1/2" x 6 1/2" that were cut out of the iron-on interfacing.
Place the 1 1/2" x 6 1/2" interfacing strip with the fusible side down onto the wrong side of the 2" x 7" strip. Leave 1/4" margins. Press the interfacing to the fabric strip to fuse it. Fold over the margins and press again.

Place the 6 1/2" x 6 1/2" interfacing square with the fusible side down onto the wrong side of the 7" x 7" fabric square. Leave 1/4" margins. Press the interfacing to the fabric strip. Fold over the margins and press again.
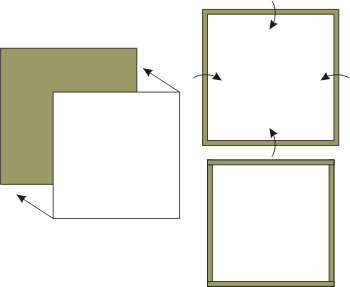
Pin the 6 1/2" strip to the zipper. Topstich the strip to the zipper.
Pin the 6 1/2" x 6 1/2" square to the other side of the zipper. Topstitch the square to the zipper.
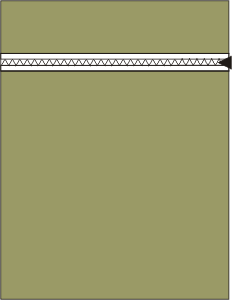
Fold the lining widthwise, face inwards, and align all edges. Lightly press the folded line to mark the crease.
Cut 3" x 3" squares out of the lower corners.

Unfold the lining. Position the pocket on one side of the lining and pin in place. Top-stitch the pocket to the lining.
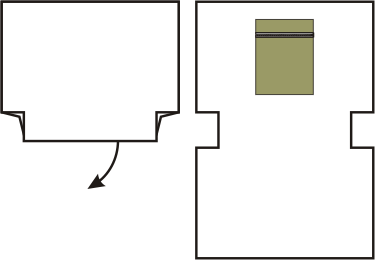
Fold the lining again, aligning all edges. Sew along the right and left edges, seam allowance 1/2".
Press the seams open.
Now pinch each corner so that the end of the side seam matches the crease of the bottom (see the diagram below; the ends of the side seams and the ends of the bottom crease are marked in red). Pin. Stitch through all the layers across the bottoms of the corners (see the last picture in the diagram below). This will square the bottom of the lining. Do not turn the lining right side out.
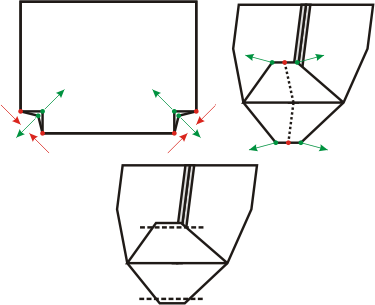
Fold the raw upper edge of the lining back 1 1/2" and press.
Insert the lining into the bag. Align the side seams and the upper edges. Pin along the upper edges.
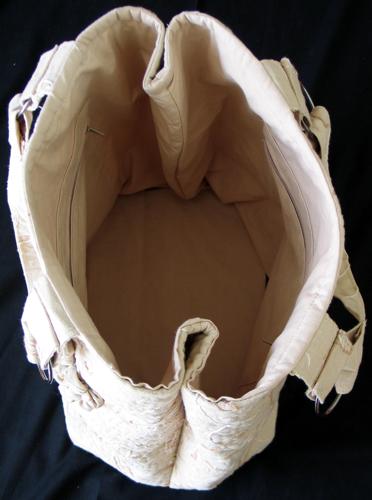
Place 4 fabric strips measuring 4 1/2" x 6" face down. Position four interfacing strips 2" x 6" fusible side down, leaving 1/4" margin along one edge and 2 1/4" along another. Press the interfacing to the fabric. Fold the 1/4" margin over the interfacing and press. Fold the 2 1/4" margin over the interfacing and press. Tuck in 1/4" of the fabric that protrudes over the edge. Press. Topstitch in place.
Insert the strips through the four rings. Fold back 2" of the strips, fold the edge under and topstitch in place.
Place 2 fabric strips measuring 4" x 15", face down. Position two interfacing strips measuring 2" x 15" with their fusible side down, leaving 1/4" margin along one edge and 2 1/4" marging along the other. Press the interfacing to the fabric. Fold the 1/4" margin over the interfacing and press. Fold the 2 1/4" margin over the interfacing and press. Tuck in 1/4" of the fabric that protrudes over the edge. Press. Topstitch in place. You will get 2 handles.
Insert the ends of each handle into the rings. Fold 1 1/2" and topstitch in place.
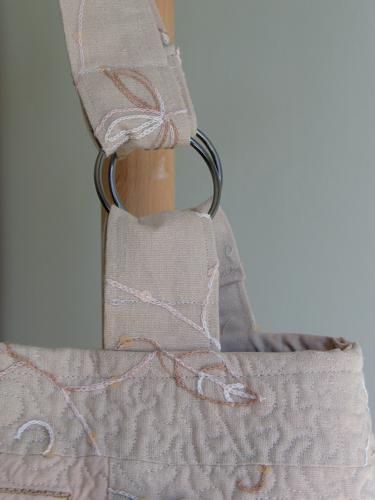
Insert the lining into the bag. Align the side seams and the upper edges. Pin along the upper edges.
Insert the ends of the strips between the bag's top and the lining 5" from the side seams. Pin. Topstitch 1/4" from the bag's top edge securing the lining and the handles.
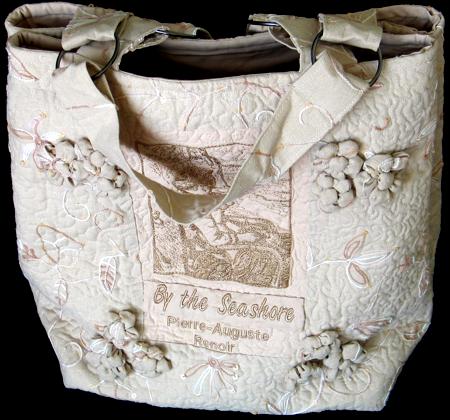
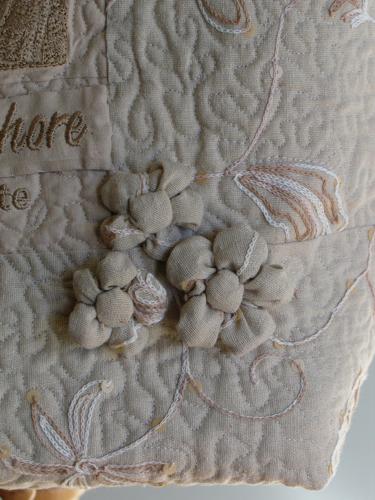
We further decorated the bag with 3D fabric flowers.
Here is another photo:
