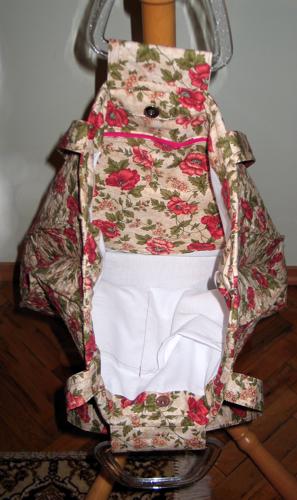
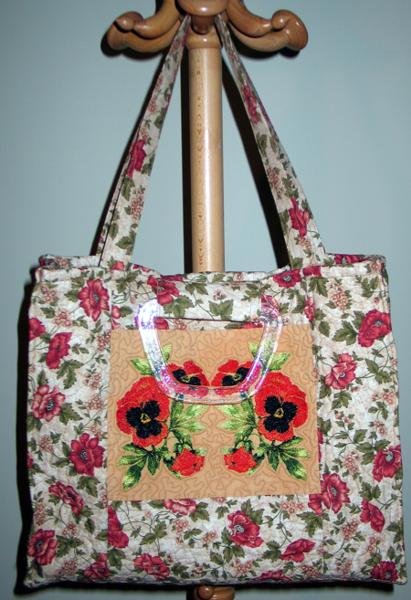
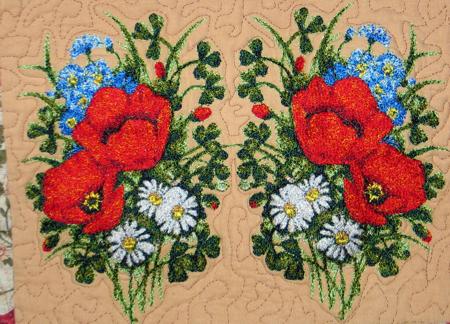
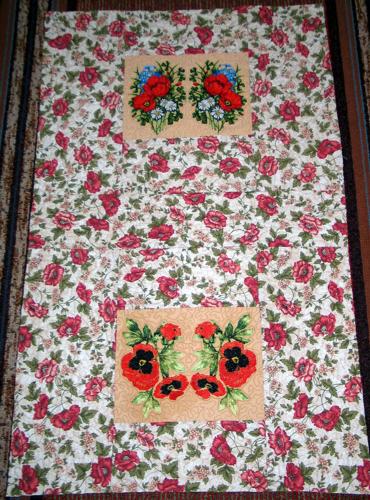
This summer tote-bag features the designs of Wild Flowers with Shamrock and Pansies for the large hoop. It's a great casual piece for the Summer season.
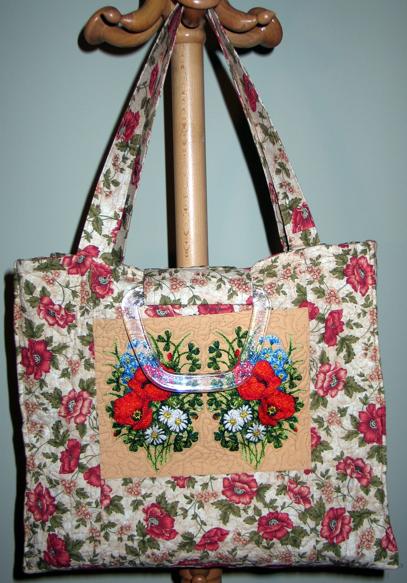
The finished size of the bag is about 15" high x 18" wide x 4" deep.
For the outer bag we used 2 fabrics: light beige for the central parts with embroidery (2 rectangles measuring 8 1/2" x 10 1/2"), and 1 yard of poppy patterned fabric for the bag.
You will also need fabric for the lining, iron-on sewing intefacing and low-loft batting. The optional accessories are a magnet snap and plastic handles.
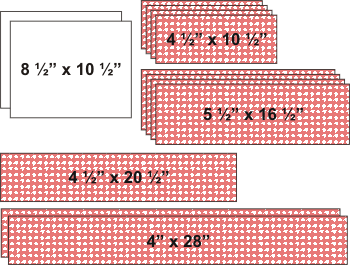
Out of beigee fabric, cut 2 rectangles measuring 8 1/2" x 10 1/2".
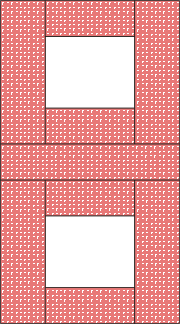
Out of patterned fabric, cut 4 strips measuring 4 1/2" x 10 1/2",
4 strips measuring 5 1/2" x 16 1/2",
1 strip measuring 4 1/2" x 20 1/2",
2 strips measuring 4" x 28" (for the handles)

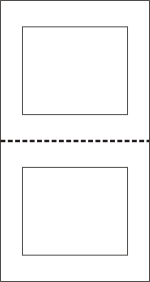
Sew the 4 1/2" x 10 1/2" pattened fabric strips to the upper and lower edges of the beige rectangles.
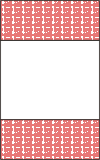
Sew the 5 1/2" x 16 1/2" patterned fabric strips to the left and right sides of the units. You'll get 2 bag panels.
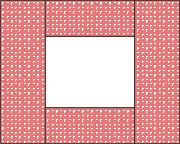
Sew the 4 1/2" x 20 1/2" strip between the panels.
Stabilize the beige insets with iron-on cut-away stabilizer. Make the embroidery. Cut away the excess stabilizer.
You can also use polyester craft felt instead of the stabilizer. In this case we recommend to baste the top to the felt in the ditch along the colored borders. After the embroidery is finished, rip the baste and cut away the excess felt around the embroidery.
Now place the top on low-loft backing, face up.
Pin both layers together with 1" pins and start quilting. We quilted along the lines of the embroidery and made stippling all over the top. Quilt in the ditch between the strips.
After the quilting is finished, press the work with heavy steam and square the work -- all corners should be 90 degrees and opposite sides should be of the same length.
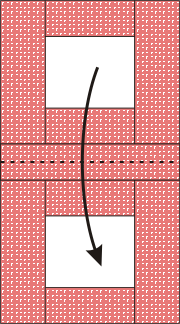
Now fold the bag's top in half lengthwise, face inwards. Align all raw edges. Pin them together. Stitch the side seams twice - about 1/2" and about 1/4" from the edge.
Stitch box corners at the bottom of the bag. For this separate the front and back sides at the corners. Center the seams on each side of the corner on top of each other. Measure 2" along the seam from the corner and draw a line perpendicular to the seam across the corner and machine-stitch it. Do not trim the seam. Fold the "ears" to the side seams and hand-stitch the tips to the side seams.
Turn the bag out.
Fold the raw upper edge 2" inside and pin.
Out of fabric for the lining, cut a rectangle measuring 20 1/2" x 34" and 2 rectangles measuring 12" x 10".
Fold the lining in half , face inwards, and press lightly to mark the center line. Unfold.
Finish the raw edges of the 2 rectangles measuring 12" x 10". For this, fold the short edges 1/4" back and press. Fold back another 1/4", press and topstitch in place.
Fold the long edges 1/4" back and press. Fold back another 1/4", press and topstitch in place.
Position the rectangles on top of the lining, 2" from the center line and 4" from the sides. Pin. Topstitch in place.
Fold the lining face inwards. Align the raw edges. Pin them together. Stitch the side seams twice - about 1/4" and about 3/8" from the edge.
Stitch box corners at the bottom of the lining.
Fold the upper raw edge of the lining 1/2" to the wrong side and press.
Place the fabric strips measuring 4" x 28" face down. Position the interfacing strips on top of them, fusible side down. Press the interfacing to the fabric. Fold the strips lengthwise, face inwards, and stitch 1/4" from the raw edge. Turn the tubes out. Press.
Fold lengthwise again and topstitch about 1/8" from the edges.
If you are going to use additional plastic handles, you'll need to make sleeves for them. Out of the main fabric, cut 2 strips measuring 10" x 8". Out of the fusible interfacing, cut 2 strips 2 strips measuring 10" x 8".
Fuse the interfacing to the wrong side of the fabric.
Fold the rectangles lengthwise, face inside, and stitch 1/4" from the edge.
Turn the tubes out. Press.
Tuck the raw edges 1/2" in. Press.
Topstitch along all edges 1/8" and 1/4" from the edge. Fold in half widthwise and press.
Insert the lining into the tote. Aling the side seams. The folded upper edge of the lining should overlap the raw edge of the bag about 1/2". Pin them together.
Position the long handles about 5" from the side seams on each panel. Tuck the raw ends 1/4" under the lining. Pin in place. Topstitch over the lining 1/16" from the lining's edge, securing the lining and the handles.
To attach the plastic handles, wrap the prepared sleeves over the handles. Align the edges. Pin together closer to the handles. Now the handles are in the sleeves.
You can also attach the magnet snap at this step. Attach the snap to the sleeves closer to the ends.
Position the sleeves with the plastic handles between the long handles.The ends of the sleeves should be about 2" inside the bag (on the wrong side of the bag). Pin. Topstitch in place.
Topstitch 1/4" from the edge, along the upper edge of the bag, securing all handles.
Turn the bag right side in. Topstitch again 1/8" from the edge.
Turn the right bag side out.