For each one, you will also need: plain fabric for the colored embroidery, two types of patterned fabric for the Redwork embroidery, 2 1/2" and 1/2" wide decorative ribbon, cord (golden or silver), a rod, fusible low-loft battng and some white felt for backing.
Step One: Cut three squares measuring 10" x 10", one out of each type of fabric.
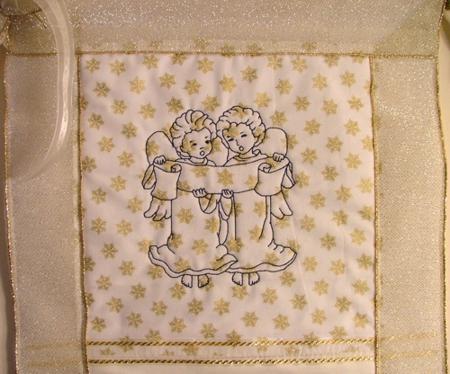
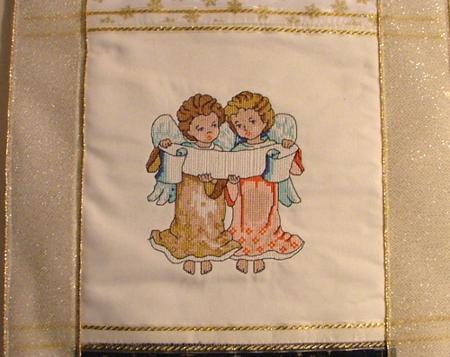
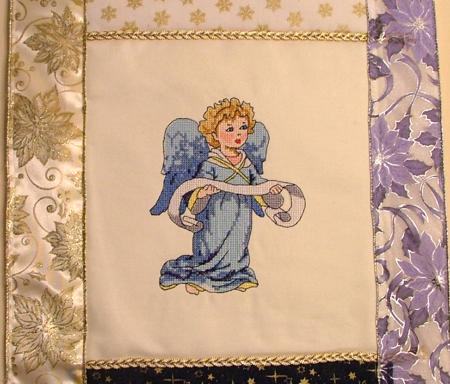
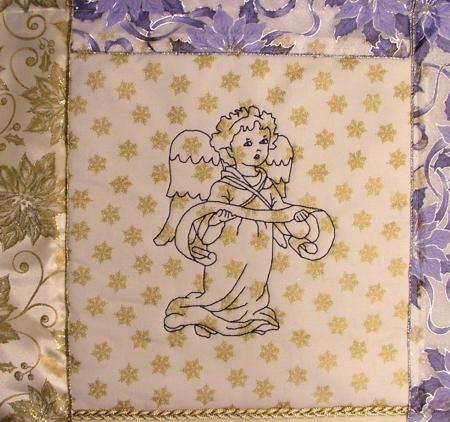
Hoop the plain fabric with stabilizer and embroider the colored design.
Step Two: Out of fusible batting cut three squares measuring 10" x 10". Iron the embroidered piece onto the batting. Do the same with the patterned fabric squares.
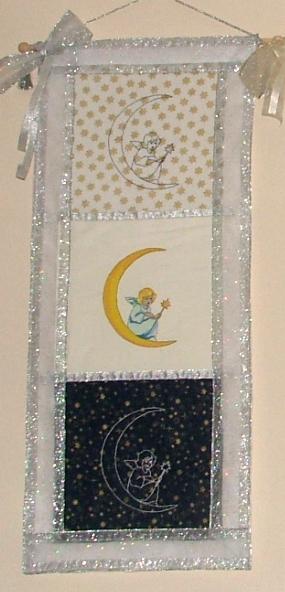
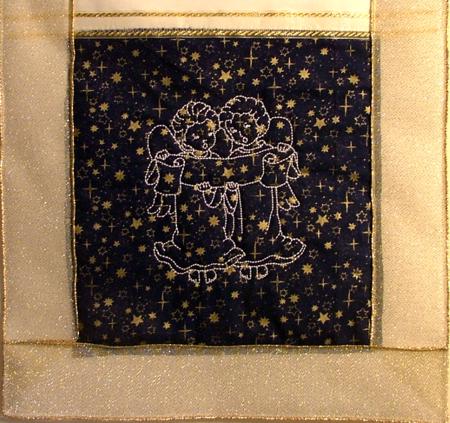
Step Three: Hoop the patterned fabric with batting and embroider the Redwork designs - choose the thread color so that it matches the fabric. We used navy blue thread on light fabric and silver on dark fabric.
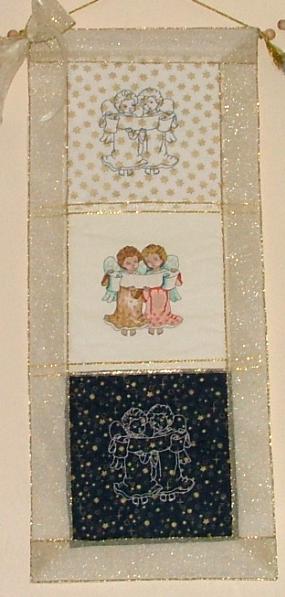
Step Four: Iron the embroidered squares and zigzag them together. Cover the zigzag with a 1/2" wide decorative ribbon. Stitch or glue it in place.
Step Five: Out of white felt, cut a rectangle measuring 14" x 36".
Place the embroidered piece on the felt rectangle so that you have 2" fields along the bottom and on both sides, and a 4" field along the top. Pin the embroidered piece in place.
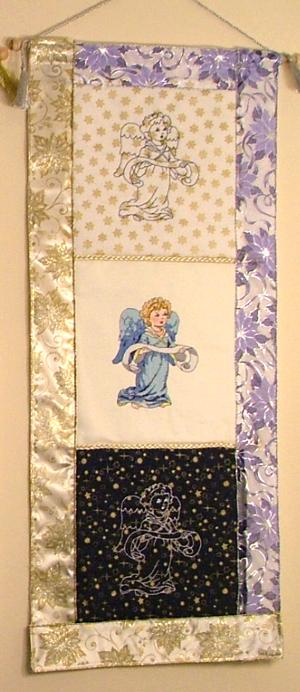
Step Six: Unroll the decorative ribbon and pin it over the fields so that its edges overlap the embroidered squares slightly and coincide with the edges of the felt excep along the top, where you should have 2" of excess felt left. Now machine-stitch the ribbon with transparent thread along all of its edges.
Step Seven: Fold to the back the 2" of felt that remained uncovered along the top and stitch the fold in place to form a loop all along the upper edge.
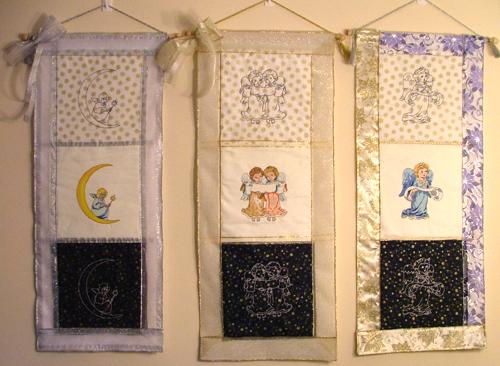
Step Eight: Insert a rod into the loop. The wall-hanging is ready, enjoy!