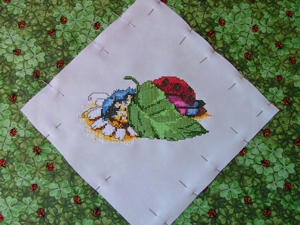
Step One: Do the embroidery on a piece of cream or off-white cotton/linen blend fabric.
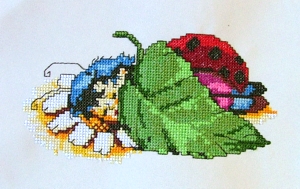
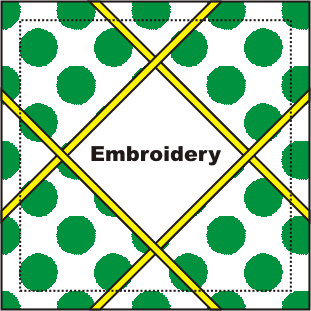
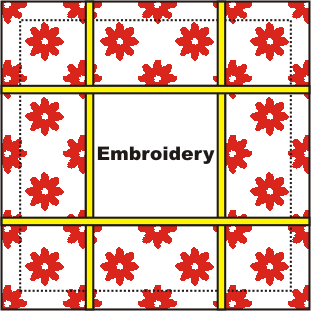
Iron the embroidery and cut out the fabric in the shape of a diamond. To do this, flip the fabric over, mark its center with a pin and draw two lines in the shape of a cross through the center. Each line should be 10 1/2" long. Connect the ends of the cross with lines.

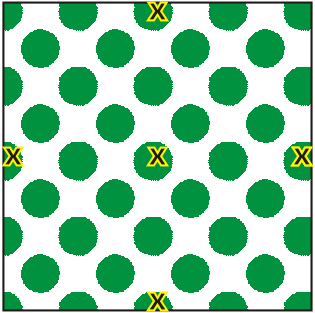
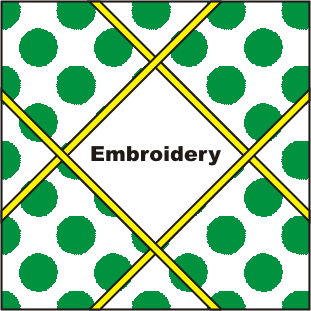
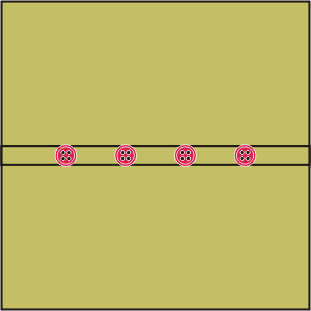
Step Two: Cut out a square, measuring 16 ½" x 16 ½" out of patterned cotton fabric. Mark its center with a pin. Mark the middle of every side with a pin. These spots are marked with X's on the diagram.
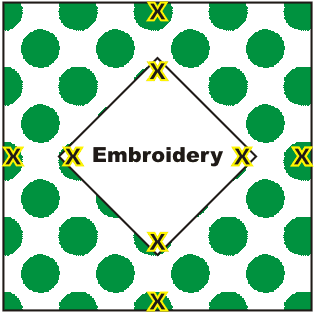
Step Three: Place the embroidery diamond on top of the patterned square. Align their centers. Align the diamond's angles with the middles of the square's sides. Pin the embroidery to the cotton base.
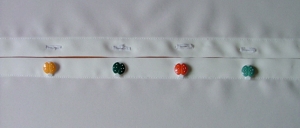
Step Four: Cut out 4 pieces of ribbon each 17" long. Place them so as to cover the raw edges of the embroidery diamond. Baste or pin. Stitch the ribbons.
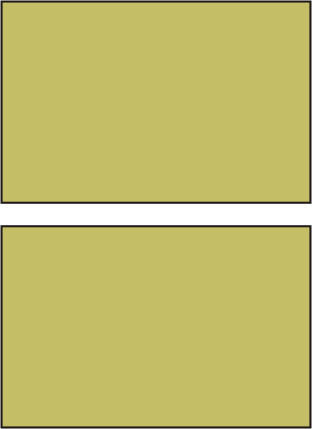
Step Five: For the pillow back cut a rectangle 16 ½" x 21 ½". Cut the back in half breadthwise. You'll get 2 smaller rectangles measuring 16 ½" x 10 ¾".
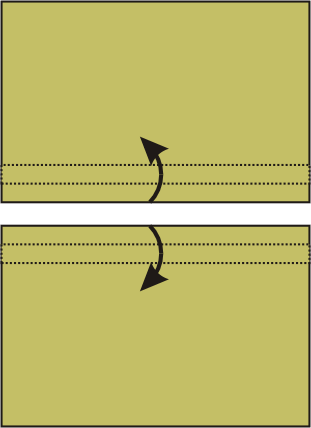
Step Six: Fold back and press 1" twice on the long sides of both rectangles for a double fold. Edge-stitch or blind-stitch the hem in place.
Step Seven: Place both parts of the pillow back on an even surface (table) face up. Overlap the sides with the hems and pin both layers at the ends. Mark places for buttonholes on the upper part and places for buttons on the lower part. Replace the pins, stitch the buttonholes and sew on the buttons.
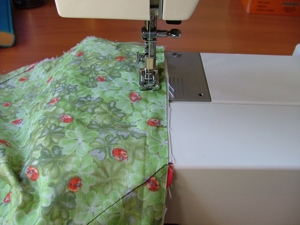
Step Eight: Again place both parts of the pillow back together face up, hems overlapping, but do not button! Just pin the ends. Cover with the pillow front, face down. Pin pillow front to pillow back with the raw edges even. Stitch them together 1/2" from the edge.
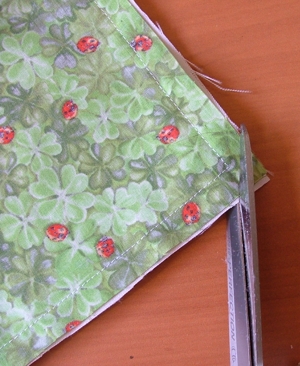
Clip the corners. Turn right side out and press.
Step Nine: Measure 2 ½" from the edges of the pillow cover to mark the depth of flange on each side. Pin layers together. Stitch on marked lines to form the flange.
Step Ten: Insert the pillow form into the pillow. Button the back. Your pillow is ready.
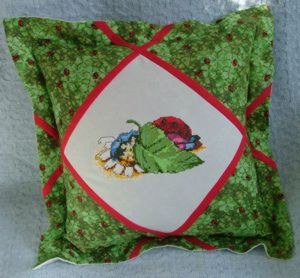
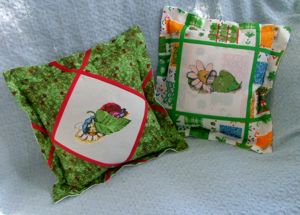
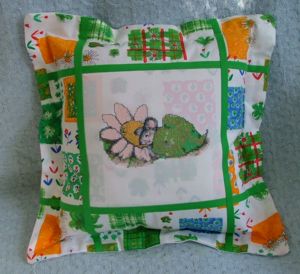
The second cushion is made the same way, but the fronts differ a little bit.
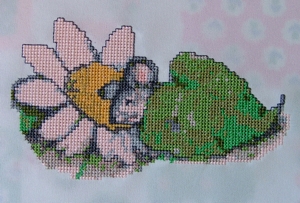
1. Do the embroidery of the mouse. Draw a square measuring 8 1/2" x 8 1/2" around the embroidery and cut it out.
2. Cut out a square measuring 16 ½" x 16 ½" out of patterned fabric. Place the square with embroidery on the patterned square and pin them together, aligning centers and edges.
3. Cut out 4 pieces of ribbon ¼" wide and 16 ½" long. Place the ribbons so that they cover the raw edges of the embroidery square Baste or pin. Stitch the ribbons down.
4. Follow steps 5 through 10.
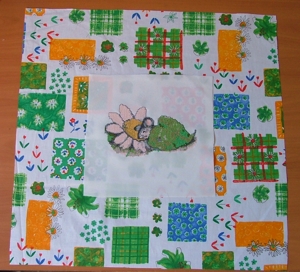
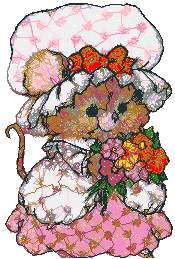
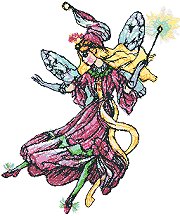
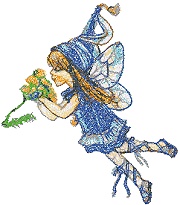
Here are some designs that can be used for the similar projects.
 |
 |
 |
 |
 |
 |
 |
 |
 |


