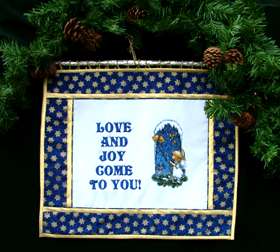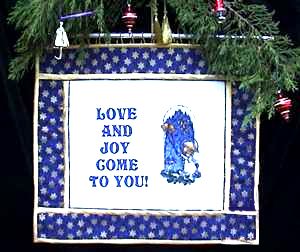
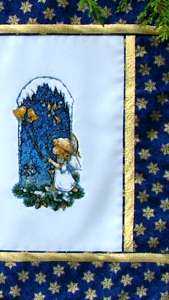
Step One: Prepare a piece of white fabric of about 15" x 13" for the embroidery. Note that the Angel's dress and snow in the upper part of the design is fabric, not embroidery, that is why white is the best choice.
Hoop it and stitch out the Angel. Re-hoop the fabric and stitch out the inscription to the left of the angel. As blue is the dominant color in the Angel design, we embroidered the incription in blue metallic thread. Don't forget to change the needle if you use metallic thread!
If your embroidery software does not support writing, you can download the inscription here free of charge.
|
|
|
|
|
|
|
|
|
|
|
Step Two: With a removing pencil draw a rectangle measuring 13" x 10 1/2" on the fabric with the embroidery and cut it out (this includes 1/2" seam allowance). Press your workpiece.
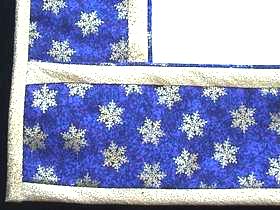
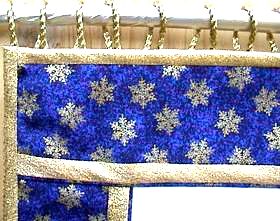
Step Three: Cut out two strips measuring 10 1/2" x 3 1/2" (including a seam allowance of 1/2") and two strips measuring 18 1/2" x 3 1/2" (including a seam allowance of 1/2") out of patterned fabric. We have chosen a matching blue fabric with a design of golden snowflakes.
Step Four: Prepare a golden ribbon, totaling 57", and cut it into 2 pieces 10 1/2 " long and 2 pieces 18" long. Stitch the pieces of ribbon to the strips of fabric 1/2" from the edges.
Step Five: Stitch the shorter strips to the left and right sides of your embroidered rectangle, and the longer strips to the upper and lower edges.
Step Six: Cut out a felt rectangle for backing (15 1/2" x 18"). Place the backing on an even surface and cover it with the embroidered part. Stitch both layers together along the seams.
Step Seven: Prepare a matching golden bias strip (you'll need 67") and finish the raw edges.

Step Eight: You'll need 2 yards of golden metallic cord. Fold it into loops and stitch it to the upper edge of the hanging from the wrong side.
Step Nine: Insert a rod into the loops. Your wall hanging is ready!