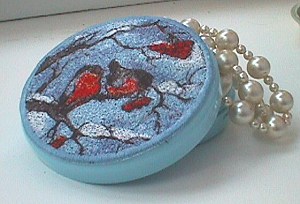
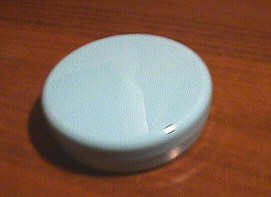
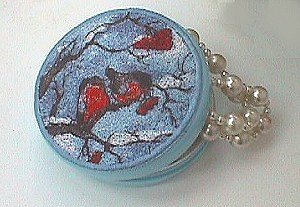
For the first project, a small box for a small gift, you will need a round plastic box, Organza (or cut-away stabilizer) and water-soluble stabilizer. We have chosen the Bullfinches design.
Step One: Hoop Organza (or cut-away stabilizer) with 2 layers of water-soluble stabilizer and stitch out the design.
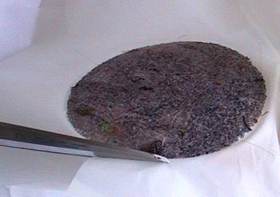
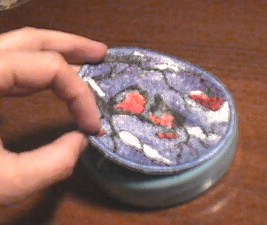
Cut away the excess stabilizer. Put your embroidery into a bowl of cold water and leave for a couple of hours to remove the stabilizer. Air dry the embroidery on a towel and then iron it. Now cut away the excess fabric.
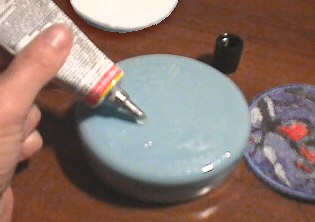
Step Two: Place a thin layer of all purpose adhesive on the box lid...
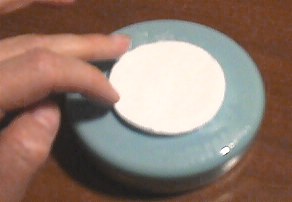
...and place a cotton cosmetic pad over it.
Step Three: Spray a permanent liquid adhesive (we used 404 Spray and Fix) on the reverse side of the embroidery and place it over the box lid. Press. Leave to dry.
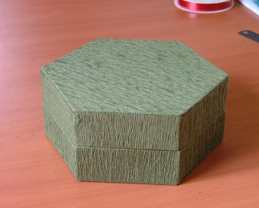
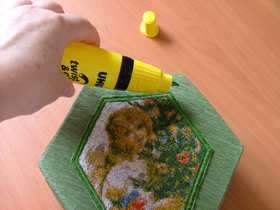
For a bigger cardboard box with a hexagonal shape we have chosen the hexagonal design Girl with Christmas Tree.
The rest of the steps are almost the same.
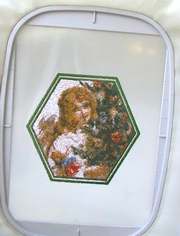
Step One: Hoop Organza (or cut-away stabilizer) with 2 layers of water-soluble stabilizer and stitch out the design.
Step Two: Cut away the excess stabilizer. Put your embroidery into a bowl of cold water and leave for a couple of hours to remove the stabilizer. Air dry the embroidery on a towel and then iron it.

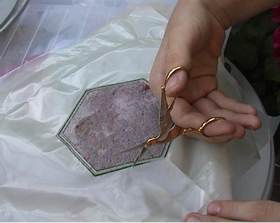
Step Three: Now with very sharp scissors cut away the excess fabric.
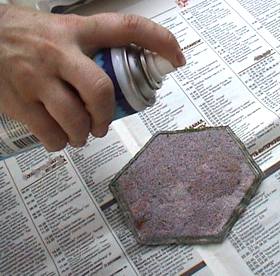
Step Four: Spray a permanent liquid adhesive on the reverse side of the embroidery....
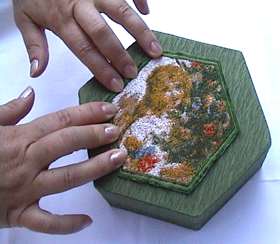
...and place it over the box's lid. Press. Leave to dry.
Step Five: To finish the edges prepare about 15" of ribbon (we have chosen golden metallic) and all-purpose adhesive.
Step Five: Spread a liquid permanent adhesive along the first edge of the embroidery.
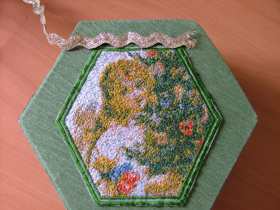
...and stick your ribbon over the glue. Press with your fingers and hold for about 1 minute. Proceed to the second edge: spread adhesive, fold the ribbon and press it into the glue. Repeat the procedure until you finish all 6 edges. Then place a piece cellophane over the box and something heavy over it. Leave for an hour to dry. (The drying time depends on the adhesive you use.)

Step Six: Trim the ends of the ribbon. Your box is ready!


