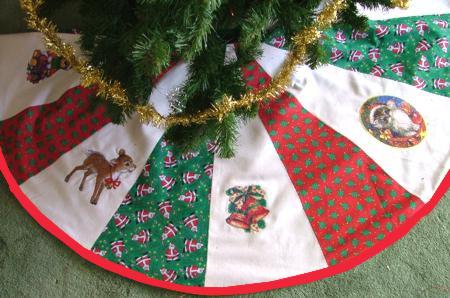
These instructions explain how to make an original tree-skirt project with embroidery designs.
You will need - solid color fabric for the embroidery (about a yard), 2 kinds of patterned fabric (about half yard of each), 3 packs of matching wide single fold bias tape; low-loft batting and fabric for backing.
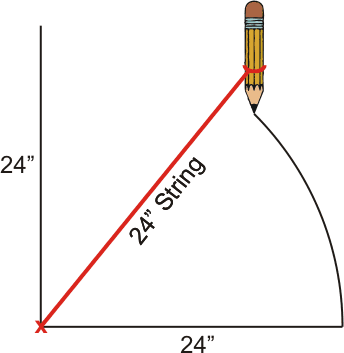
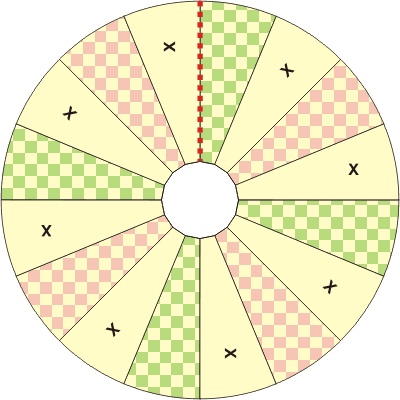
Step One: Making a layout on paper - draw a line 24" long, then draw another line 24" long perpendicular to the first one. The two lines should form a right angle. Take a piece of string 24" long, pin one end to the point where the lines meet and tie a pencil to the other end. This will allow you to draw a perfect quarter-circle.
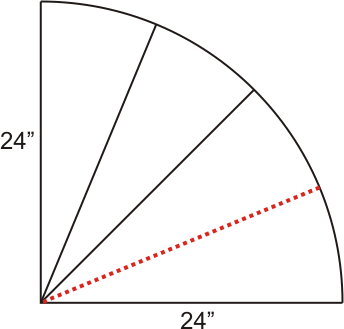
Step Two: Cut the quarter circle out. Fold it in two once, then fold it in two again. You will get three creases. Cut along one of the creases (the one marked in a dotted line on the diagram) to get a quarter of the quarter-circle.
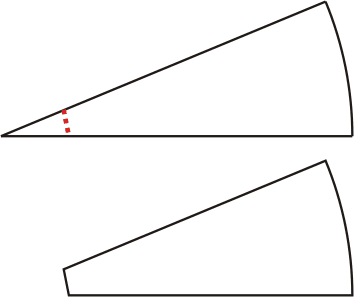
Step Three: Measure 3" from the end of this sector and cut off the tip. The layout is ready.
Step Four: We'll be working with fabric now. Place one type of patterned fabric on a flat surface (table). Trace the layout onto it 4 times. Cut the 4 drawings out leaving 1/2" seam allowance. Repeat for the other type of patterned fabric. You should have a total of 8 pieces.
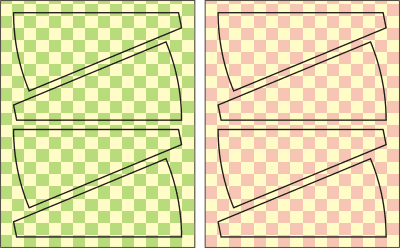
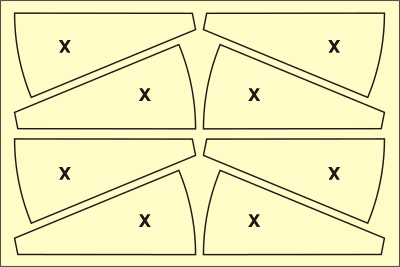
Step Five: Draw 8 sectors on the plain fabric -- don't forget 1/2" for seam allowances.
Mark the places where the embroidery is going to go.
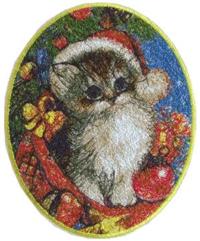
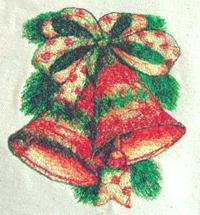
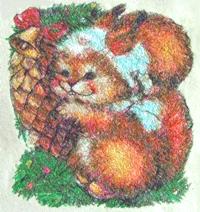
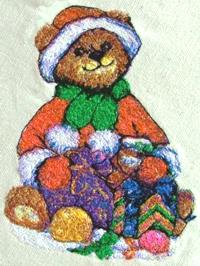
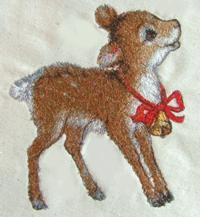
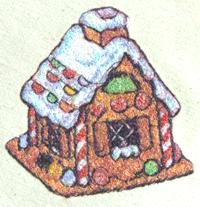
Step Six: Select the designs to be embroidered. We used the designs Santa's Pet,
Santa Clause, Christmas Bells, Squirrel, Bear Santa, Kitty Got his Christmas Gifts, Fawn, and Gingerbread House.
 |
 |
 |
 |
 |
 |
 |
 |
It's possible to use any designs from our Christmas sections.
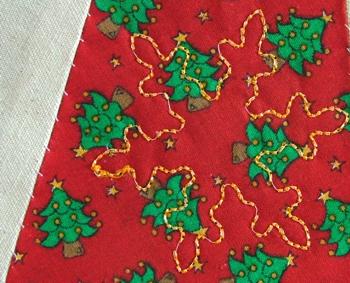
Start embroidering designs one by one. Don't forget to stabilize and hoop the fabric properly. When you finish embroidering, cut each sector out and iron (don't forget to leave seam allowance!).
Step Seven: Stitch all the sectors into a circle. Leave the last seam (marked in red) open -- you will need it to fit the tree skirt around the tree. Unfold the seams and iron them.
Step Eight: Place the backing fabric on an even surface (table or floor) cover it with batting, then cover with the embroidered piece face up. Pin or baste all three layers together. Quilt all three layers along the seams.
Step Nine: Now cut away the excess batting and backing. To cut out the center, cut along the line where you did not stitch the sectors together.
Step Ten: Hoop the tree-skirt and machine-quilt the patterned sectors with the design of a snowflake. You can download this design here:
|
|
|
|
|
|
|
|
Step Eleven: Finish all raw edges with bias tape.
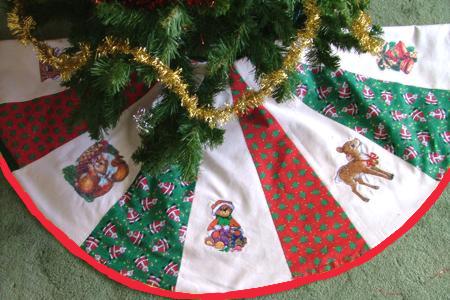
You can use other designs from our Catalog.
 |
 |
 |
 |
 |
 |


