Some points to remember from the General Guidelines:
Use Vilene water soluble stabilizer;
Use the same thread for the upper and bobbin to get two-sided embroidery.
DO NOT embroider several designs in one hoop.
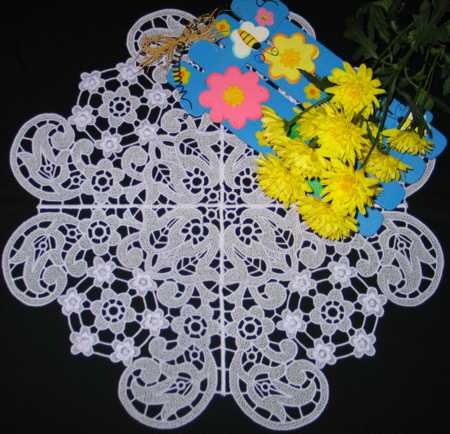
Here are instructions on how to make two doilies using the FSL Paisley Corner Set
You will need Vilene water soluble stabilizer, and embroidery threads.
The diameter of the first doily is 19".
Step One: To make one corner part, you'll have to embroider each design of the set once. So to make this doily, embroider each design four times.
Use 2 layers of Vilene-type water-soluble stabilizer. To get 2-sided embroidery, use the thread of the same color for both the needle and bobbin. Rinse the stabilizer and leave to air dry.
Impotant Note: It's very important to use as small a hoop as possible. E.g. if your design is for a small hoop, use the small hoop, not the large one; if your design is for a large hoop, use large, not mega. Do not try to embroider several freestanding lace designs in one hoop. This is because all water-soluble stabilizers stretch, and in a bigger hoop, it's going to stretch more. This can lead to the design falling apart after the stabilizer is dissolved. It's always better to embroider one part at a time.
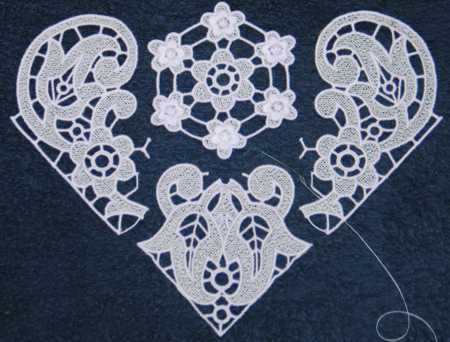
Step Two: Press all parts with steam. On your working table, lay out the designs as shown on the above picture. Thread a needle with the same thread that you used for the embroidery and stitch together the parts in the places where the parts touch each other.You will get a lace corner. This has to be done manually.
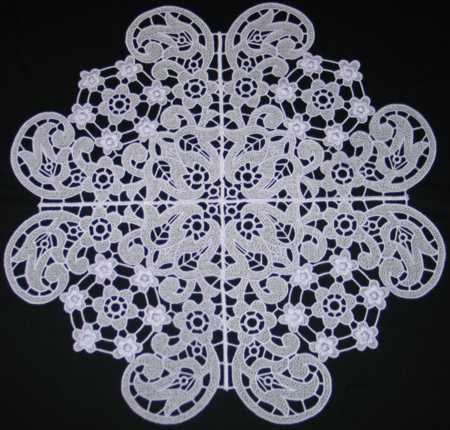
Step Three: Place all four corners together and, using the same thread that you used for the embroidery, and dense zigzag, stitch all four corners together.

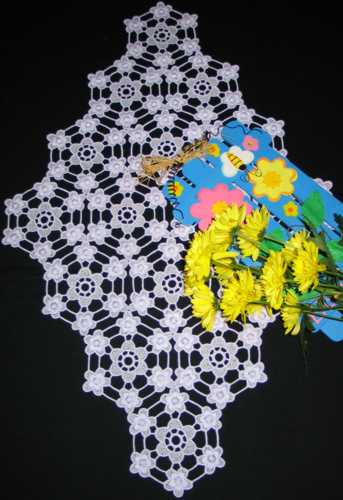
We made the second doily, using only the circle part of the FSL Paisley Corner Set.
The finished size of it is 16 1/3" x 26".

We embroidered the circle part sixteen times and stitched them together manually.
We hope that you liked the FSL Paisley Corner Set and the possibilities it presents.


