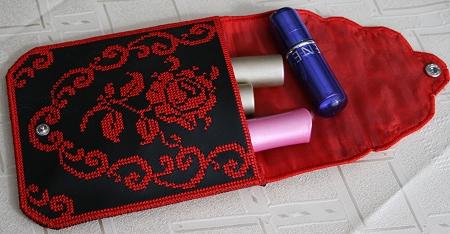
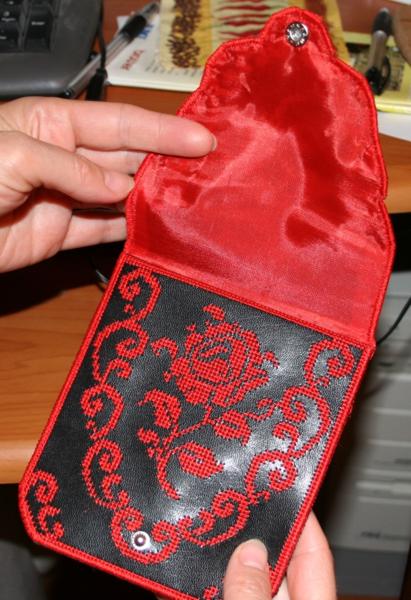
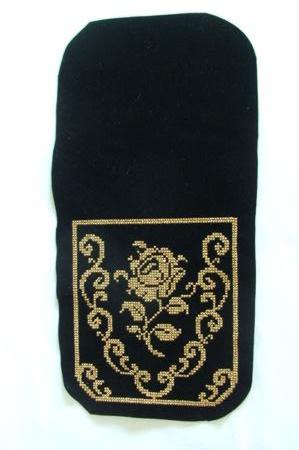
The Elegant Rose Purse is a set of 3 machine embroidery designs in the cross-stitch technique. After embroidering the designs, some assembly is necessary to create the purse.
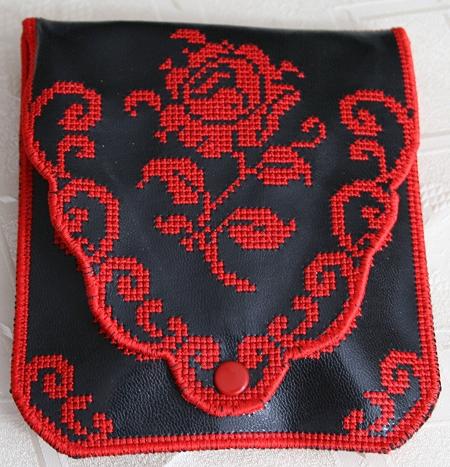
The finished size of the purse is 5" x 5 1/2".
You will need two pieces of material large enough to be hooped in a 5" x 7" hoop and one piece of the same material measuring about 6" x 12". You will also need fabric for lining - a piece about 6" wide and 12" long. If you like, you can add a snap button, but it is optional.
Recommended materials: thin leather, leatherette, suede, wool felt, velvet, etc. Try to choose unfraying material.
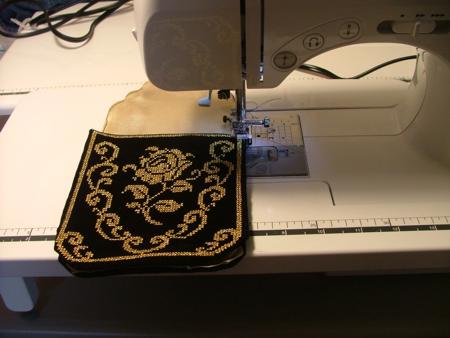
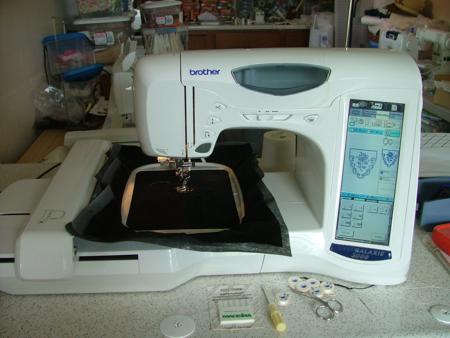
Step One: First we'll embroider the flap of the purse. Upload the design onto your machine. Hoop the material with stabilizer in a 5"x 7" hoop.
Note: The choise of stabilizer depends on the material you use. With the mateirals we listed above, light-weight tear-away stabilizer will work.
Note 2: If you embroider with metallic thread, don't forget to change the needle.
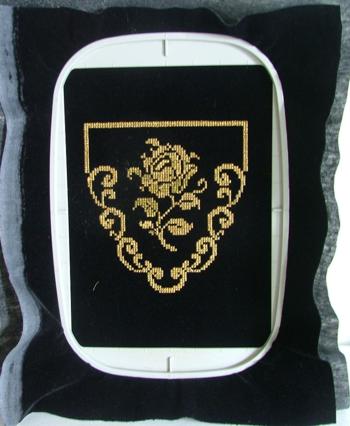
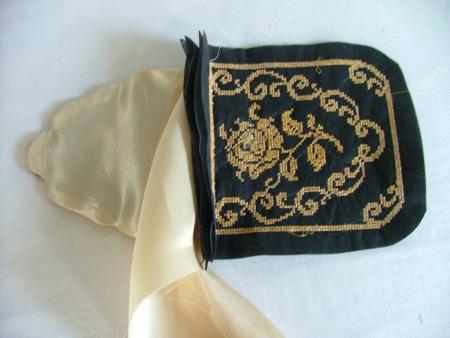
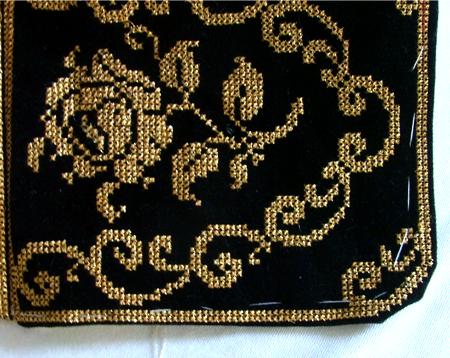
The design of the flap has two colors - the first color is the pattern on the flap and the second color is the stitch to attach the lining.
 |
First, embroider the first color of the design. Stop. Take the hoop from the machine, but DO NOT take the embroidery from the hoop! |
 |
Cover the embroidery with the fabric for lining, face down. Secure with pins. Return the hoop to the machine. |
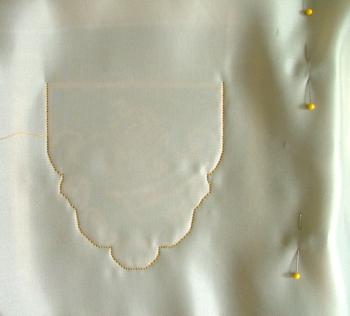 |
Stitch out the second color of the embroidery. If you used regular 40-weight rayon or polyester thead, you do not need to change the thread after the first color. If you use metallic thread for the first color, change it to a regular thread for the second color. |
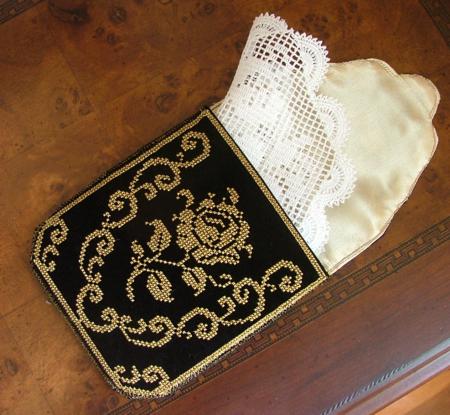
Step Two: Cut away the excess lining and material 1/4" from the seam, except over the top edge (see picture below).
Turn the working piece inside-out.
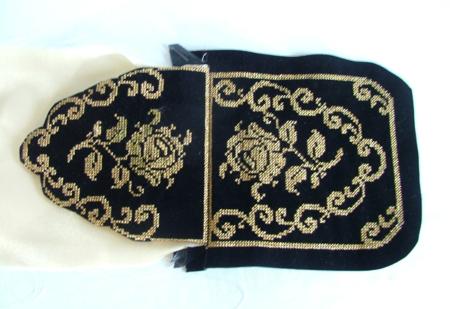
Step Three: Embroider the back panel of the purse. With a pair of sharp scissors, cut it out, leaving 3/8" for seam allowance.
Step Four: Take the flap, fold the lining out of the way, match the upper edge of the flap with the upper edge of the back, secure with pins and machine stitch together from the wrong side. Trim the seam 1/4" from the edge, unfold the seam and press.
Note: If you work with unfraying material, you can cut it as close to the embroidery as possible, then match the flap with the back and sew them together with any bridge stitch from the face side.
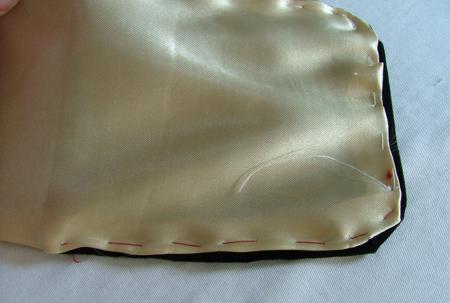
Step Five: Unfold the excess lining over the back panel of the purse. Cut it to the same as the back panel.
Fold the seam allowance of both the back panel and the lining in. Baste. Press.
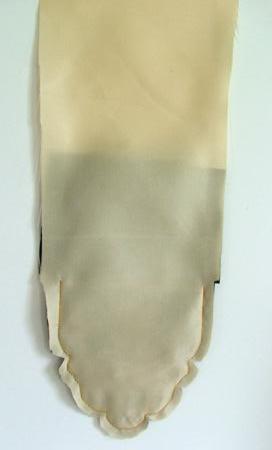
Step Six: Now embroider the front panel of the purse. The piece of material should be longer should be at least 12" long. Hoop the material so that the design is centered in the lower half of the piece of fabric. After the embroidery is finished, take it from the hoop, fold the material along the upper edge of the embroidery and cut both layers 3/8" from the embroidery. You will get a shape similar to the one on the picture below. The extra material at the top will serve as lining for the front panel of the purse.
Step Seven: Fold the front piece along the upper edge of the embroidery. Fold and tuck the seam allowance inside, between the embroidered part and the "lining" part. Baste, then machine-stitch. Do not forget to use the same thread as the one with which you made the embroidery.
Step Eight: Place the front panel over the back panel, wrong side to wrong side, matching their edges. Return to your machine and, using the same thread with which you made the embroidery both in the bobbin and in the needle, zigzag over the edge stitching the parts together.
Note: if you want to use a snap button, attach it before stitching the panels together.