|
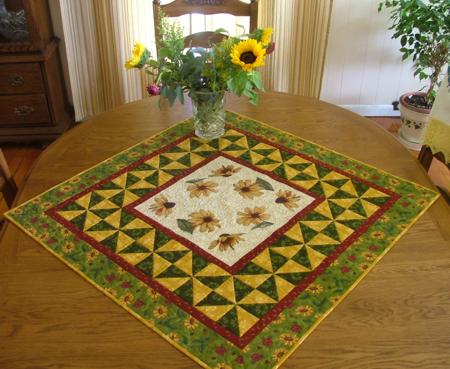
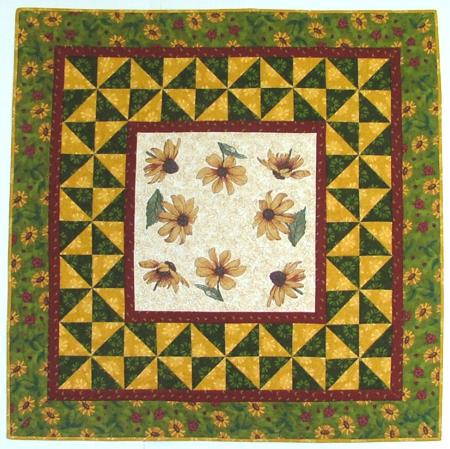
For this summer table topper we used the designs from the Black-Eyed Susan Linen Set, hence the name of our quilt. Here we offer a short description of the quilt.
|
|
The finished size of the table topper is 38" x 38".
Five differently patterned 100% cotton fabrics were used for the top. 100% cotton batting, and rayon embroidery and cotton quilting threads are used.
We used the fabric series called Chelsea Lane by Pat Sloan for P&B Textiles.
You'll need a fat quarter for the central part, 1/4 yard of red fabric for the narrow borders, 1/2 yard of light green fabric for the wide border, 1/2 yard of dark green fabric for the blocks and 3/4 yard of yellow fabric for the blocks and the binding. You'll also need 1 yard for backing. |
|
Cutting
|
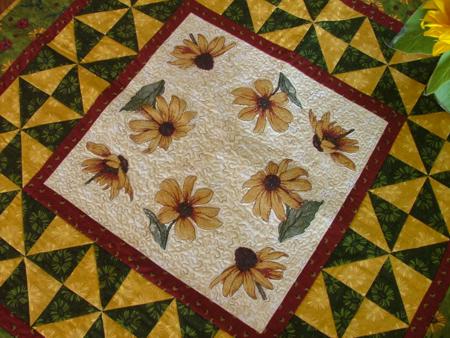
The central square with embroidery measures 15 1/2" x 15 1/5" when finished (cut it 16" x 16").
The central square is surrounded by a 1" wide solid border (cut it 1 1/2" wide)
The sixteen 6" x 6" four-patch windmill blocks form the next border (you can read about how to make these blocks below).
There is another 1" wide border around the windmill blocks (cut it 1 1/2" wide)
A 3.5" patterned green border finishes the top (cut it 3 7/8" wide) |
|
Four-Patch Windmill Block
|
To make a 6" x 6" four-patch windmill block, take two fabrics, one yellow and one green, and cut thirty two 3 7/8" x 3 7/8" squares out of each fabric.
Place a yellow square face down on top of a green square face up. You'll get 32 pairs. With a lead mechanical pencil, draw a diagonal across the lighter square. Stitch 1/4" from the pencil line on both sides. |
|
| Cut along the line. Open the new square. Press the seam towards the darker color. Trim the ears. Repeat for all the pairs. You should get 64 two-color squares, measuring 3 1/2" x 3 1/2". |
|
| Assemble every four squares into a windmill block. |
|
Embroidering
|
| Now mark the places for the embroidery. You can either use your favorite stabilizer, or stabilize the fabric with your batting, which is what we did. You'll need 100% cotton batting. Cut out a piece slightly larger than your working piece and place it under the top. Do not attach the backing yet! Spread the top evenly and pin two layers together in a few places. Do the embroidery. |
|
|
Finishing
|
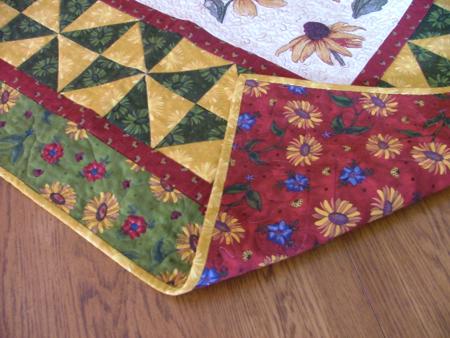
Now place the backing on a flat surface (table) face down. Spread your working piece over it. Pin all layers together with 1" pins and start quilting. We did stippling on the central, embroidered part and stitched in the ditch on the borders.
For the backing we used the fabric with the same pattern as the outer border, but of a different color. |
|
After the quilting is finished, square the work -- all angles should be 90 degrees and the opposite sides should be of the same length.
Finish the raw edges with the binding. |
|
The table topper is ready. Enjoy!
|
|
|
Back to Projects Page
|


