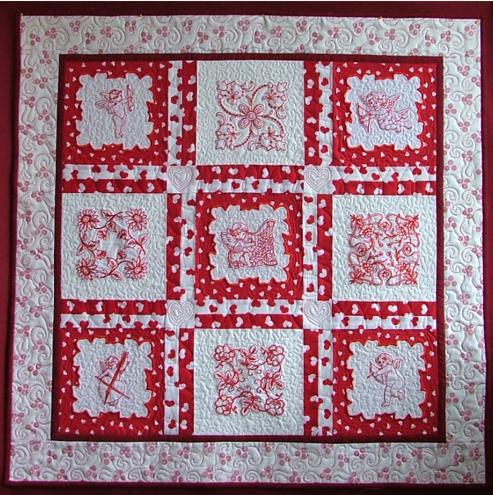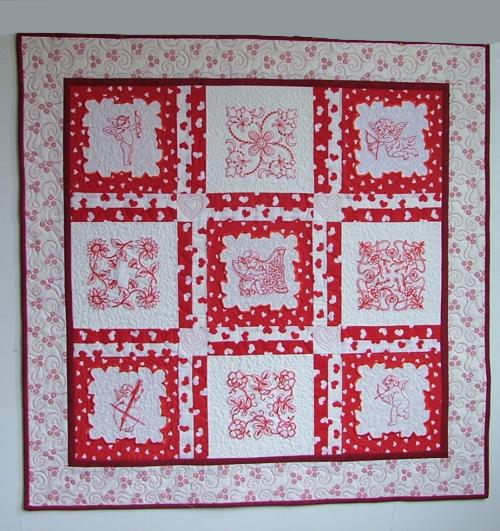
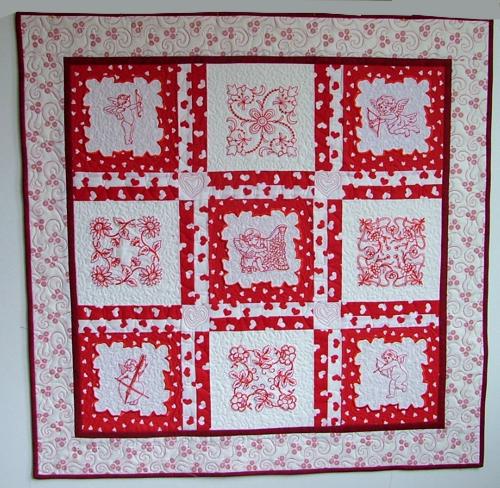
The finished size of the quilt is 33" x 33". The finished size of each block is 7 1/2" x 7 1/2".
We used six types of cotton fabric:
1/2 yard of white for the blocks,
1 1/2 yard of patterned fabric for the blocks and backing,
3" of white with red hearts for sashing,
3" of red with white hearts for sashing,
10" of dark red for sashing and binding,
16" of white with a small red pattern for borders.
You will also need about 35" x 35" of batting.
All calculations are based on 42" wide fabric and 1/4" of seam allowance.
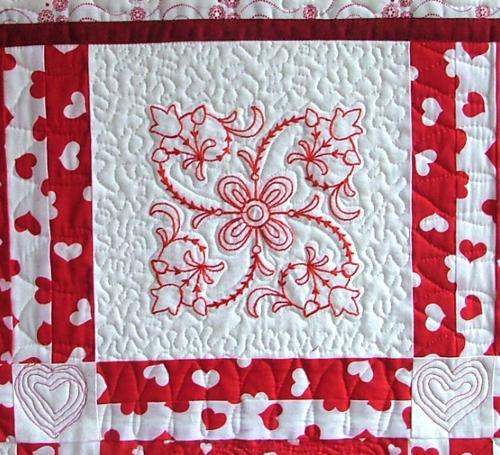
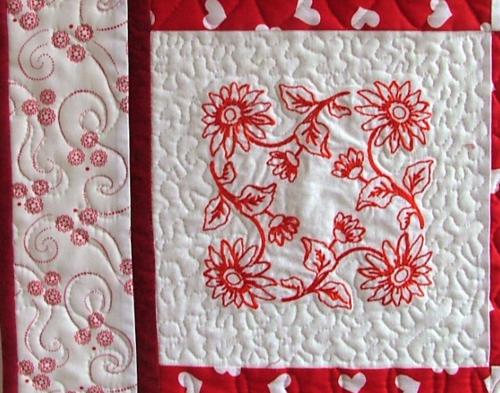
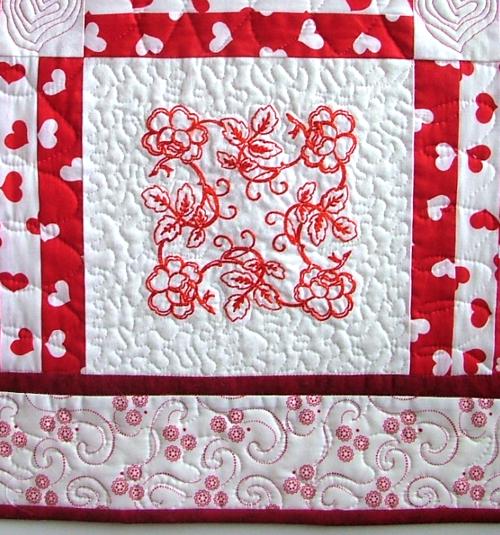
Making the Blocks: We have two types of blocks. The first type are white with redwork designs from the Quilt Block Sets. We embroidered them on the four white squares without stabilizer.
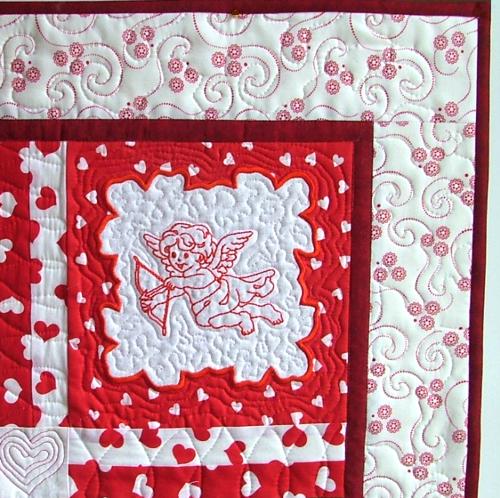
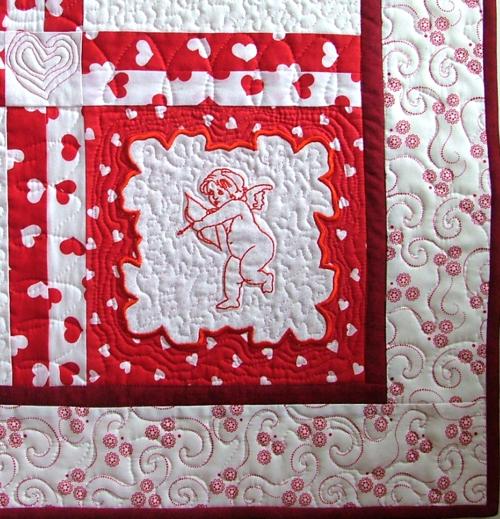
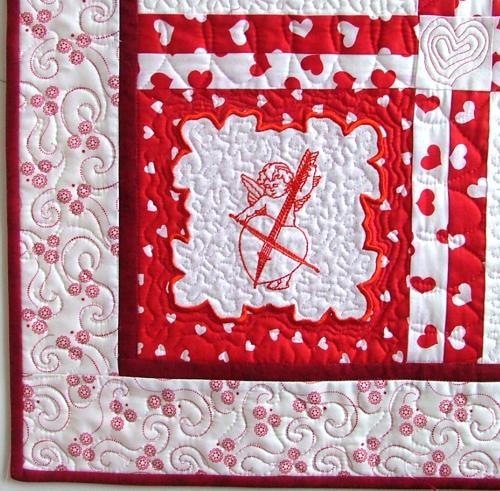
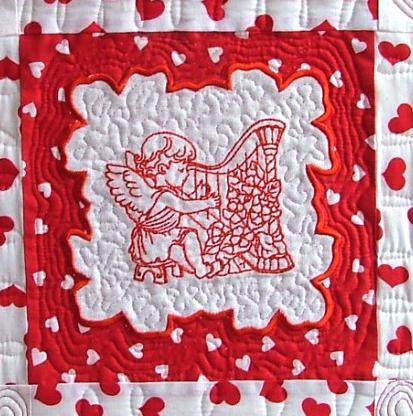
For the second type of blocks we used the redwork designs from the Valentine Angels Set and the designs from the Flower Doily Set.
To make the second type of the blocks:
Step One: Take a red square and cover it with the white square. Hoop both layers together. We did not use stabilizer.
Step Two: Insert the hoop into your machine and embroider the first angel. Do not take the fabric out of the hoop!
Step Three: Start embroidering the square frame design from the Flower Doily Set. The machine will embroider the outline and stop.
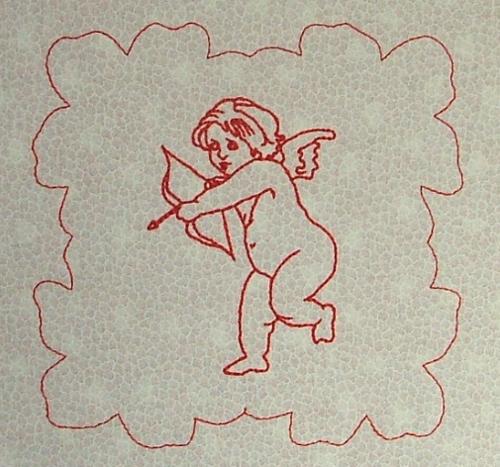
Step Four: Do not take the fabric from the hoop! With sharp scissors, cut away the first, white, fabric as close to the outline as possible.
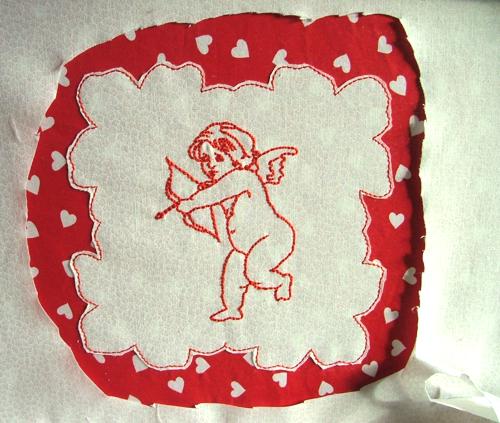
Step Five: Insert the hoop into the machine and finish the embroidery. Take the embroidery out of the hoop. Press. Make five blocks like this.
Step Six: Trim all blocks to make them 8" x 8".
Sashing: Take the white with red hearts and the red with white hearts strips. Sew them together along the long sides. Press the seams. Cut into twelve 8" long pieces.
Step Two: Place the 8" long sashing pieces between the neighboring blocks in each row. Turn them so that the red blocks are adjacent to the white part of the sashing pieces and the white block are adjacent to the red part of the sashing pieces. Stitch the elements of the row together. Press the seams.
Step Three: Out of the rest of the sashing elements and the 2 1/2" white squares, make two long horizontal sashings, connecting them in the following order: sashing piece - white square - sashing piece - white square - sashing piece.
Step Four: Sew the sashing to the rows. Press the seams. Square all corners.
Step Five: Stitch the dark red 1"x 26" strips to the left and right side of the working piece. Press the seams. Stitch the dark red 1"x 27" strips to the upper and lower side of the working piece. Press the seams.
Step Six: Attach the left and right borders. Press the seams. Attach the upper and lower borders. Press.
Step Seven: On an even surface (table) spread the backing fabric, cover it with batting and cover with the quilt's top. Baste or pin all three layers together. If you pin, use pins every 3".
Quilt, starting from the center of the quilt.
We used stippling around the embroidery, and echo-quilt around the framing design.
Step Eight: Press with heavy steam. Square all corners and even the edges. Finish the raw edges with dark red binding.
Step Nine: Add a sleeve to the back, through which you can slide a pole.