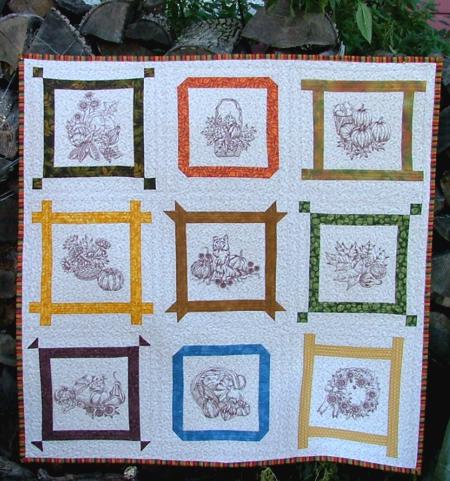
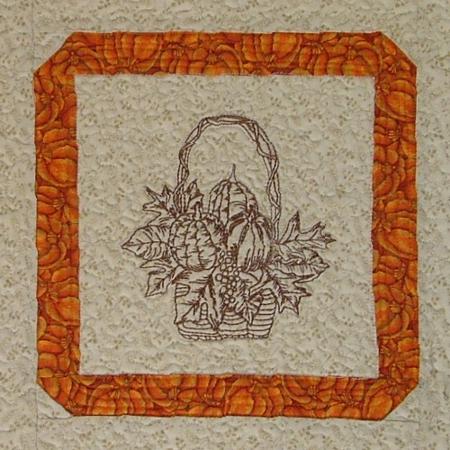
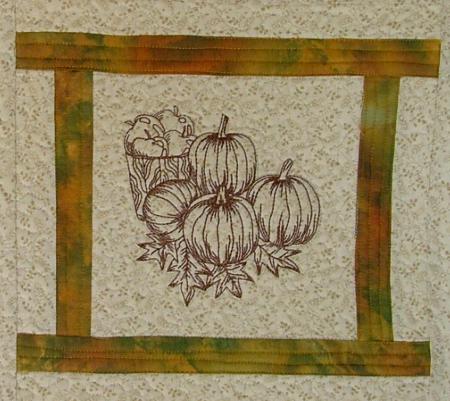
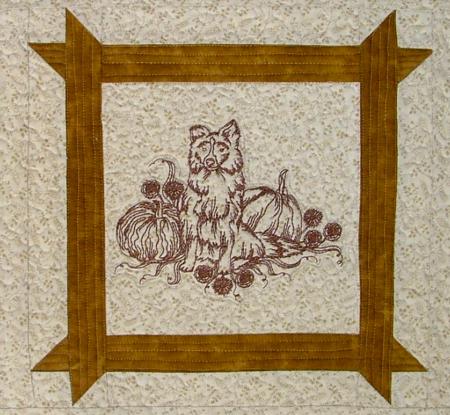
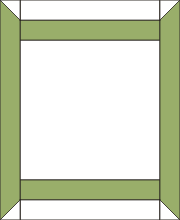
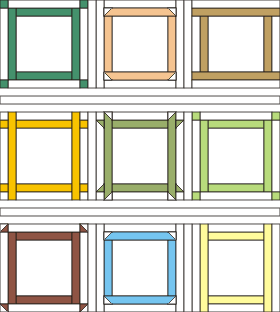
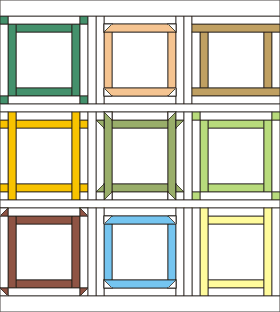
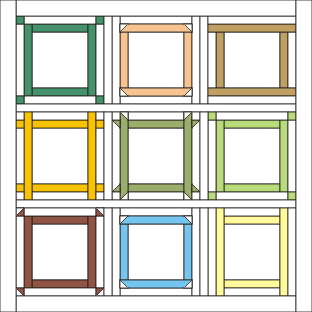
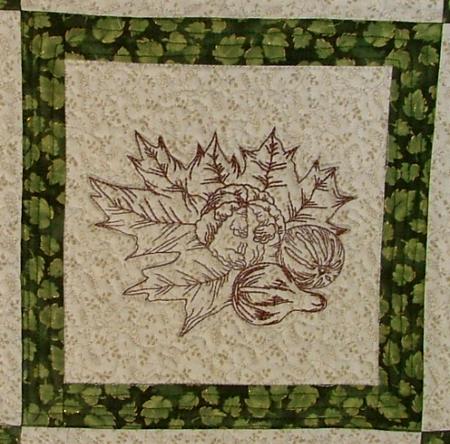
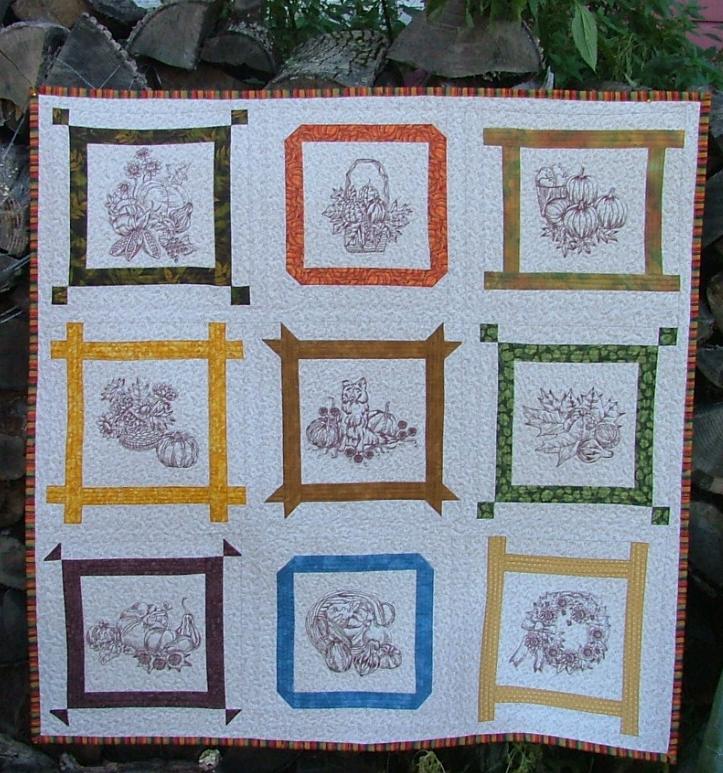
A few simple variations in some basic blocks give this quilt a simple and homey charm that really makes it stand out. It's a great project for the beginner and fun for an experienced quilter. The quilt features designs from the Autumn Redwork Set.
The finished size of the quilt is about 38" x 38".
You can purchase this wall quilt from our Etsy store!
For the project you will need:
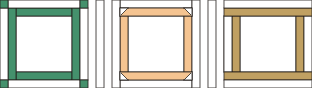
For this quilt we used 6 different block layouts, the finished size of each is 11" x 11". All of them are described in the tutorial. You can use all 6, or pick and choose only the ones you want. There are a total of 9 blocks used in the quilt.
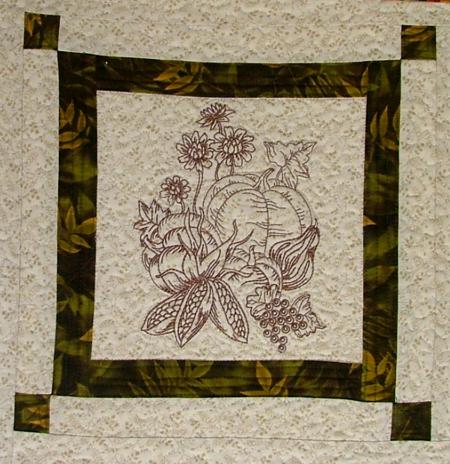
The central part of all the blocks is the same a squares measuring 7 1/2" x 7 1/2". Cut 9 squares out of the fabric for the background.
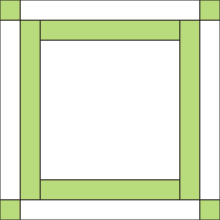
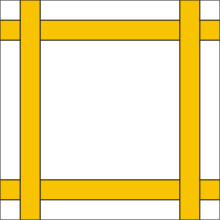
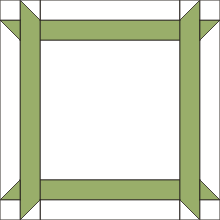
In our quilt we used 2 blocks of this type.
For this block, out of the background fabric, cut
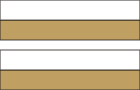
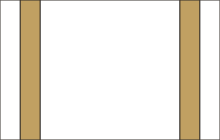
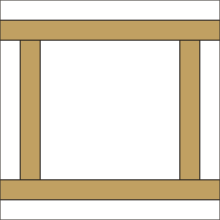
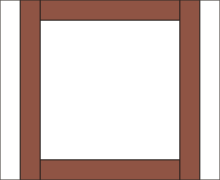
Sew the 1 1/2" x 7 1/2" colored strips to the upper and lower edges of the 7 1/2" x 7 1/2" square. Sew the 1 1/2" x 9 1/2" colored strips to the right and left edges of the block.
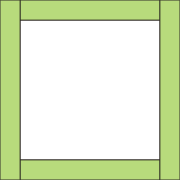
Sew the 1 1/2" x 9 1/2" background strips to the upper and lower edges of the block.
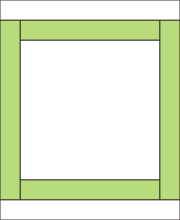
Sew the 1 1/2" x 1 1/2" colored squares to the ends of the 2 remaining 1 1/2" x 9 1/2" background strips.

Sew the new strips to the right and left edges of the block.
In our quilt we used 2 blocks of this type:
For this block out of the background fabric, cut
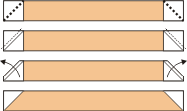
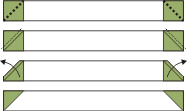
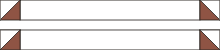
Take the 2 colored 1 1/2" x 9 1/2" strips and 4 background 1 1/2" x 1 1/2" squares.
Position the squares on the ends on the strips face to face, as shown in the diagram below. Sew along the diagonal. Cut, leaving 1/4" seam allowance. Unfold the new strips and press.
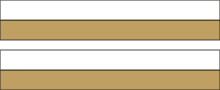
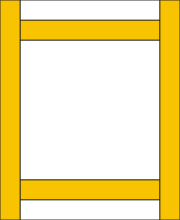
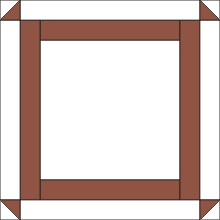
Sew the 1 1/2" x 7 1/2" colored strips to the left and right edges of the 7 1/2" x 7 1/2" square. Sew the new strips to the upper and lower edges of the block.
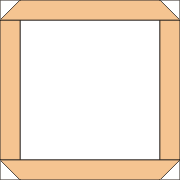
Sew the 1 1/2" background strips to the upper and lower edges of the block.
Sew the 1 1/2" x 1 12/" x 11 1/2" strips to the left and right edges of the block.

We used 2 blocks of this type in our quilt.
For this block, out of the background fabric, cut
out of the colored fabric, cut
Sew the background and colored strips measuring 1 1/2" x 7 1/2" into 2 pairs.
Sew them to the left and right edges of the background square.
Sew the background and colored strips measuring 1 1/2" x 11 1/2" into 2 pairs.
Sew them to the upper and lower edges of the block.

For this block, out of the background fabric, cut
out of the colored fabric, cut
Sew the background and colored strips measuring 1 1/2" x 7 1/2" into 2 pairs.
Sew them to the upper and lower edges of the background square.

Sew the colored 1 1/2" x 11 1/2" strips to the left and right edges of the block.
Sew the two remaining 1 1/2" x 7 1/2" background strips and 1 1/2" x 1 1/2" squares into strips as shown on the diagram below:
Sew the new strips to the left and right edges of the block.
For this block, out of the background fabric, cut
Sew the background and colored strips measuring 1 1/2" x 7 1/2" into 2 pairs.
Sew them to the upper and lower edges of the background square.
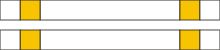
Position the 1 1/2" x 1 1/2" background squares on the ends of the 1 1/2" x 11 1/2" colored strips, face to face, as shown in the diagram below. Sew along the diagonal.
Cut, leaving 1/4" seam allowance. Unfold the new strip and press.

Sew 2 of the new strips to the left and right edges of the block.
Position the1 1/2" x 1 1/2" colored squares on the ends of the 1 1/2" x 9 1/2" background strips, face to face, as shown in the diagram below. Sew along the diagonal. Cut, leaving 1/4" seam allowance. Unfold the new strip and press.
Sew the 1 1/2" x 1 1/2" squares to the ends of the new strips.

Sew the strips to the left and right edges of the block.

For this block, out of the background fabric, cut
out of colored fabric, cut
Sew the colored strips measuring 1 1/2" x 7 1/2" to the upper and lower edges of the 7 1/2" x 7 1/2" squares.

Sew the background and colored strips measuring 1 1/2" x 9 1/2" into 2 pairs.
Sew them to the left and right edges of the block.
Position the 1 1/2" x 1 1/2" colored and neutral squares, face to face. Sew along the diagonal. Cut, leaving 1/4" seam allowance. Unfold the new squares and press.

Sew the new half-triangle squares to the ends of the 1 1/2" x 9 1/2" strips.
Sew the strips to the left and right edges of the block.
Out of the background fabric, cut
Arrange the blocks into 3 rows, 3 blocks each. Sew the short sashing strips between the blocks in each row.
Sew the long sashing strips between the rows, and sew all rows together.
Sew the 2" x 35" strips to the upper and lower edges of the top.
Sew the 2 " x 38" strips to the left and right borders.
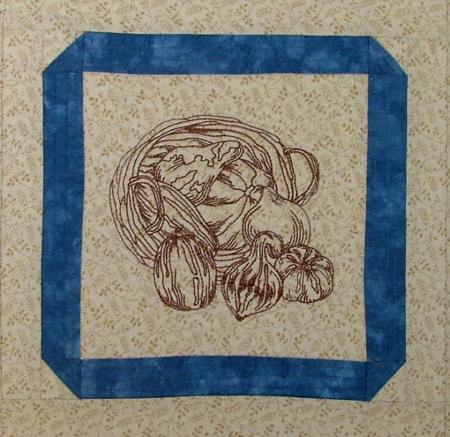
Stabilize each block with light-weight cut-away stabilizer. Embroider one block at a time. We embroidered the designs from the Autumn Redwork Set.
Now place the backing on a flat surface (table) face down. Cover with batting. Spread your working piece over it.
Pin all three layers together with 1" pins and start quilting. We quilted along the lines of the embroidery and made stippling all over the background fabric. The colored frames were quilted in in parallel lines.
After the quilting is finished, press the work with heavy steam and square the work -- all corners should be 90 degrees and opposite sides should be of the same length.
Finish the raw edges with the binding.


