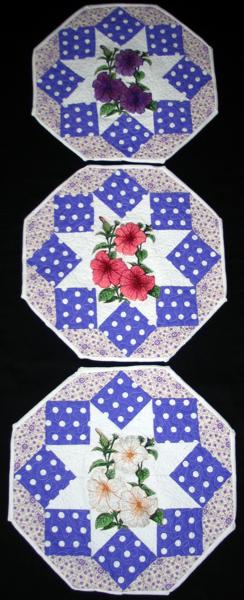
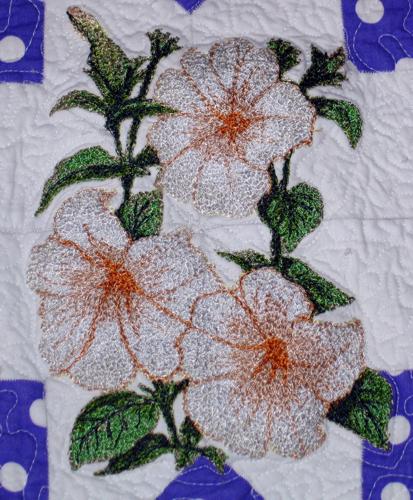
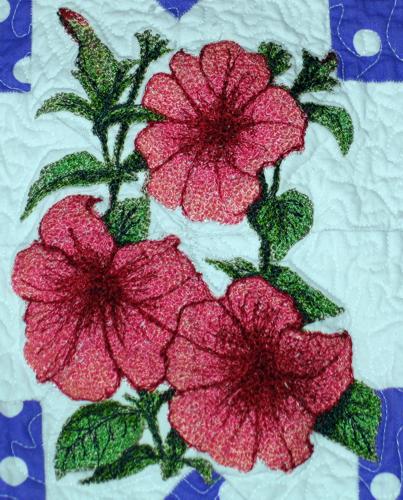
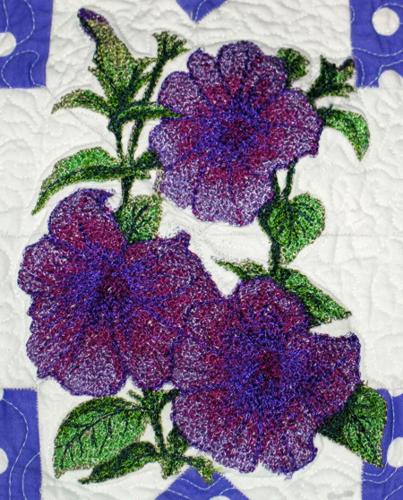
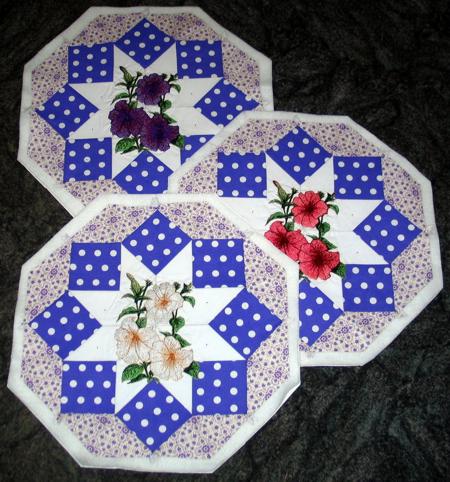
| These charming place mats feature the design of Petunia in 3 color schemes. They are easy to piece, and look lovely when finished. The finished size of the placemats is about 20" x 20".
|
|
| For the project you will need 1/2 yard of white fabric, 1/2 yard of patterned pale lilac fabric, 1/4 yard of bright lilac fabric. You will also need low-loft stabilizer, fabric for the batting. For embroidery, use tear-away iron-on light- to medium-weight stabilizer or polyester craf felt, polyester embroidery threads (rayon threads do not like to be washed often, so they are not as suitable for items that are actually going to be used) and size 12/80 embroidery needle.
|
|
Cutting
|
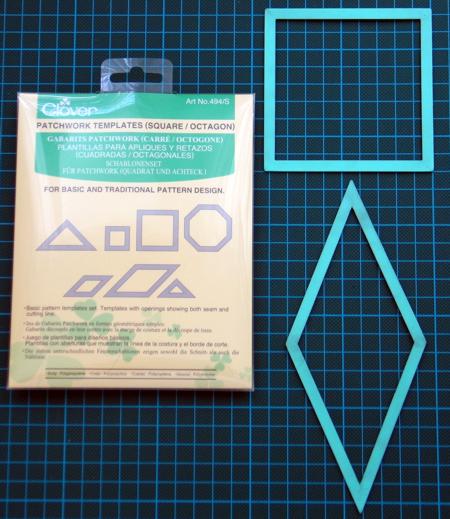
| You can use Clover's templates (Patchwork Templates (Square/Octagon), #494/S) if you already have them. If don't, make a diamond template first. For this, you will need a sheet of heavy-weight paper, pencil, ruler and scissors. |
|
| On a sheet of paper draw two perpendicular lines. The longer line should measure 6" and the shorter line should measure 2 1/2": |
|
| Using the ruler, connect the ends of the lines to get a diamond. |
|
| Add seam allowances to your template. For this, extend the long line (6") by 5/8" in each direction and the short line (2 1/2") by 1/4" in each direction. Connect the ends of the line. This will give you a seam allowance of 1/4". |
|
| Cut out the template. |
Out of white fabric, using the diamond template, cut 8 diamonds.
Out of patterned fabric, using the diamond template, cut another 8 diamonds.
Out of patterned lilac fabric, cut 8 squares measuring 4" x 4". |
|
|
|
Assembly:
|
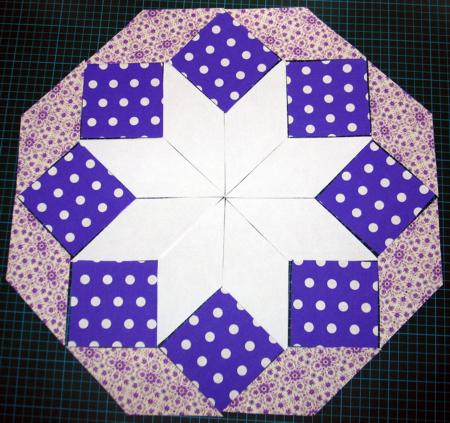
| Place the cut-outs as shown below. |
|
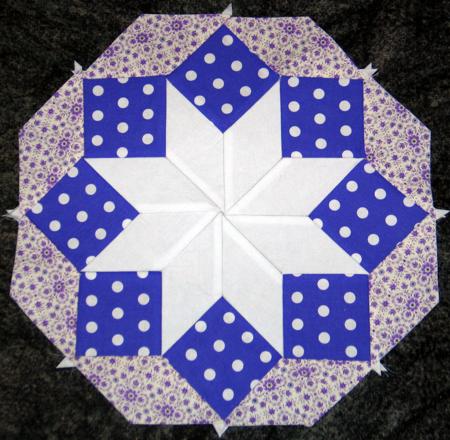
Assemble the top, starting from the center. Seam allowance is 1/4".
First sew together the white diamonds. Then add a round of the squares. Finish with the round of patterned diamonds. |
|
|
Embroidery
|
| Either stabilize the central parts of the mats with iron-on tear-away stabilizer, or place them on the polyester craft felt. Smooth with your hands. Usually polyester clings to the fabric. If you are in doubt, baste the top along the white border. Pieces of polyester should be slightly larger than your tops. Embroider the Petunia design in the center of each top.
|
|
|
|
|
Quilting and Finishing:
|
| If you made the embroidery using tear-away stabilizer, tear it away. Place the backing on a flat surface (table) face down, cover with the batting and spread your working piece over it. If the made the embroidery using the felt, you do not need more batting. Place the backing on a flat surface (table) face down. Spread your working piece over it.
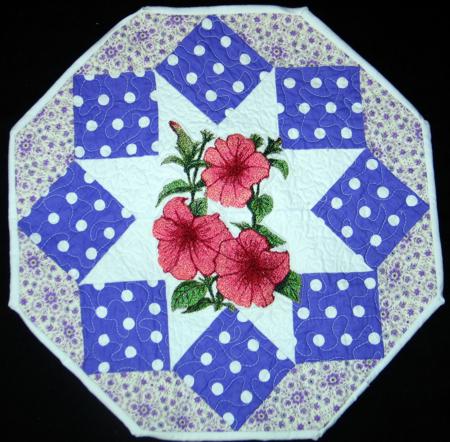
Pin all three layers together with 1" pins and start quilting. We quilted along the lines of the embroidery and then made stippling all over the mats.
|
|
|
The placemats are ready. Enjoy!
|
|
|
Happy Stitching!
|
|
Back to the Projects Page
|


