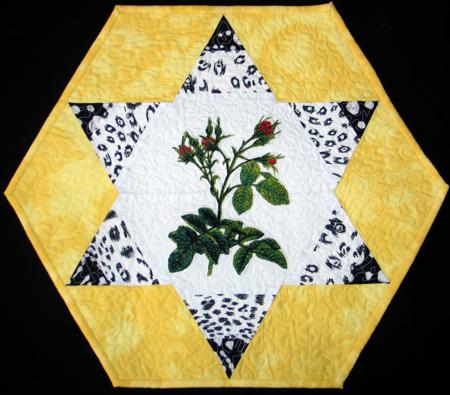
These place mats are simple to put together, but their unique shape makes them truly eye-catching.
The finished size of the mats is about 18" in diameter.
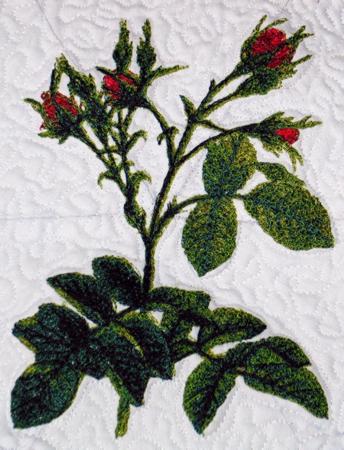
We used the Rose Bud embroidery design for a large (5" x 7") hoop.
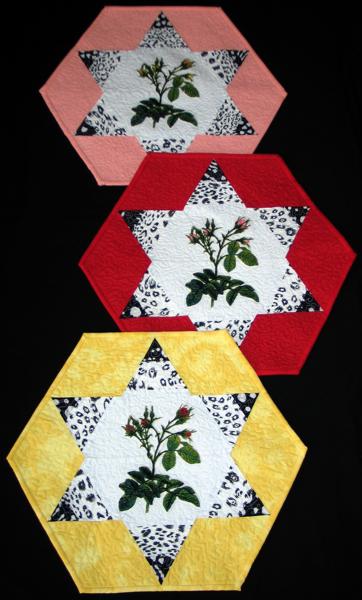
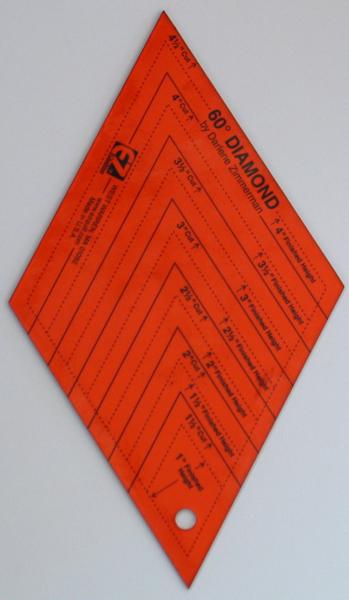
For the project we used a Diamond ruler by Darlene Zimmerman and cotton fabrics of different colors: about 1/2 yard of white fabric, 1/4 yard each of 2 black and white fabrics, and 1/4 yard each of yellow, red and pink fabrics.
You will also need backing and polyester craft felt for batting and stabilizer.
For each place mat:
Out of white fabric cut:
1 strip measuring 5 1/2" along the length of the fabric
Out of the first black-and-white fabric cut:
1 strip measuring 2" along the length of the fabric
Out of the second black-and-white fabric cut:
1 strip measuring 1 1/2" along the length of the fabric
Sew the white and black-and-white strips together:

Using the ruler, cut 6 diamonds with 3 1/2" sides out of the pieces you sewed together. About 2/3 of each diamond should be white, and the 1/3 should contain a strip each of the black-and-white fabrics.

Using the ruler, cut 6 diamonds with 3 1/2" sides out of the yellow fabric.
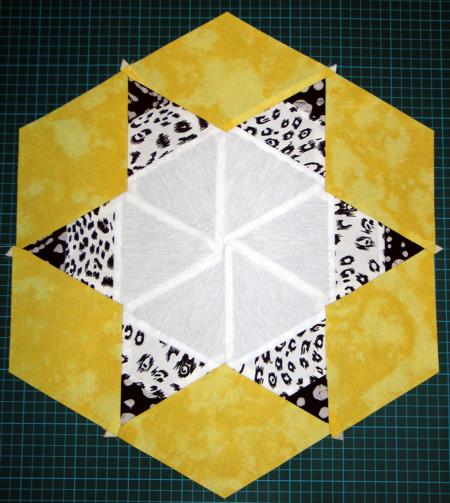
On your working table place the diamonds as shown.

Sew the diamonds together with a seam allowance of 1/4".
Place the top on the polyester craft felt. Smooth with your hands and baste along the white border.
Embroider the Rose Bud design.
Now place the backing on a flat surface (table) face down. Spread your working piece over it.
Pin all three layers together with 1" pins and start quilting. We quilted along the lines of the embroidery and then made stippling all over the mats.
After the quilting is finished, press the piece with heavy steam. Finish the raw edges with the binding.