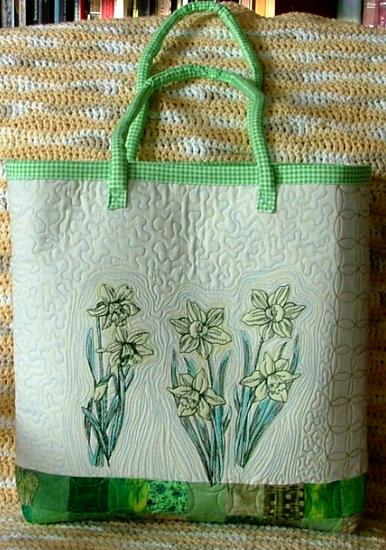
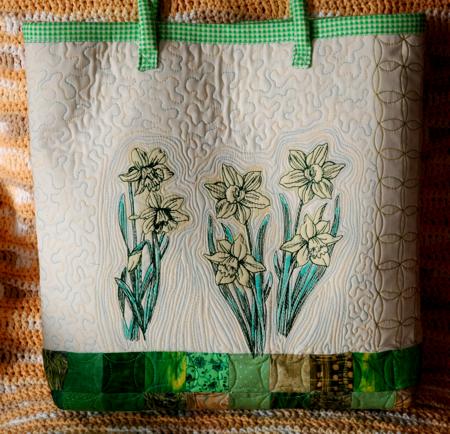
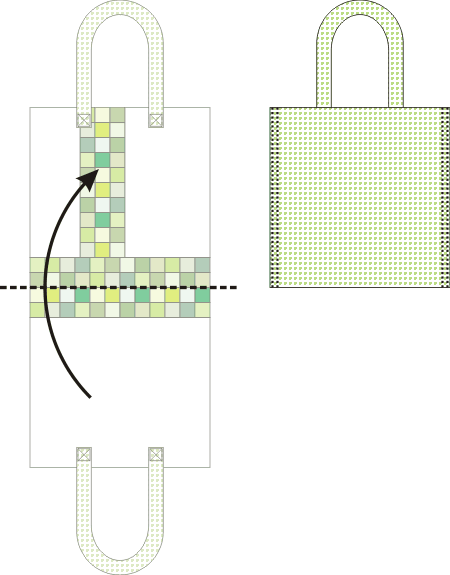
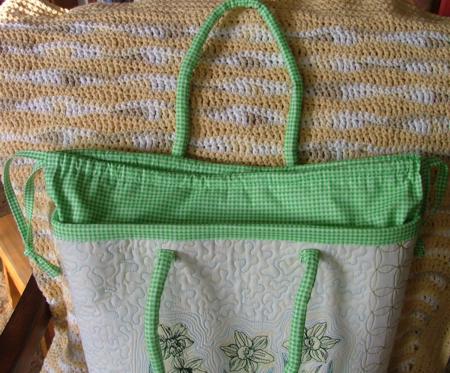
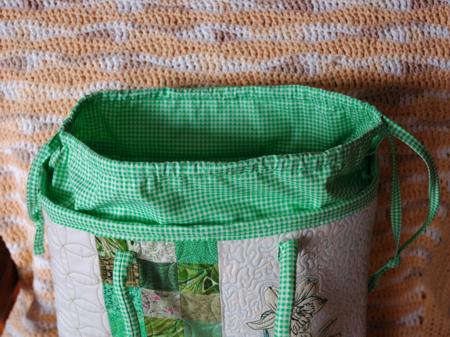
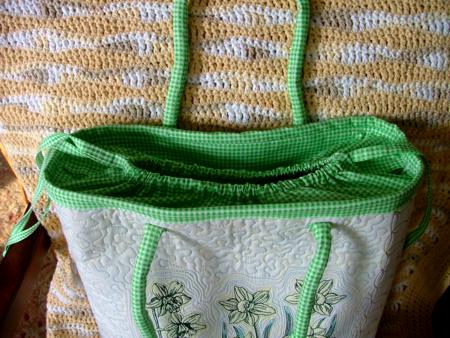
| This spring-themed tote features cheerful green tones and daffodil embroidery that give it an airy and casual appearance. The tote has an inside pocket and a drawstring closure. For the front panel we used the Daffodil1 for a commercial-size hoop. For the back panel, we used both designs from the set for a large hoop.
The finished size of the tote is about 13" high x 4" deep x 16" wide.
|
|
|
|
You will need:
- 1/2 yard of solid light cream or pale yellow cotton fabric,
- 1 yard of patterned green fabric,
- scraps of green fabrics,
- 1 1/2 yard of cotton cord 1/2" thick,
- a piece of polyester low-loft batting or craft felt.
For embroidery, we used embroidery polyester threads. Fabric markers are optional, we used them to add some pigment to the daffodils.
|
|
Cutting:
|
| Cut all your scraps into 78 squares measuring 2" x 2" each. Out of solid fabric, cut
- 1 strip measuring 5 1/2" x 15 1/2";
- 1 strip measuring 9" x 15 1/2";
- 1 strip measuring 15 1/2" x 18 1/2"
Out of green fabric, cut
- 1 strip measuring 18" x 34" - backing
- 1 strips measuring 8" x 27" - pocket
- 2 strips measuring 8" x 17" each - for the closure
- 2 strips measuring 2" x 26 each - handles
- 2 strips 1 1/2" wide and the length of the width of the fabric (36" x 40") each. This will be the drawstring.
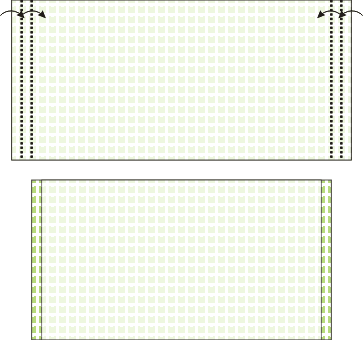
- 1 strip 3" wide and the length of the width of the fabric. This is binding for finishing the upper edge of the tote.
|
|
|
|
Assembling the Top
|
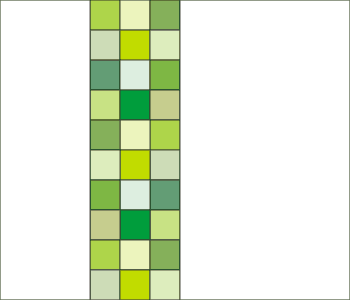
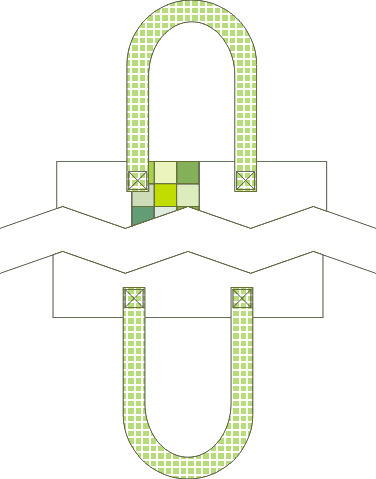
| Out of 30 scrap squares arrange and sew a strip 3 squares wide and 10 squares long. |

|
| Sew the 5 1/2" x 15 1/2" strip to the left edge of the strip and the 9" x 15 1/2" to the right edge of the strip. This will be the front panel. |
|
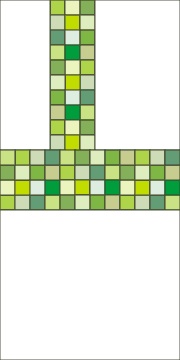
| Out of the remaining 48 scrap squares arrange and sew a strip 4 squares wide and 12 squares long. |

|
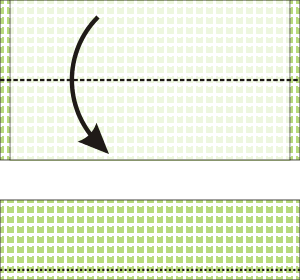
| Sew the 15 1/2" x 18 1/2" strip to the strip you just made. This will be the back panel and the bottom of the tote. |

|
| Sew the panels together. |
|
|
Embroidery
|
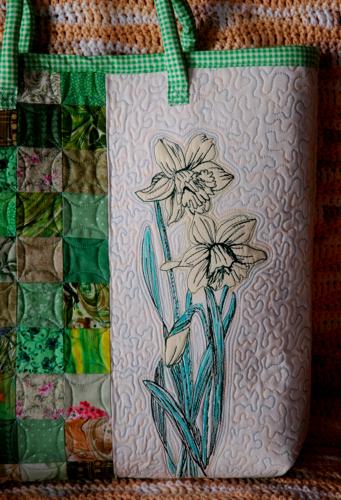
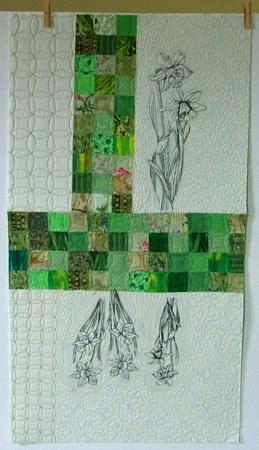
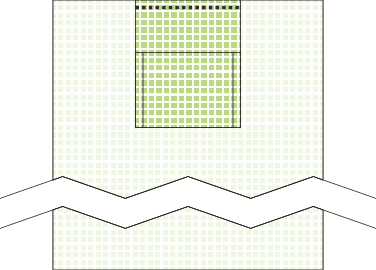
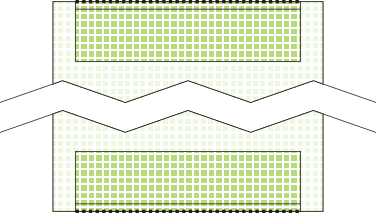
| Place the top on a piece of polyester craft felt. The piece of felt should be slightly larger than the quilt top. The felt will work as the stabilizer and batting. Baste the quilt top to the felt in the ditch along the colored borders. We embroidered one of the daffodils for a commercial size hoop on the front panel:
|
|
| On the back panel, we embroidered three daffodils for the large hoop: |
|
|
Quilting:
|
| Now place the backing on a flat surface (table) face down. Spread your working piece over it. Pin all three layers together with 1" pins and start quilting. We quilted in a free-motion style all over the tote.
After the quilting is finished, press the work with heavy steam and square the work -- all corners should be 90 degrees and opposite sides should be of the same length.
Trim the work to 17" x 30" rectangle.
|
|
|
Sewing the Tote:
|
|
Handles:
|
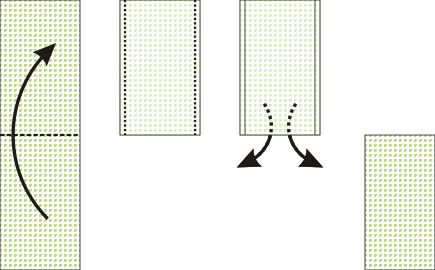
| Fold the 2" x 26" green strips lengthwise, face inwards. Stitch the side closed with a seam allowance of 1/4". |
|
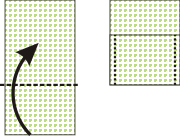
| Turn the tubes out. Thread the cotton cord through. Finish the open edges - turn about 1/8" of the fabric inwards and manually stitch the openings closed. |
|
| Working with one handle at a time, position them on the outside of the tote - about 6" from the sides and 2" from the upper edge. Pin. Topstitch 1/2" of the handle ends to the tote. |
|
|
Pocket:
|
| Fold the 8" x 27" strip widthwise, face inwards. Align all edges. Stitch the sides together. Turn the pocket right side out. Press. |
|
Fold about 5" of the strip back onto itself.
Align the side edges. Press. Stitch the sides closed. |
|
| Position the pocket on the back of the back panel. Align the upper edges. Pin. Topstitch 1/4" from the edge. Note: When working, fold the handles back, out of the way. |
|
|
Closure:
|
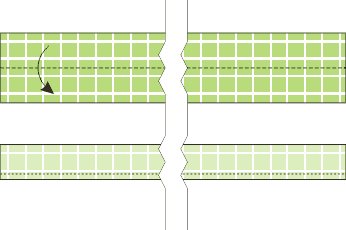
| Fold the short edges of the 8" x 17" strips back twice - 1/4" and 1/4". Press. Topstitch. |
|
| Fold the strips lengthwise in half. Press. Topstitch 1/2"- 3/4" from the folded edge. |
|
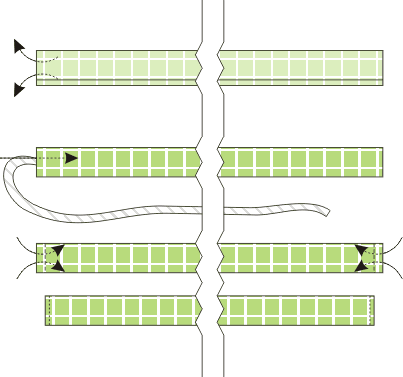
| Position each of the strips along the upper edges of the tote - align the unfinished edge of the folded strip with the upper edges of the tote. Each strip should be about 3/8" shorter on each side than the edges of the tote. Pin. Topstitch 1/4" from the edge. Note: fold the handles down to keep them out of the way. |
|
| To make the drawstring , fold the 1 1/5" wide strips lengthwise in half, press. Fold the short edges 1/4". Press. Fold the unfinished edges about 1/4" inside and press. Topstitch all edges. You will get 2 drawstrings about 1/4" wide and 38-40" long. Set them aside. |
|
| Fold the tote in half, face inside. Topstitch the sides. 1/4" and 3/8" from the edges. Finish the sides with a zig-zag stitch or binding. |
|
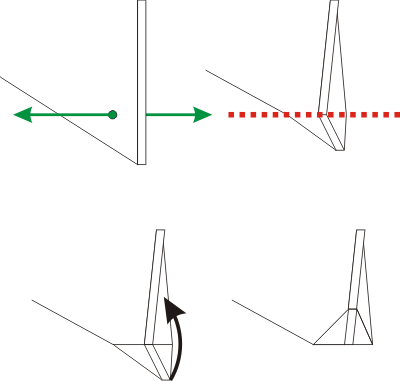
| Make box corners at the bottom of the bag. For this, separate the front and back sides at the corners. Center the side seam with the central line of the bottom. Measure 2" along the seam from the corner and machine-stitch perpendicular to the seam across the corner. Do not trim the seam. Fold it onto the side seam and attach with several manual stitches. Repeat for the second corner. |
|
Turn the tote right side out.
To finish the upper edge, fold the 3" wide strip in half lengthwise. Press. Position the binding with raw edges along the raw edge of the tote on the side of the lining. Align all edges and pin. Topstitch 3/8" from the edge.
Fold the binding back. Press. Turn the tote right side in. Fold the binding over the right side. Pin or baste. Topstitch 1/16"-1/8" from the edge.
Turn the tote right side out.
|
| Thread the drawstrings through the closure - place the first drawstring on a safety pin. Start inserting the lace from the right side. Go through the first part of the closure, from right to left, then go through the second part of the closure from left to right. Tie the ends of the drawstring. Insert the second drawstring from the opposite direction - go through the first part of the closure from left to right, then go through the second part of the closure from right to left. Tie the ends of the second drawstring.
|
|
|
|
| To close the tote, pull the ends of the drawstring. |
|
|
The tote is ready. Enjoy!
|
|
Happy Stitching!
|
|
Back to Daffodil Set
|
|
Back to Projects Page
|


