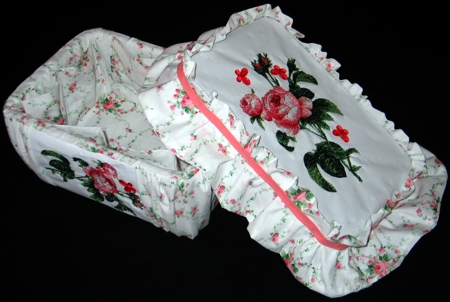
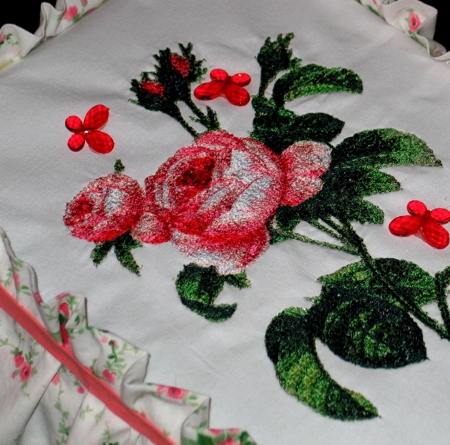
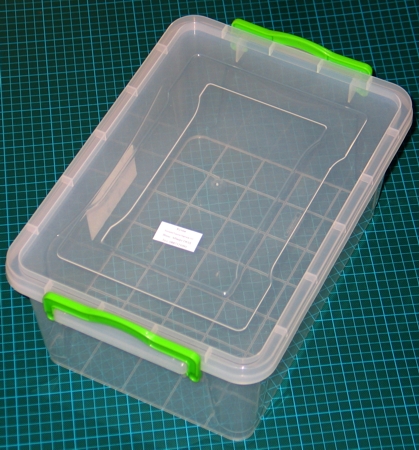
This charming hobby box uses the design Rose of Flanders on the lid. You can use any other design you like. We used the rose because we had matching rose-printed fabric to work with.
You will need: a plastic box of a size you like, a glue gun, medium-to high-loft batting, fabric, and heavy sewing interfacing, such as Pellon Peltex 71.
For embroidery, we used embroidery polyester threads, and polyester felt as stabilizer and batting.
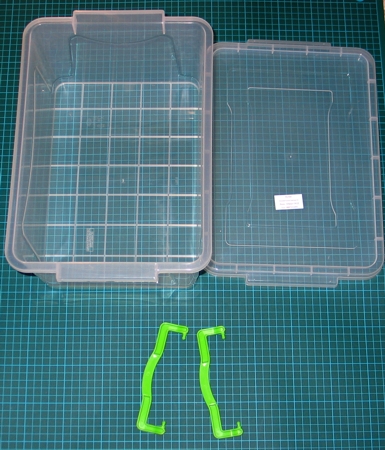
If the box has handles or locks, remove them.
First make 2 templates - of the bottom and of the lid. For this place the box on a piece of large paper and trace its bottom. Cut out the template. Mark it "bottom".
In the same way, trace the lid. Cut out the template. Mark it "lid".
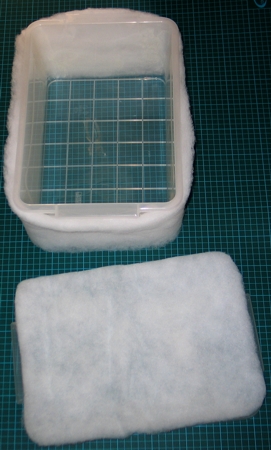
Measure the height and perimeter of the box. Cut out a piece of batting of the needed size and glue it to the outside walls of the box.
Using the "lid" template, cut another piece of batting. Glue it to the lid on the outside.
Out of fabric, cut a strip measuring the circumference of the box plus about 4 inches and the height of the box plus about 4 inches.
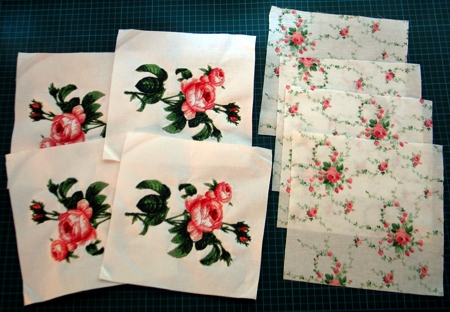
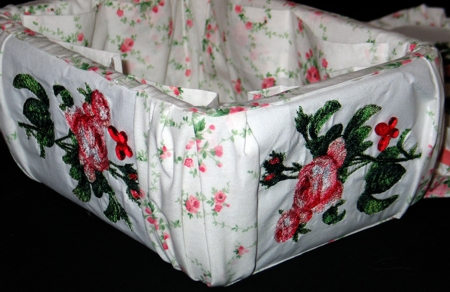
If your box is high enough, you can embroider the strip. We cut 4 squares out of patterned fabric and 4 squares out of plain fabric. We embroidered the plain fabric squares.
Next sew the blocks into a strip. Sew the last seam closed to make a "skirt".

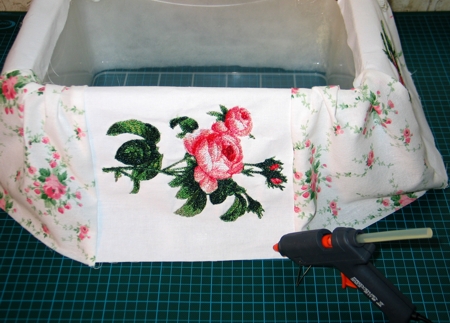
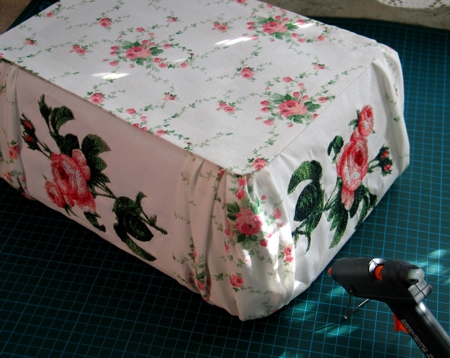
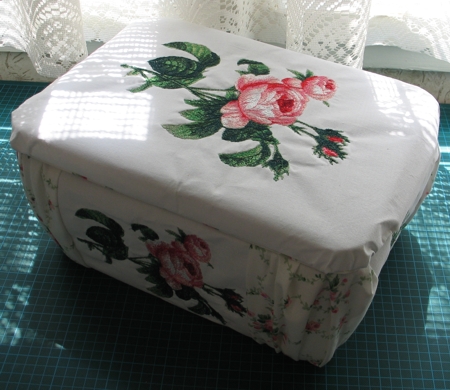
Place the "skirt" over the padded box.
Baste the the fabric along the upper edge (1/4" from the edge) in the corners of the box. Pull the baste thread to make some ruffles in the corners.
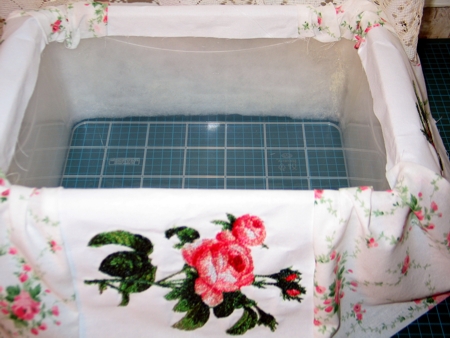
Fold the upper edge inside. Glue the upper edge to the inside walls of the box.
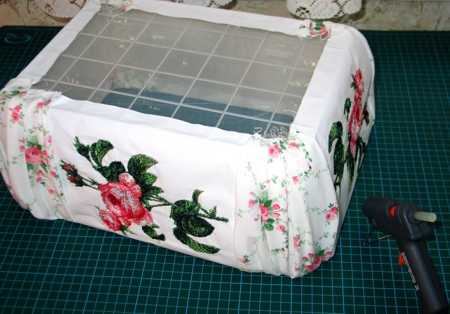
Turn the box bottom up. Baste the the fabric along the edge (1/4" from the edge) in the corners of the box. Pull the baste thread to make some ruffles in the corners.
Fold the edge onto the bottom and glue it to the bottom of the box.
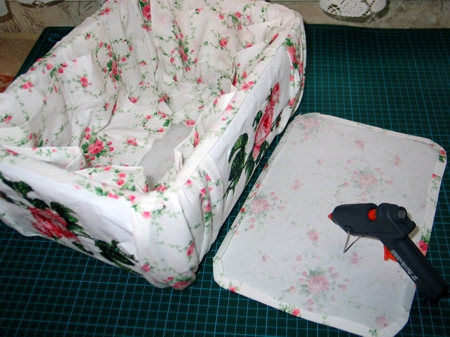
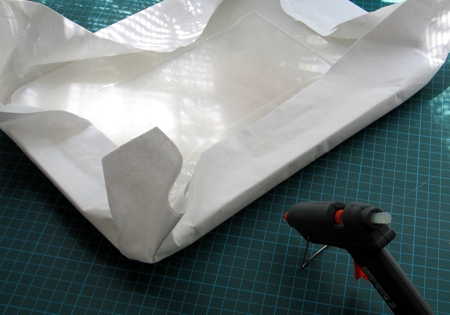
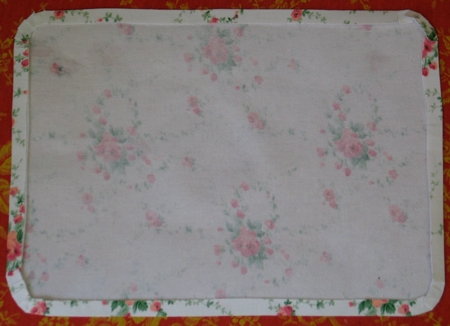
To finish the bottom of the box, use the template "bottom" and cut out a piece of heavy iron-on interfacing.
Iron the interfacing onto the fabric. Cut out the fabric with 1/2" seam allowance.
Turn the edges onto the intefacing and glue in place. Make 2 such pieces.
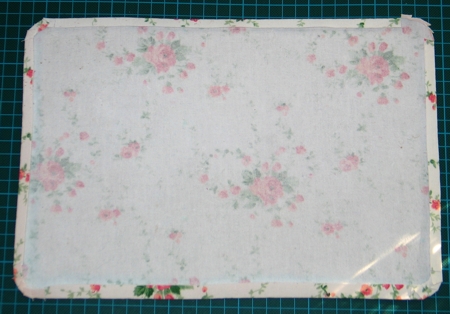
Note: To finish the rounded corners, snip the fabric in the corners, then glue it to the interfacing.

Glue one of the pieces you made to the bottom of the box on the outside to hide all the raw edges. We'll use the second piece later to finish the inside of the box.
To finish the inside of the box, out of fabric, cut a strip measuring the perimeter of the box plus 1 inch, by the height of the box plus 4 inches.
Finish one of the long edges of the strip.
Optionally, you can sew pockets on this strip.
Sew the strip into a circle, seam allowance 1/4".
Insert the circle into the box. Align the upper (finished) edge of the strip with the edge of the box. Glue the fabric to the box.
Glue the lower edge of the fabric to the inside bottom.
Place some glue on the second piece with interfacing.
Glue the piece to the bottom of the box.

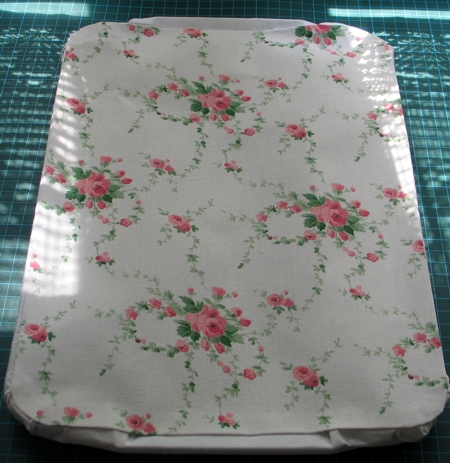
To make the lid, take a piece of fabric 5-6 inches larger than the lid and wrap it around the lid. Glue the edges to the inside of the lid.
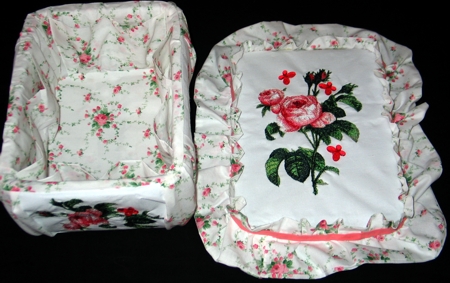
Using the template for the lid, make the piece for the inside of the lid in the same way as you made the bottom.
Glue the cover to the inside of the lid to hide the raw edges.
The lid is ready.
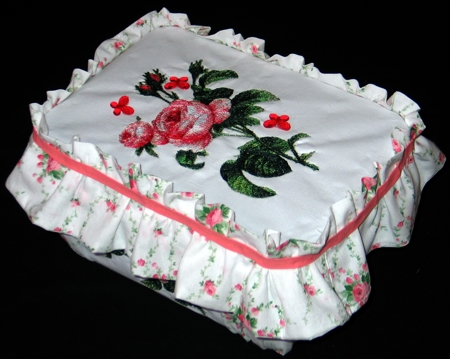
You can add ruffles to make the box look more old-fashined. For this sew a ruffle and baste it to the lid. Cover the baste stitch with a bias tape, trim or ribbon. Glue it over the stitches.
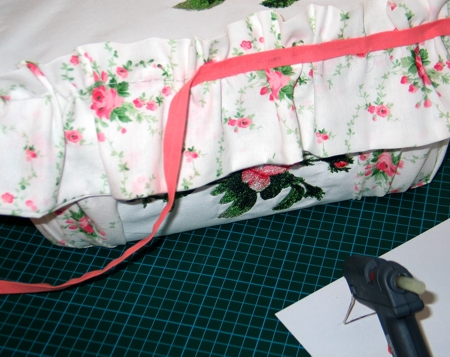
The hobby box is ready!