Kindles, iPads, Nooks and other e-readers are really popular these days, and a custome cover for one of them is a great project. A custom cover lets you give your e-reader a personal touch, and is way more fun than buying one that's ready made. It's also a great gift for any friends or family members that have one of these gadgets.
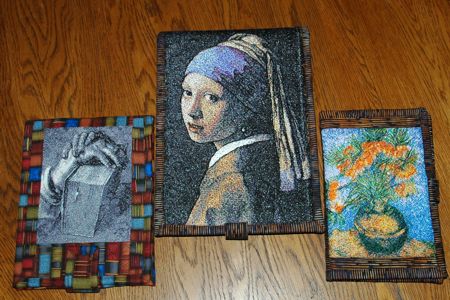
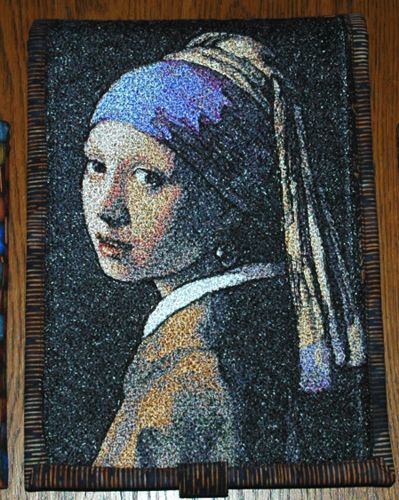
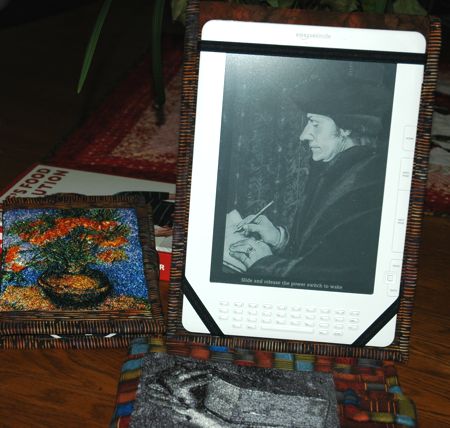
The DX is the largest in the Kindle family and very easy to make a cover for it. We chose the embroidery design of Jan Vermeer. Girl with a Pearl Earring in the photo-stitch technique.
The finished size of the cover is 8 1/4" x 11 3/4" (closed). You will have to adjust the size to fit other devices.
You will need:
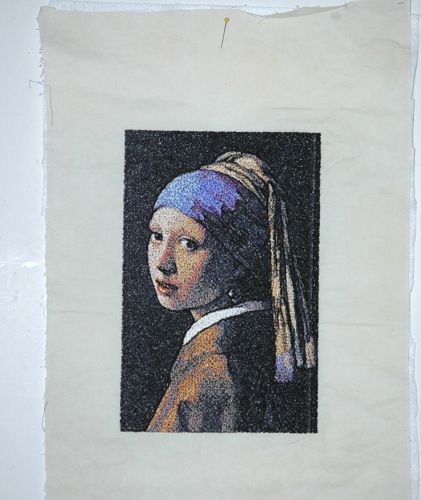
Stabilize the light-colored fabric with medium-weight cut-away iron-on stabilizer and make the embroidery.
Cut away the excess stabilizer. Trim the fabric around the embroidery to 1/2".
Out of fabric for the top, cut 2 strips measuring 1" x 11 1/2" and sew them to the left and right edges of the embroidery.
Out of fabric for the top, cut 1 strip measuring 1" x 9" and sew it to the lower edge of the embroidery.
Out of fabric for the top, cut 1 strip measuring 9" x 13". Sew the strip to the upper edge of the working piece.
Out of each of the fabric for the backing and the batting cut a piece measuring about 10" x 24".
Now place the backing on a flat surface (table) face down. Cover with batting. Spread the top over it.
Pin all three layers together with 1" pins and start quilting. The cover needs to be pretty firm, so quilt it densely. We quilted around the embroidery in the ditch and all over the cover in a free motion style.
After the quilting is finished, press the work with heavy steam, then trim to 8 1/2" x 23 1/2".
To make a clasp, out of fabric for the top, cut a strip measuring 2 1/2" x 3 1/2".
Out of Pellon Peltex cut a strip measuring 1" x 3 1/2".
Fold the fabric strip lengthwise in half. Press. Unfold.
Fold the upper edge about 1/4" inside. Press.
Fold the left and right sides 1/4" inside. Press.
Place the Pellon strip inside.
Top-stitch along all edges.
Cut a piece of Velcro tape about 1 1/2" long.
Sew one half of Velcro tape to the finished end of the clasp.
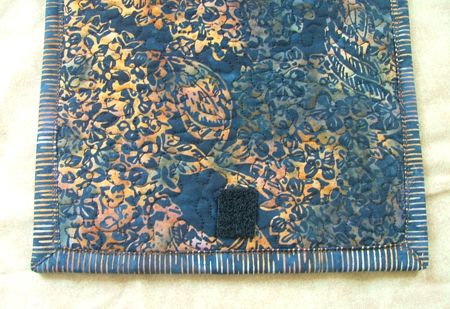
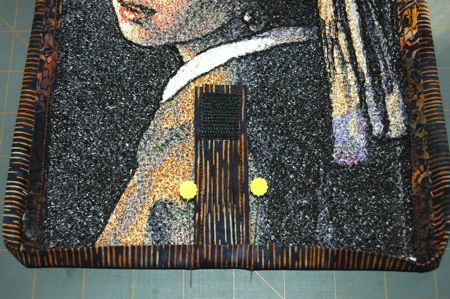
Sew the second half of the tape to the cover, from the upper edge - 1" from the upper edge and about 3 1/2" from the left and the right edges.
Out of fabric for the lining cut 2 pieces measuring 8 1/2" x 12 1/2" each.
Out of Pellon Peltex-70 (or 71) intefacing cut 2 pieces measuring 8 1/2" x 10 1/2" each.
Position the fabric pieces on the pieces of interfacing. Align 3 edges. Fold the fourth, upper, edge over the interfacing. Press.
Quilt the pieces with several straight lines to fasten the fabric and the intefacing.
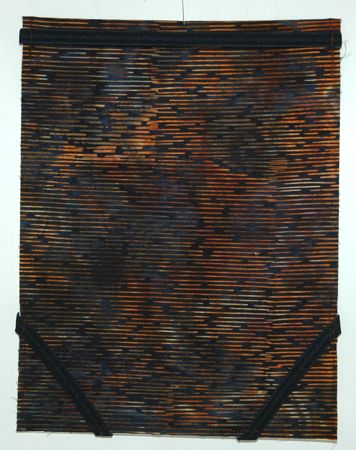
Out of elastic band, cut 3 pieces, one 9-9 1/2" long and 2 of them 4" long. Pin the longer piece along the upper (finished) edge, 1/4" from the edge, and the shorter pieces across the lower corners, as shown on the picture below (they will be used to hold the Kindle in the cover). Fold the ends of the bands back. Topstitch along all edges twice, 1/8" and 1/4" from the edge, securing the bands.
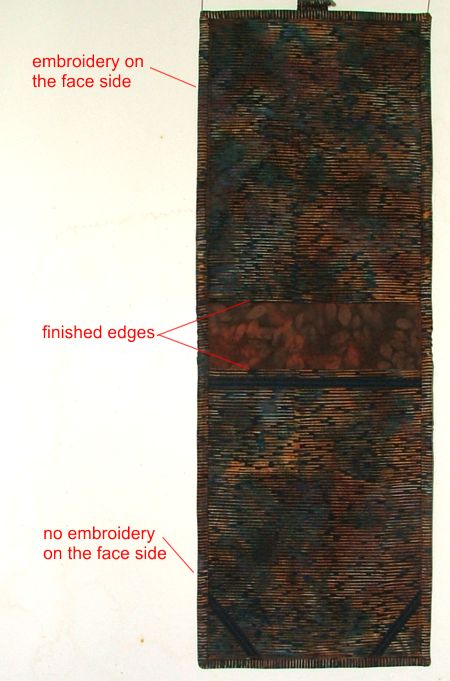
Place the quilted top on a table, face down. Position both panels over the lining -
the panel without the elastic bands goes over the end with the embroidery, and the panel with the bands goes on the end without embroidery. The finished edges of each piece should face at each other. Pin the parts together.
Topstitch 1/4" from the edge, along all edges.
Out of fabric for the top, cut the binding 2 1/2" wide and about 68" long.
Fold the strip lengthwise and press.
Pin the binding to the wrong side of the cover. Machine-stitch 1/4" from the edge.
Press the binding and fold it on the right side of the cover and pin. Insert the clasp strip under the binding on the lower end with embroidery as shown in the picture below.
Topstitch the binding.
The cover is ready. Unfolded, it can be used as a stand.
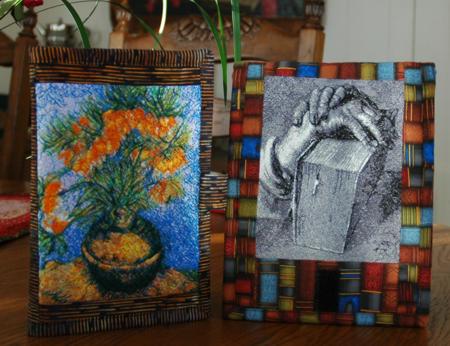
We also have instructions on how to make quilted covers for the Kindle 2 (shown on the right) and Kindle 3 (shown on the left).