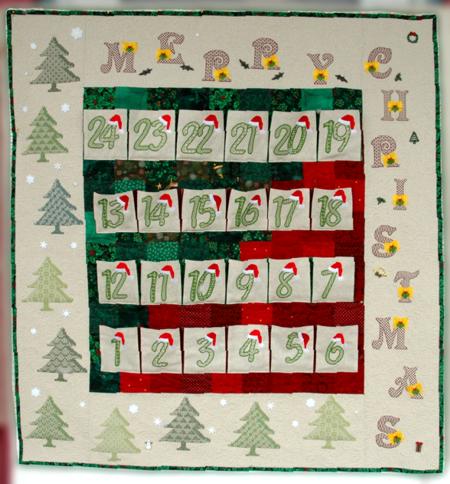
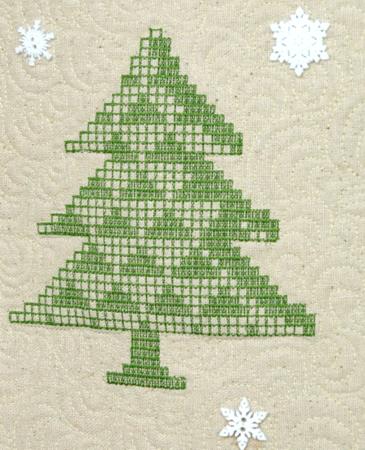
| This simple but charming Advent Calendar features roomy pockets that are big enough to accommodate several sweets or small gifts, which is handy when there are several kids in the family or if you're making this project for a school or church. The designs used for the Advent Calendar are the Numbers, Holly Berry Alphabet and FSL Crochet Christmas Trees.
The finished size of the calendar is about 41" x 44"
|
Click to enlarge |
| For the quilt you will need scraps of green and red fabrics, and 1 1/2 yard of Osnaburg fabric. You will also need batting and the fabric for backing and binding. For embellishment you will need Christmas- or winter-themed ornaments and buttons (optional) |
|
Cutting:
|
| Cut all your red and green scraps into 90 squares measuring 3 1/2 x 3 1/2" each. Cut the remaining red and green scraps into
- 20 strips measuring 2 1/2" x 6" and
- 8 strips measuring 1 1/2" x 6".
Out of Osnaburg, cut
- 2 strips measuring 8" x 27 1/2" and
- 2 strips measuring 8" x 46 1/2".
On the remainder of the Osnaburg draw a grid with cells measuring 5" x 7" each. Do not cut them out yet. These will be used for the pockets of the calendar. |
|
Assembly of the Top:
|
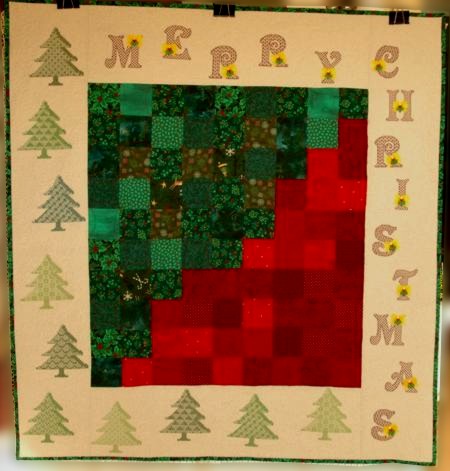
| Sew the red and green squares into a central rectangle 9 squares wide and 10 squares high. First we sewed the squares into 9 strips. Then we sewed the strips together. We arranged the squares so that half of the rectangle is green and half is red. |
|
| Sew two Osnaburg strips measuring 27 1/2" x 8" to the upper and lower edges of the central part. |
|
| Sew the other two Osnaburg strips measuring 8" x 45 1/2" to the left and right edges. |
|
|
Embroidery:
|
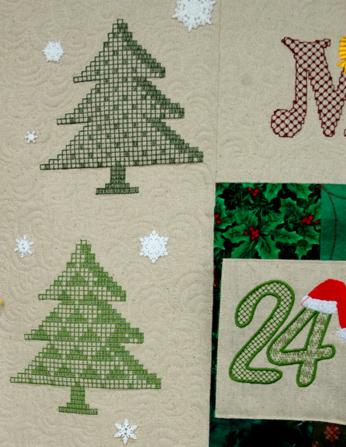
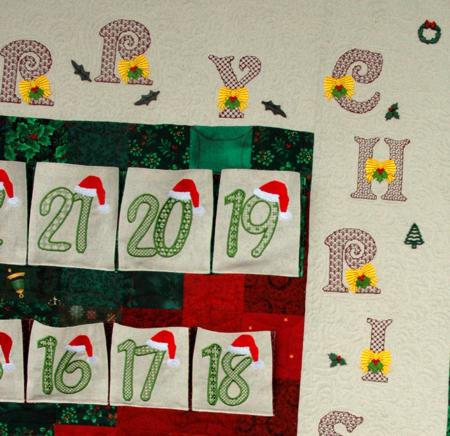
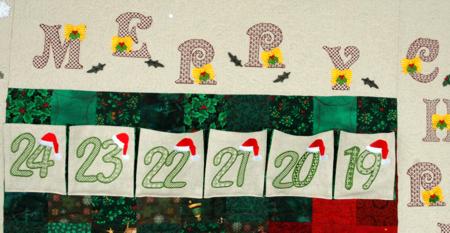
| Stabilize the borders with your favorite cut-away or tear away stabilizer. Embroider the FSL Crochet Christmas Trees on the left and lower borders. Embroider "Merry" on the upper border and "Christmas" on the right border. We used the letters from the Holly Berry Alphabet.
|
|
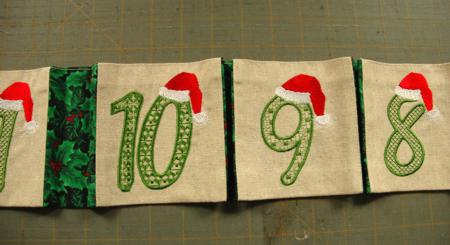
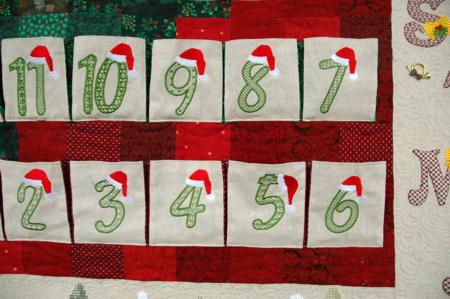
| Stabilize the Osnaburg fabric with the grid using your favorite cut-away or tear away stabilizer. Embroider the Numbers in the center of each cell. Cut out each cell of the grid and trim the embroidered rectangle to 4 1/2" x 6".
|
|
Quilting:
|
| Now place the backing/lining on a flat surface (table) face down. Cover with batting. Spread your working piece over it. Pin all three layers together with 1" pins. We quilted around the embroidery and all over the quilt in a free-motion style. Remove the pins while quilting.
Press the work with heavy steam and square the work -- all corners should be 90 degrees and opposite sides should be of the same length. Trim the wide borders to desired width.
Finish the raw edges with binding.
Now your top will look like this:
|
|
|
Macking the pockets:
|
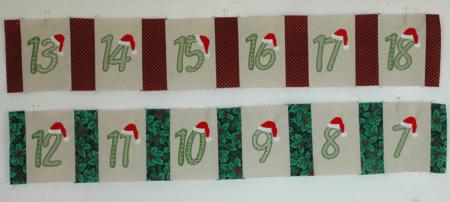
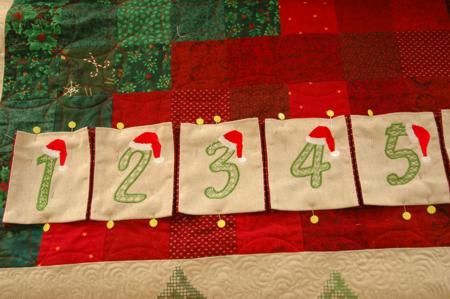
Take the rectangles with the numbers and the 2 1/2" x 6 and 1 1/2" x 6" strips.
Arrange the numbers strips in rows: each row starts and ends with the 1 1/2" x 6" strip,
there are six numbers in the row with 2 1/2" x 6" strips between the numbers. |
| Sew 4 rows. Finish the edges of the rows with zig-zag. |
|
Fold the upper edge 1/2" back, press. Topstitch 1/4" from the edge.
Fold the lower edge 1/2" back, press.
Pleat the colored strips between the numbers, press. |
|
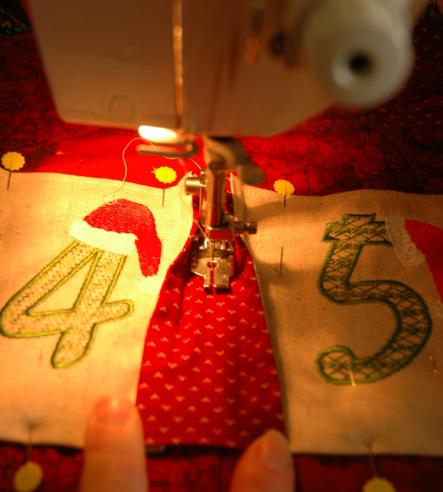
| Working with one row of pockets at a time, pin the first row to the quilt top. Pin every pocket as shown. |
|
| Open each pleat between the pockets and topstitch it to the top one by one. |
|
Close the pleats and topstitch along the lower edge of the pocket row.
In the same way, attach all 4 rows. |
|
|
Finishing:
|
| We decorated the borders with Christmas-themed buttons. |

|
|
|
|
|
|
Enjoy!
|
|
Happy Stitching!
|
|
Back to Numbers, Holly Berry Alphabet or FSL Crochet Christmas Trees
|
|
Back to Projects Page
|


