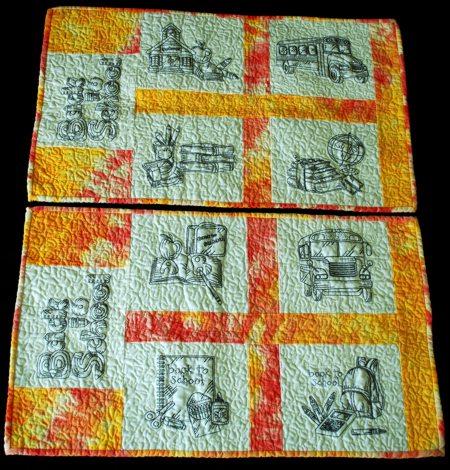
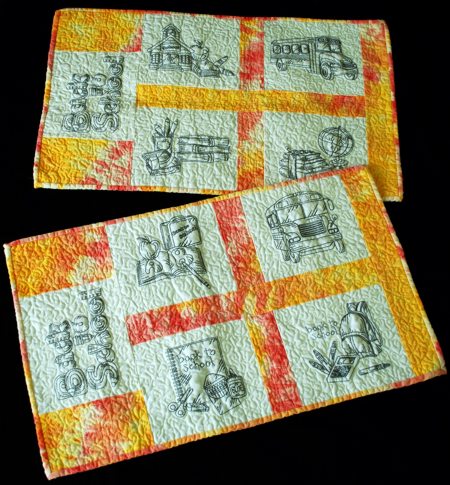
These charming table mats feature the designs from the Back to School Redwork Set for a large (5" x 7") hoop. At this time of year, they serve as a perfect reminder to take care of back-to-school shopping. The finished size of the mats is about 16" x 27" .
For each mat you will need about 1/2 yard of light solid cotton fabric and 1/2 yard of brightly-colored fabric. You will also need batting and fabric for backing.
For each mat, out of the light-colored solid fabric cut 5 blocks measuring 7 1/2" x 8 1/2";
Out of brightly-colored fabric cut:
Take one light block and 2 brightly-colored 4 1/2" x 7 1/2" rectangles.
Sew the bright rectangles to the sides of the light-colored one. Set it aside for now.
Take the remaining 4 light blocks and the 2 bright strips measuring 2 1/2" x 7 1/2".
Sew two blocks on each side of a strip.
Take the bright-colored 2 1/2" x 18 1/2" strip. Sew it between the two strips.
Take the remaining bright-colored 2 1/2" x 16 1/2" strip and sew it to the bottom edge of the working piece.
Sew the strip you made in step 1 to the top of the working piece.
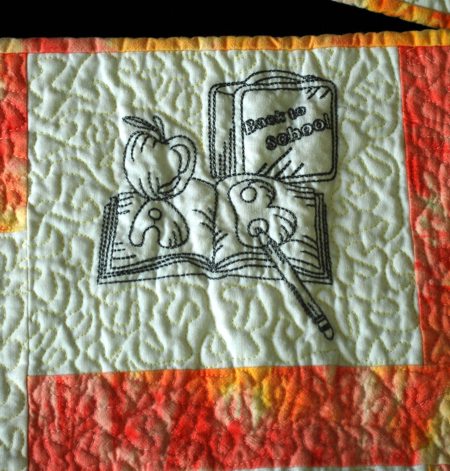
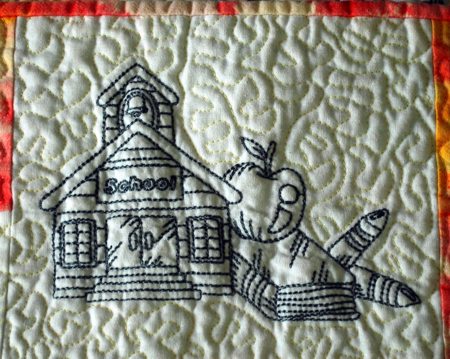
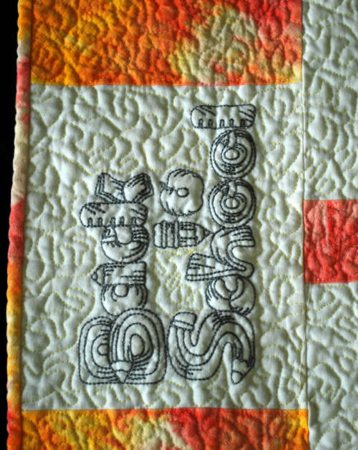
Stabilize the fabric with your favorite cut-away or tear away stabilizer. Choose the designs from the Back to School Redwork Set. We embroidered the "Back to School" inscription on the side block of each mat and other designs from the set on the other blocks.

Now place the backing/lining on a flat surface (table) face down. Cover with batting. Spread your working piece over it.
Pin all three layers together with 1" pins. We quilted around the embroidery and all over the mat in a free-motion style. Remove the pins.
Press the work with heavy steam and square the work -- all corners should be 90 degrees and opposite sides should be of the same length.
Finish the raw edges with binding.