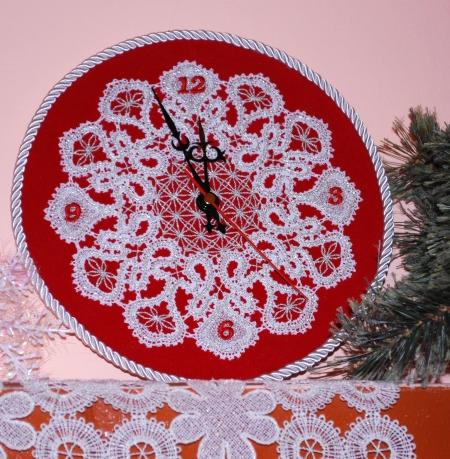
These are instructions on how to embroider the FSL Battenberg Lace Clock Face and make the clock.
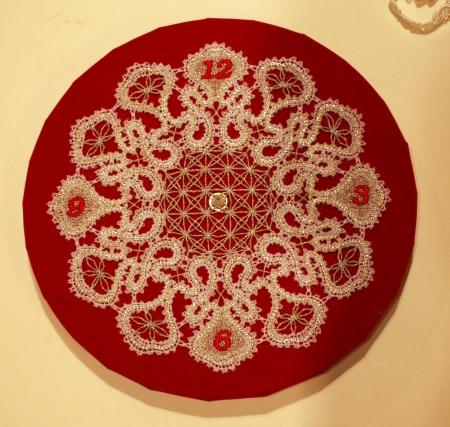
The numbers on the lace are embroidered by the last color. If you skip that color, you can use the lace as an attractive doily. The finished size of the lace is about 8" in diameter.
To embroider this type of lace, please read our recommendations first.
Stabilizers: We recommend to use water-soluble mesh, such as Vilene. Vilene D0102 is a non woven dissolvable stabilizer which is imported into the US, is sold in large rolls and is sometimes packaged under different brand names. Some of these brand names are Fabri-Solvy by Sulky, Avalon Plus by Madeira, Wash-Away, and Aqua Magic.
Film-like water soluble stabilizers, such as Solvy by Sulky, Avalon by Madeira, Badge Master, are not suitable for Free-Standing Lace embroidery.
Threads: The thinner the thread, the finer the final product will be. That is why for this project we recommend cotton thread, which gives bulk to the lace and makes it look hand-made.
Embroidery polyester thread will make very fine web-like lace.
Embroidery rayon thread is too soft, it does not keep its shape and very often its color fades under the influence of chemicals from the water-soluble mesh.
If you are using 50- or 60-weight cotton, you can use it both in the bobbin and in the needle. If you use 40-weight cotton thread for the needle, you can use regular polyester bobbin thread.
If you prefer to use cotton in the bobbin, you can use embroidery polyester in the needle.
We used Signature machine quilting cotton thread, but similar threads from other companies should work just as well.
To get two-sided embroidery use threads of the same color in the needle and in the bobbin.
Needles: We use size 80/12 embroidery needles and 80/12 metallic needles. Our experience shows that cotton thread used with metallic needles gives less lint. The needles should be sharp, so it's advisable to change them often.
Most Importantly: ALWAYS make a test stitch-out of the design and wash away the stabilizer. This helps you to select the threads, needles, stabilizers and settings of your machine correctly. DO NOT embroider several designs in one hoop.
To make the clock as shown, you need to buy a kit that includes the clock mechanism, hands and a round wooden face about 8 1/2 - 9" in diameter. They can be found in craft stores or online.
You will also need a fat quarter of red fabric or medium-weight red paper (preferably self-adhesive). If you do not have self-adhesive paper, use white glue.
You will also need polyester cord to finish the edges.
Step One: Embroider the pattern on 2 layers of watersoluble mesh using cotton threads for the lace and polyester embroidery thread for the numbers.
Rinse the mesh in lukewarm water. Slightly press the embroidery with the paper towel to remove extra water. Leave to air dry. Press.
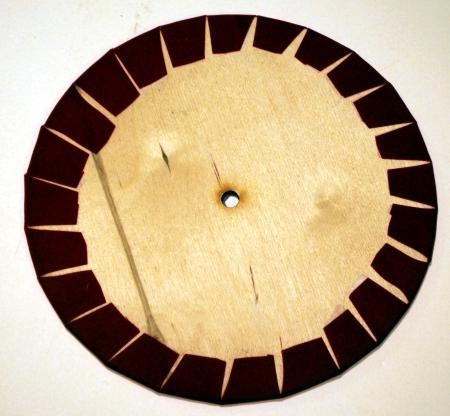
Step Two: Place the fabric or paper on the table, face down. Place the wooden clock face on the fabric/paper. With a pencil, trace the outline of the circle.
Cut out the circle 1" from the drawn circle. Make notches 7/8" deep.
If you use self-adhesive paper, remove the film from the adhesive back. Place the wooden clock face in the circle and press to adhere.
If you use fabric, place the wooden part in the circle. Apply some glue over the notches.
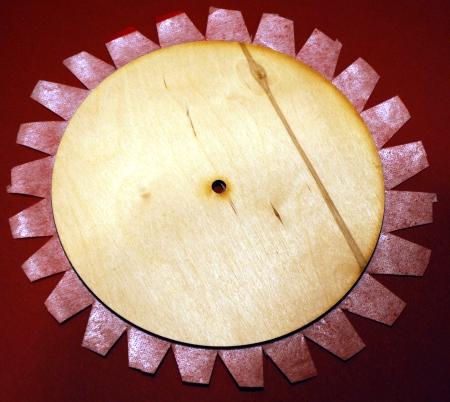
Step Three: Fold the notches back onto the wooden circle and press to adhere in place.
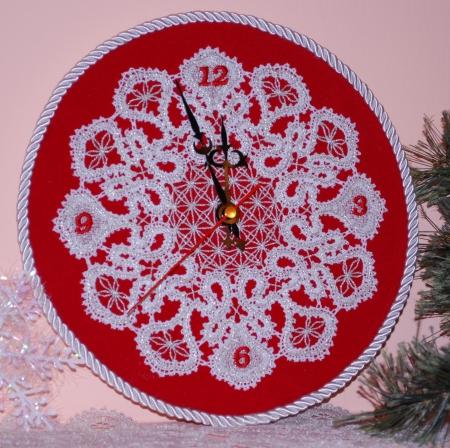
Step Four: Turn right side up. Make a hole for the hands.Using a small amount of glue, adhere the lace to the face.
Step Five: Finish the edges with cord - you can either slip-stitch or glue it in place.
Step Six: Insert the hands and clock mechanism as instructed by the manufacturer.