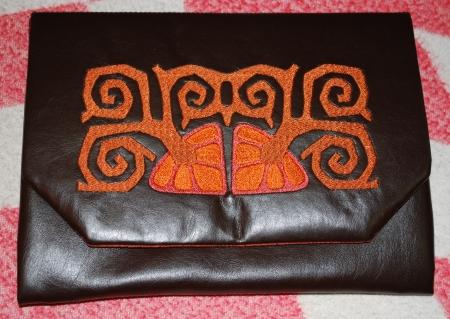
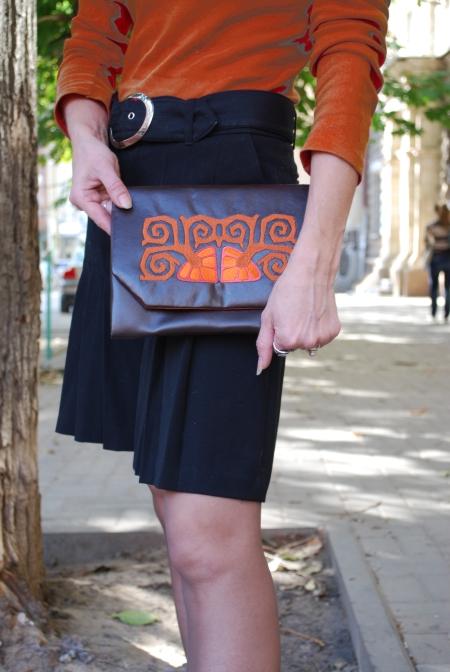
The classic clutch is a perennial accessory that completes any outfit. They're easy to customize to match your style, and make great gifts for your friends.
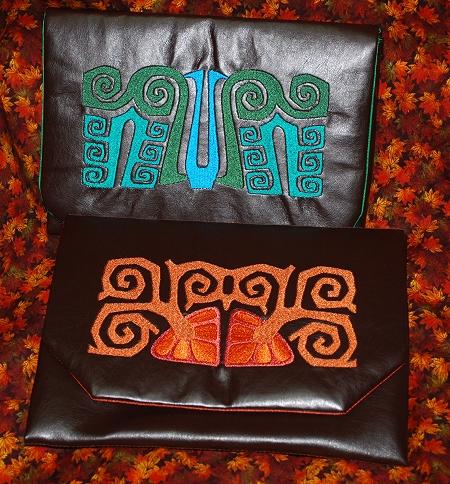
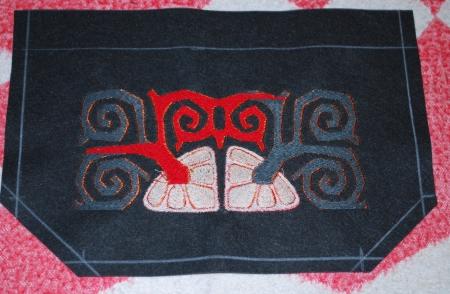
The designs used for the purses are from the Art Nouveau Border Set for a large (5" x 7") hoop.
The finished size of each purse is about 9 1/2" x 7" (24cm x 18cm) .
For each purse you will need:
Cut a piece of leather-like polyester fabric measuring 10" x 12". Hoop the self-adhesive tear-away stabilizer. Remove the paper covering the sticky side inside the hoop. Adhere the fabric to the stabilizer.
Choose a design from the Art Nouveau Border Set and upload it to your machine.
Select thread colors.
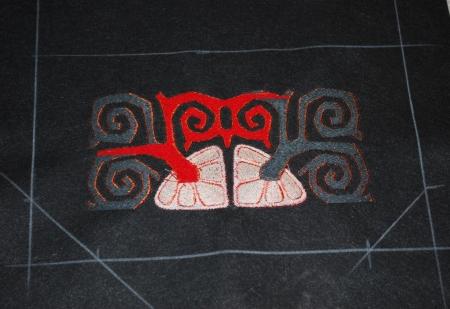
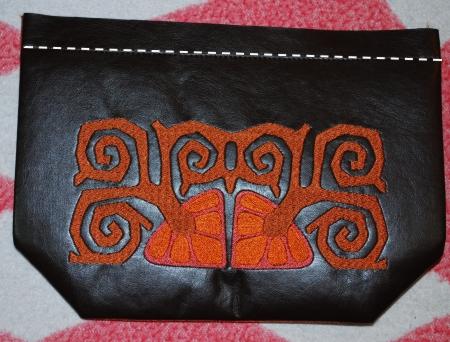
Embroider the design.
After the embroidery is done, remove the stabilizer.
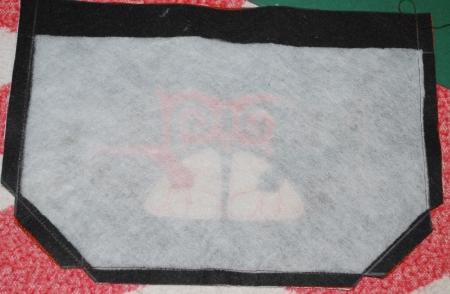
Stabilize the fabric for the lining with light-weight iron-on cut-away stabilizer.
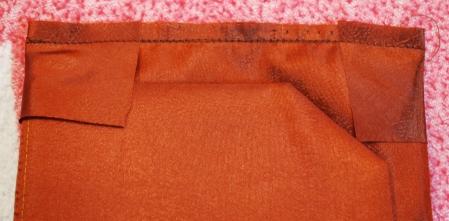
Place the embroidered piece face down on your working table. Measure 1 1/2" from each side of the embroidery. Draw a rectangle around the embroidery.
Measure 1 3/4" from the lower corners up and to the left and right. Mark the points. Connect the marks.
Cut away the excess fabric, leaving 1/4" for seam allowance on the left, right and bottom. On the top, leave 1".
Using this part as a template, cut the same part out of the fabric for the lining, stabilized with the light-weight iron-on cut-away stabilizer.
Cut out 2 more parts using the template: the first one out of thin polyester felt, and the second one out of Pellon-Peltex 70 interfacing or thin carbord. These two parts should be 1" shorter on top than the embroidered part and the lining.
Make a sandwich out of the lining, embroidered part and felt. Position the lining face up, place the embroidered part over it, face down, and place the felt on top of the embroidered part. Align all edges. Pin all three layers together. Topstitch 1/4" from the edges, stitching from the side of the lining. Leave the upper edge open.

Cut away the felt on the seam allowances, close to the stitches. Make notches in the corners.
Turn the work right side out. Insert the Pellon-Peltex part inside.
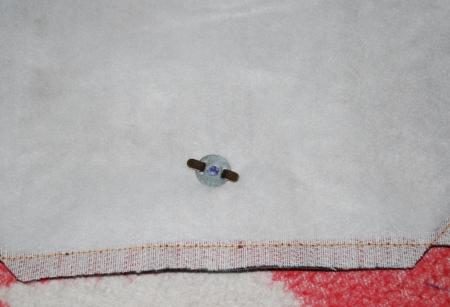
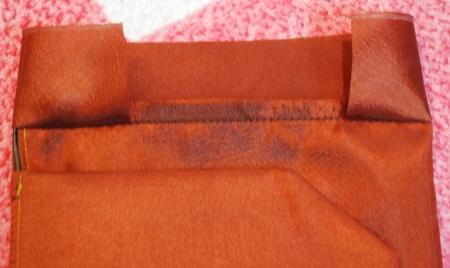
Mark the position of the magnetic clasp and insert the upper part of it through all the layers except the embroidered part.
Measure 1" from the upper edge and mark with the marker. Topstitch along the marked line.
With the help of the ruler and rotary cutter straighten the upper edge, cut away up to 1/4".
Topstitch again along the upper edge, seam allowance 1/4".
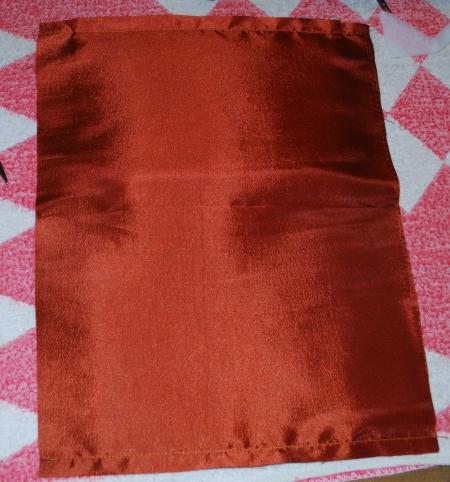
Cut a 12" x 15" piece from the outer fabric. Cut another 12" x 15" piece from the lining stabilized with iron-on cut-away stabilizer.
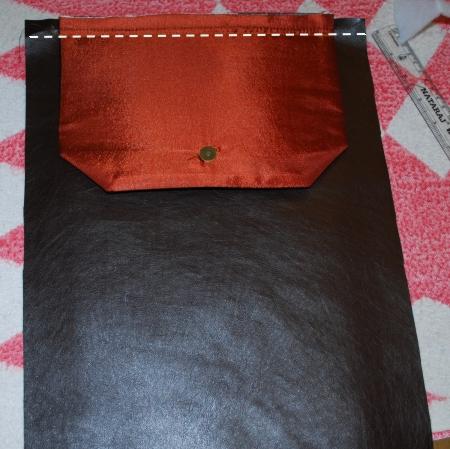
Position the outer fabric rectangle face up. Place the flap over it, face down. Align the upper edges. Leave 1" on each side of the flap. Pin. Mark the line 1/2" from the upper edge. Topstitch the flap in place.
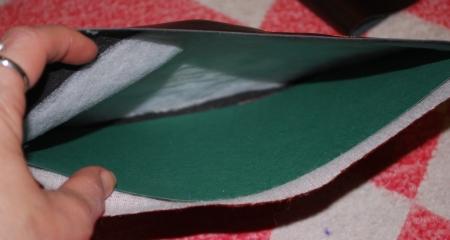
Place the lining face down on the piece with flap. Align all edges and pin the layers together.
Sew along the short sides 1/2" from the edge.
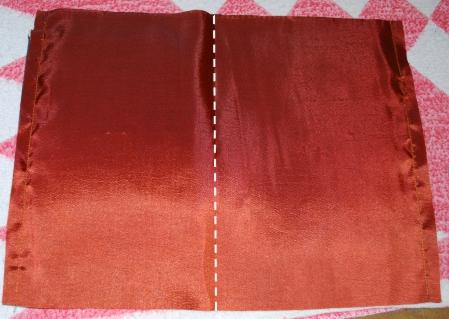
Mark the central fold line.
Turn the work right side out. Press the seams with warm iron. Topstitch the seams 1/8 from the edges.
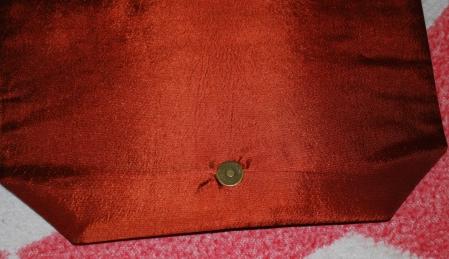
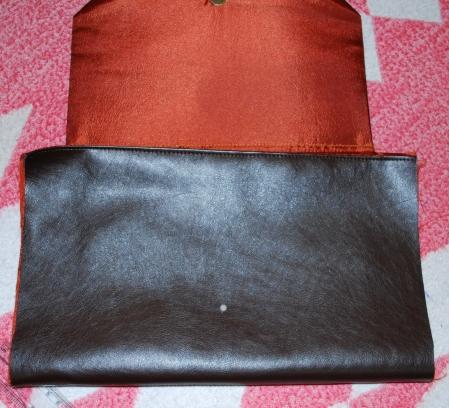
Fold the purse along the fold line. Apply some chalk to the upper edge of the closure. Fold the flap over the clutch and press the clasp a little bit, so that the chalk leaves a mark. This is where you want the second half of the clasp.
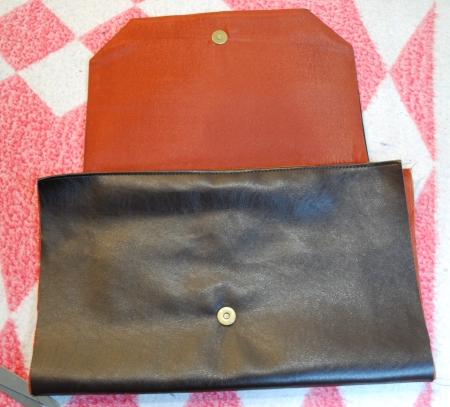
Attach the second half of the clasp.
Fold the purse right side inside. Align the sides. Sew them together, seam allowance 1/4".

Out of the fabric for the lining, cut 2 strips measuring 2 " x 10".
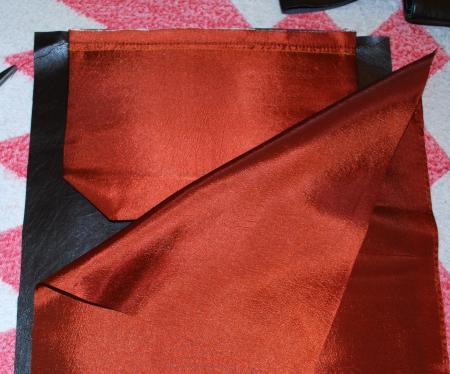
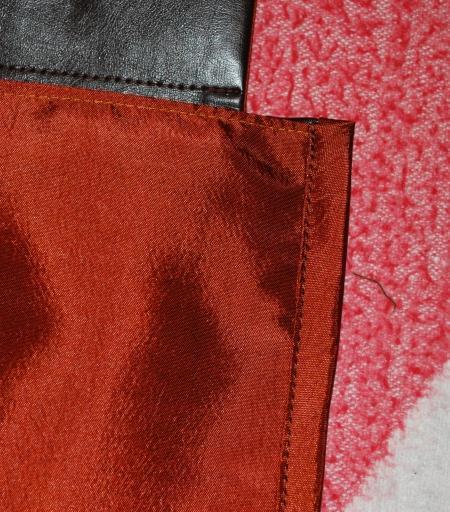
Position the first strip along one side as shown. Pin. Topstitch 1/4" from the edge.
Unfold the strip, as shown.
Fold the strip over the seam and press. Tuck the raw edge under the fold. Press again. Pin. Topstitch in place.
Repeat with the other side of the purse.
Turn the work right side out. Tuck the sides inside.