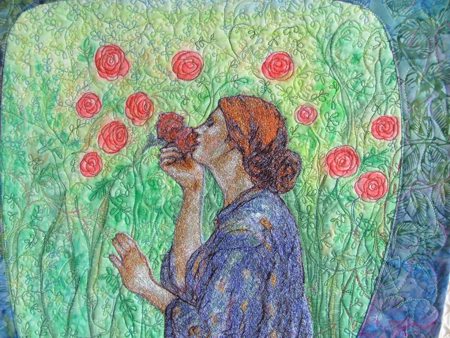
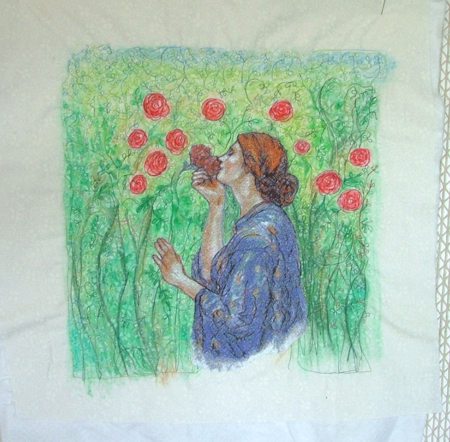
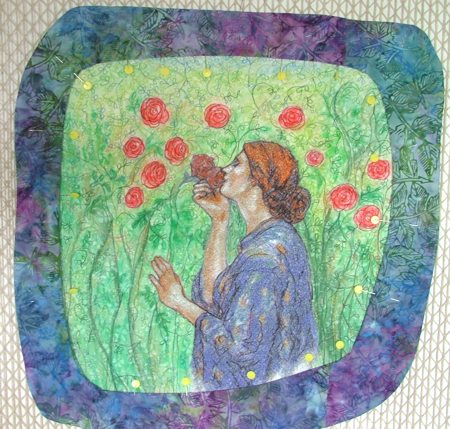
The embroidery design used for this charming art quilt is a fragment of John William Waterhouse's picture My Sweet Rose.
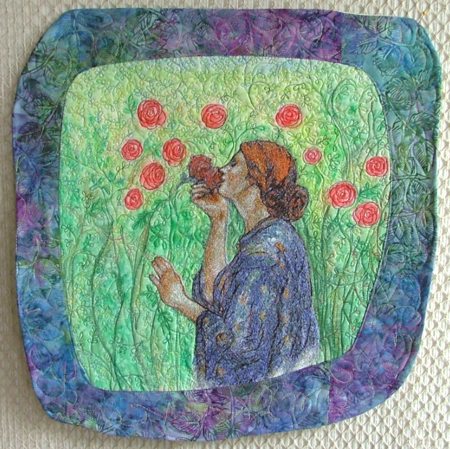
The finished size of the quilt is about 17" x 18".
You will need:
For the binding, which doubles up as the outer border of the quilt, you will need a piece of batik measuring about 21" x 21".
For embroidery you will need organza and water-soluble mesh stabilizer.
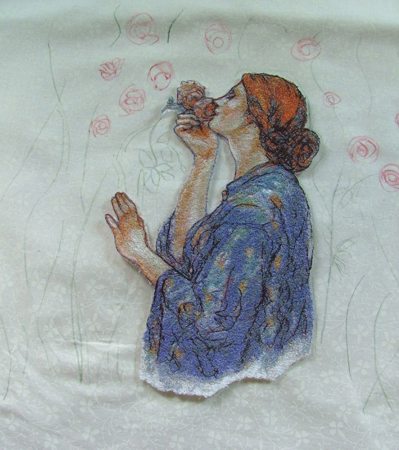
Stabilize the organza with 2 layers of water-soluble mesh stabilizer and make the embroidery of the My Sweet Rose pattern.
Wash away the stabilizer. Let the stitch-out dry. Cut away the excess organza around the stitch-out.
Cover your working table with a piece of paper, plastic or carboard to protect its surface. Position the white muslin on top of it.
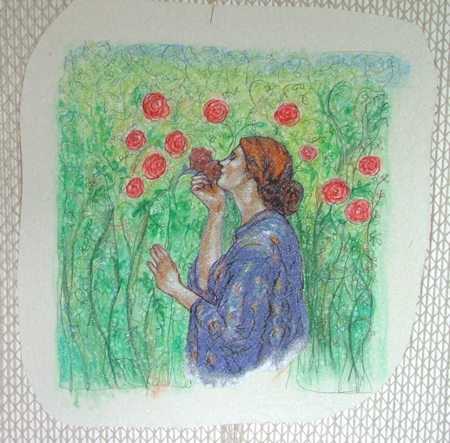
Position your stitch-out on the muslin. The position is not critical, but should be closer to the lower edge of the piece.
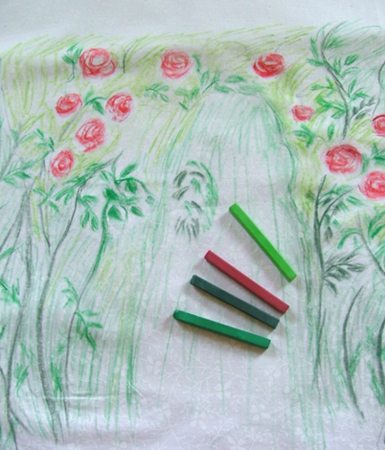
With Derwent Intense Blocks, mark the position of the stitch-out. Draw several lines to represent stems and several circles to represent roses.
Remove the stitch-out and draw the rose bush. You do not need to be an artist, just draw vertical green lines for stems in several shades of green and red circles for the roses.
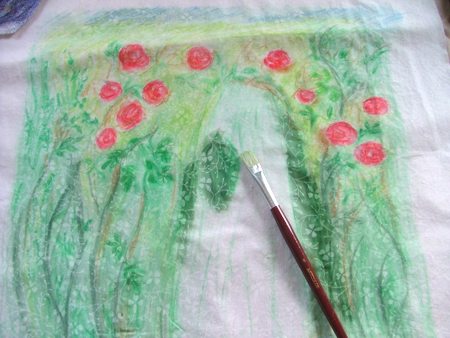
Take the brush and water and dab at the muslin to cover the painting with a layer of water. The colors will blend slightly. Leave the work to dry for 24 hours. After it dries, the colors will bind to the fabric permanently and will not run.
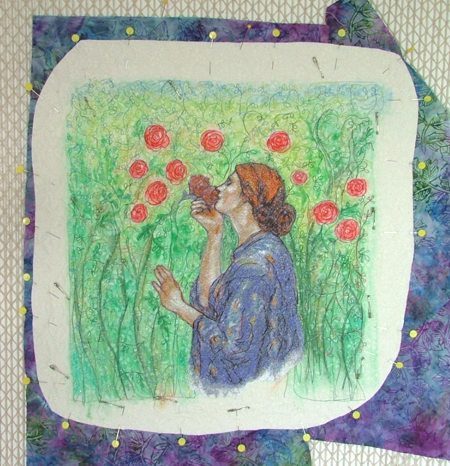
Prepare the work for quilting - place the backing on a flat surface (table) face down, cover with batting, spread your working piece over it, and pin all three layers together with 1" pins.
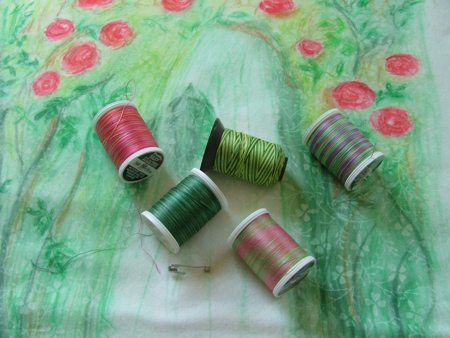
Choose variegated quilting threads.
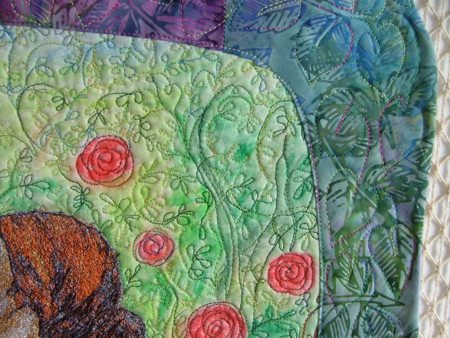
Quilt in a free-motion style - follow the lines of the stems, leaves and roses that you drew. It's easy to quilt a rose. Start with a central oval, and then quilt curving petals around it, as shown in the diagram:
Quilt about 2" beyond the picture, all around.

Press the work with heavy steam. Pin the stitch-out in place with several pins. Instead of pins you can also use a temporary fabric adhesive or Steam-a-Seam2 (two-sided fusible mesh for applique). Using invisible thread zig-zag the stitch-out in place along the edges.
With scissors, cut out the quilt - it may be of any shape you want. Please note that we leave about 2" around the painting.
Press the fabric for the "binding" well. Place it on your working table, face up. Smooth with hands.
Place the quilt over the binding piece. Pin all layers with safety pins. Pin the edges with flat head pins.
Topstitch 1/4" from the quilt's edge.
Cut away the excess "binding" fabric.

Turn the quilt face down. With scissors cut an opening in the "binding" leaving about 3" of fabric on all sides.
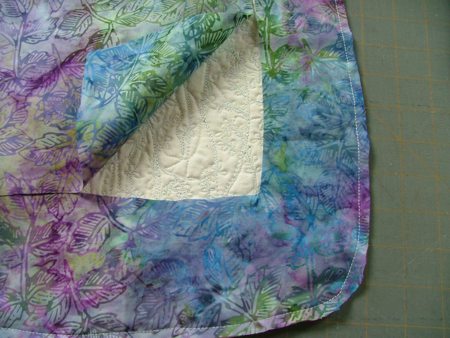
This is how the back of the quilt looks like. Press. Clip the fabric along the curves (marked in red).
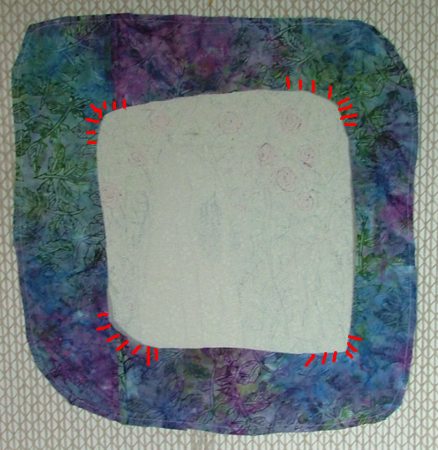
Turn the binding out onto the front of the quilt. Press again. Fold the edges 1/4" under the "binding". Press the edges. Pin them in place.
Topstitch along the edges to fix them in place. Then quilt the "binding" in a free motion style. We quilted some leaf outlines on the binding.