Nowadays, people keep most of their photos on their computers. Photo albums are a little old-fashioned, and because of that, I think, more personal and warm. Usually, a lot more care goes into picking out pictures for an album then when you're looking through a list on the computer.
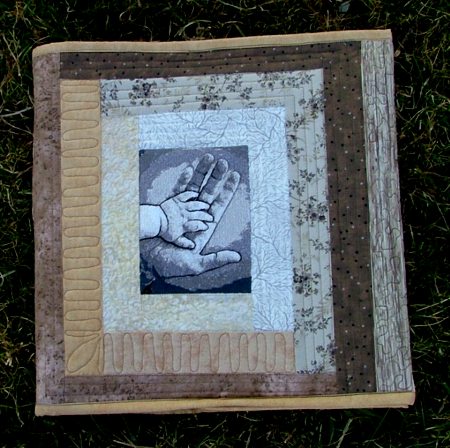
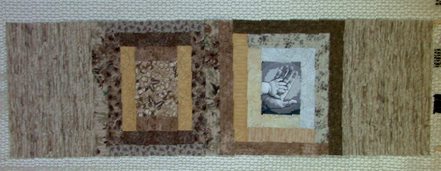
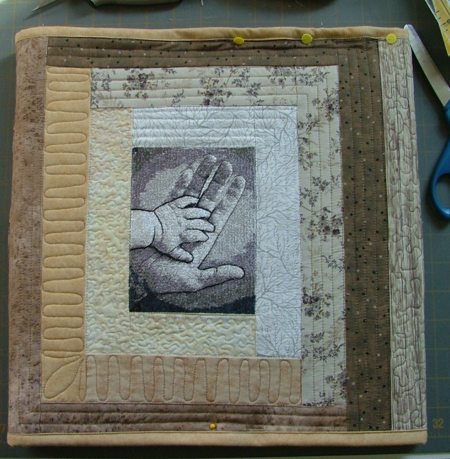
We made this quilted album cover featuring The Guiding Hand design in the photo-stitch technique.
For the project, you will need scraps of brown and tan cotton fabrics, and fabric for the backing, batting and binding. Since this is a cover for a phot album, you'll need one of those, as well. We picked brown because it goes better with the design.
For the embroidery, you will need light-colored base fabric. It can be white, light cream, or pale yellow. You will also need embroidery threads and iron-on medium weight stabilizer.
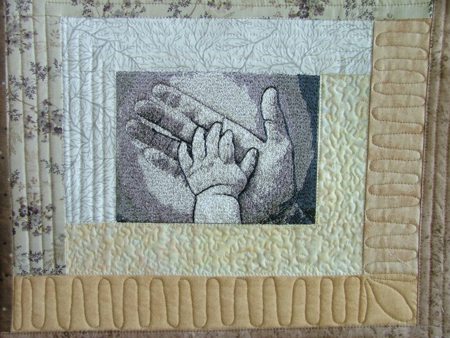
Stabilize the fabric and hoop it. Make the embroidery of The Guiding Hand. After the embroidery is finished, remove the excess stabilizer. Measure the embroidery. The finished size of the embroidery is 4 1/8" x 5 1/2". Cut out the embroidery leaving 1/4" seam allowance on all sides. The finished size of the piece should be 4 5/8" x 6".
Measure the album. Our album measured 13" x 13" x 2".
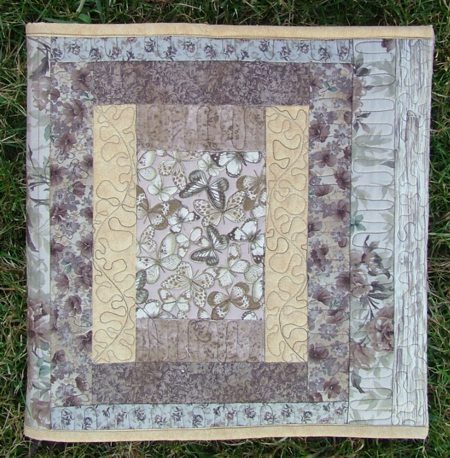
We made a "court house" block around the embroidery. We made a similar block, without embroidery, for the back panel. The size of the block will be determined by the size of your album, so you will have to make adjustments.
The finished size of the embroidered piece with seam allowance is 6" x 4 5/8".
Out of fabric with a large print, cut out a piece of the same size for the back panel.
Both pieces will be the central part of 2 blocks.
For each side you will need the following strips:
Sew the 2" x 4 5/8" strips to the upper and lower edges of the central block.

Sew the 2" x 9" strips to the left and right edges of the central block.
Sew the 2" x 7 5/8" to the upper and lower edges of the working piece.

Sew strips measuring 2" x 12 1/2" to the left and right edges.
Sew strips measuring 2" x 11 1/8" to the upper and lower edges
Sew strips measuring 2" x 14" to the left and right edges.
The front and the back blocks are assembled in exactly the same way. However, the color of the strips makes them look different.
Sew the front and the back blocks together.
Out of a brown or beige fabric, cut 2 pieces measuring 14" x 10". Sew the pieces to the left and right edges of the blocks.
Your working piece will look like this:
Now place the backing/lining on a flat surface (table) face down. Cover with batting. Spread your working piece over it.
Pin all three layers together with 1" pins. Quilt densely in a free-motion style.
Press the work with heavy steam and square the work -- all corners should be 90 degrees and opposite sides should be of the same length.
Measure the short sides of the work - they should be 1/2" larger than the height of your album. Trim the work to this size.
Finish the raw edges with binding.
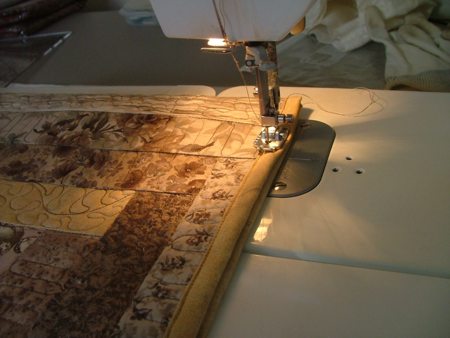
Place the work on the table right side down. Place the open album over it. Fold the short ends over the album. Pin in place. Close the album to check that the cover fits it properly.
Topstitch the folded edges.
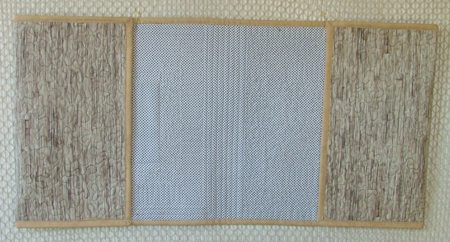
The unfolded cover looks like this:
Put the cover over the album.
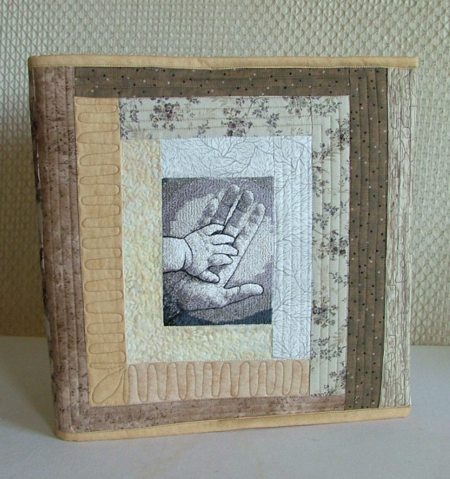
This is the back of the album.