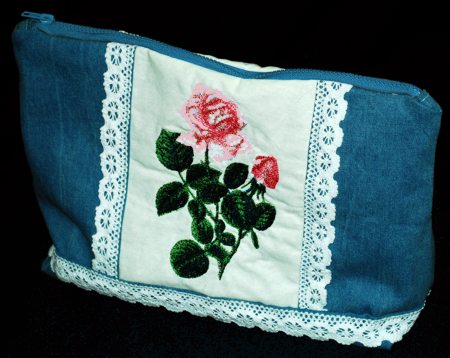
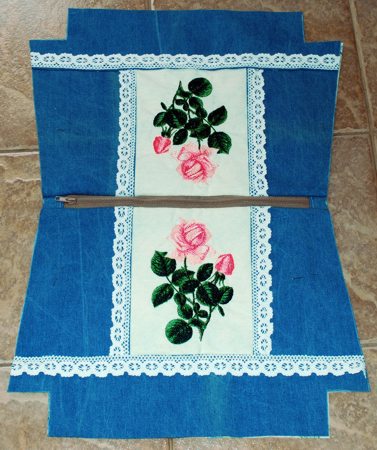
This fetching little cosmetics bag also works as a clutch purse. The denim construction (you can actually use fabric from a worn out pair of jeans) gives it a casual look that's at home anywhere. We used the design Bride's Dream Tea Rose for a large (5" x 7") hoop .
The finished size of the bag is about 13" x 12" x 3" .
You will need:
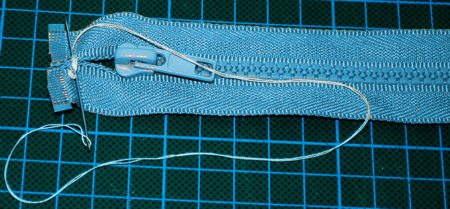
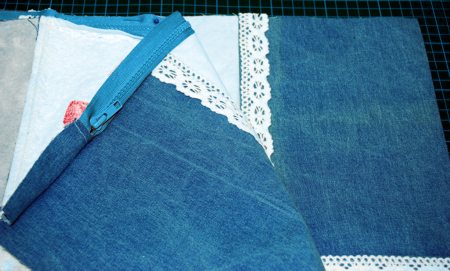
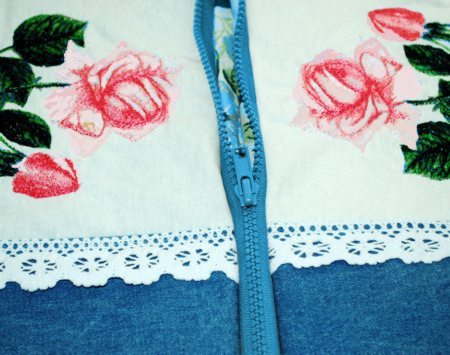
Choose a zipper of a color to match your denim. We used a contrasting color for the purposes of this tutorial.
Manually sew the zipper's fabric ends together.
Out of denim, cut out 4 pieces measuring about 3" x 3". Position the pieces face to face on the ends of the zipper, with the zipper sandwiched in between. Pin in place.
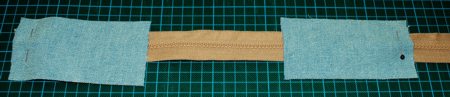
Machine-stitch 1/4" from the edge.

Unfold the pieces. Pin the pieces together. Topstitch 1/8" from the seam.
Cut the denim pieces to make them the same width as the zipper.

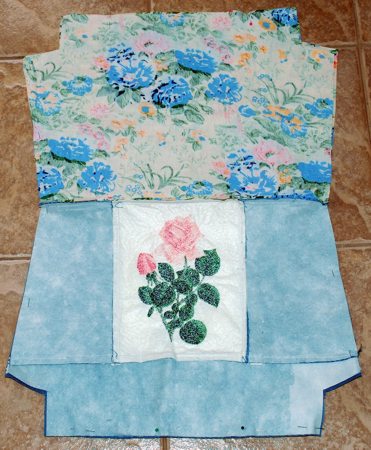
Stabilize the fabric with your favorite cut-away or tear away stabilizer and make the embroidery of the Bride's Dream Tea Rose. Remove the stabilizer.
Trim the pieces with embroidery to 7 1/2" x 9 1/2" rectangles.
Out of denim fabric cut 4 rectangles measuring 9 1/2" x 5 1/2" and 2 rectangles measuring 17 1/2" x 5 1/2".
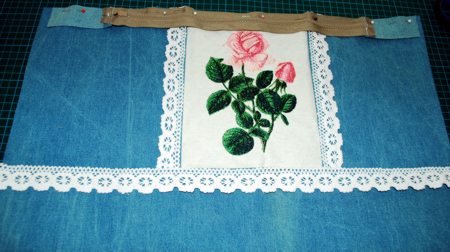
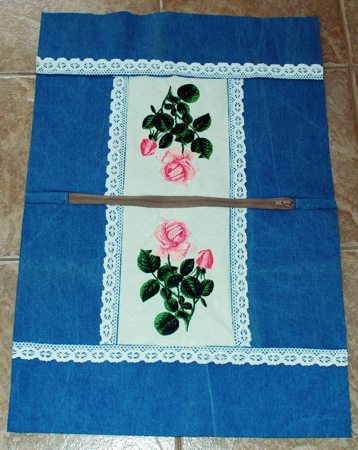
Sew the 9 1/2" x 5 1/2" denim rectangles to the left and right edges of the embroidered pieces. Press the seams.
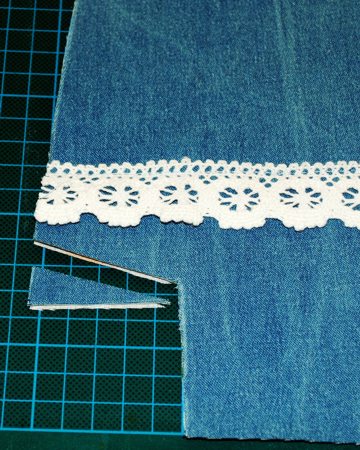
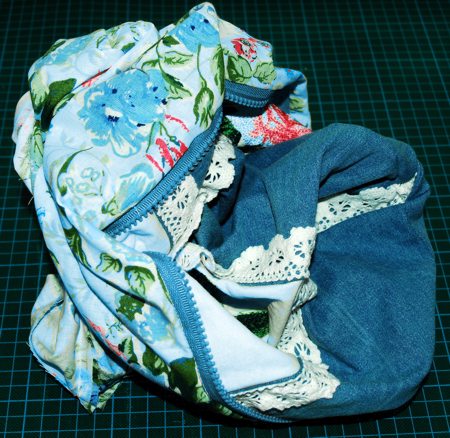
Topstritch lace over the seams.

Sew the 17 1/2" x 5 1/2" denim rectangles to the lower edges of both pieces.
Topstritch lace over the seams.

Out of fabric for the lining cut 2 pieces measuring 17 1/2" x 14 1/2".
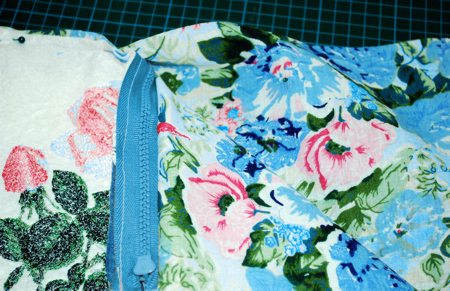
Place the zipper, face down, on the upper edge of one of the panels. Align the edges. Pin the zipper in place. Machine stitch the edges together.
In the same way sew the second panel to the other side of the zipper.
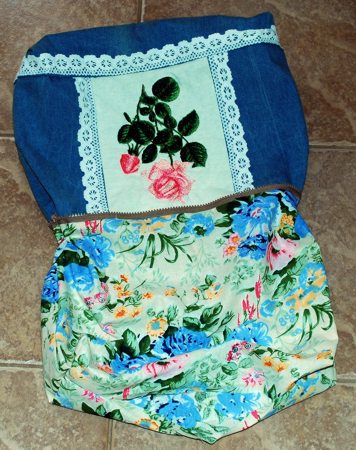
Unfold and press. The working piece will look like this.
Fold the working piece face inwards. Position the first piece of lining, face down, along the edge of the zipper. Pin.
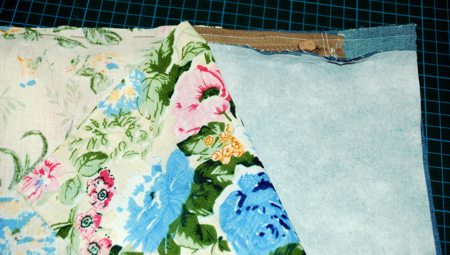
Machine stitch the lining from the side of the embroidered panel along the same stitch that connects the zipper with the panel.
Repeat for the second piece of the lining, but on the other side of the zipper
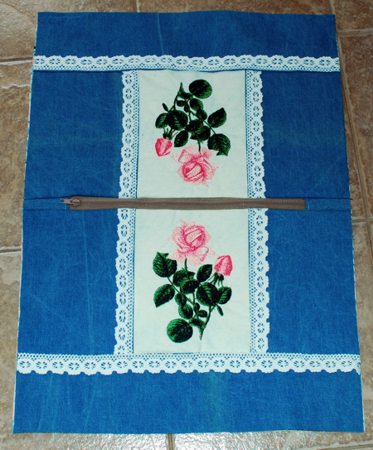
This is what the work looks like from the top.
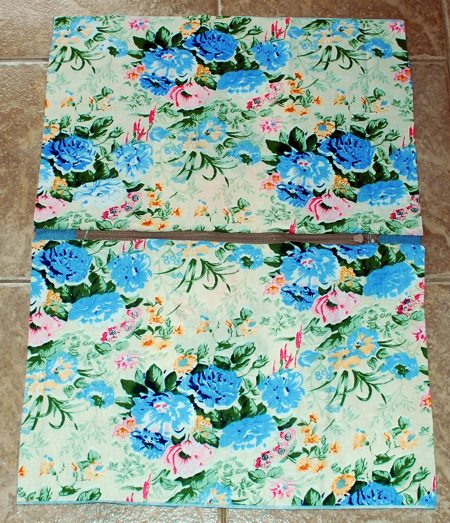
This is what the work looks like from the bottom.
Now spread the working piece on a table, face up. With a fine tip chalk marker draw squares measuring 2" x 2" in each corner.
Measure 1 1/2" from each edge on the zipper line. Mark the place. With a ruler, connect the marks with the outer corner of the 2" x 2" squares, as shown.
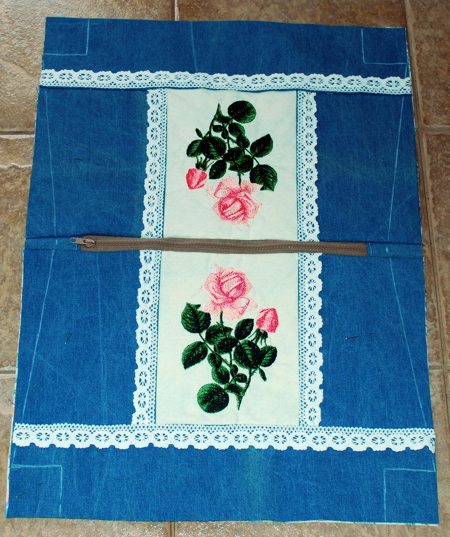
Cut out along the marked lines.
Cut the corner off each of the side flaps. The angle of the cut is about 30 degrees. This is easy to do with a quilting ruler, or just measure 5/8" up the side of the flap, mark the point, draw a line to the inner corner of the flap, and cut along the line.
Open the zipper. This is important, because once you sew the top of the bag together, it will be very difficult to get to the zipper!
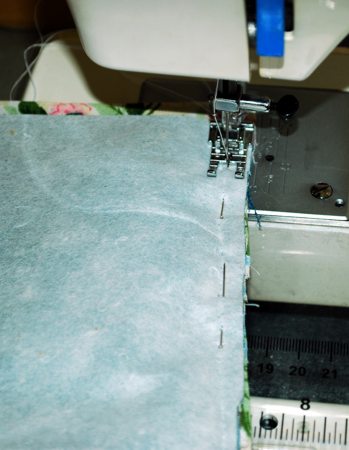
Fold the outer panels face to face. Fold the lining back away from the outer panels. Align all the edges and pin them together.
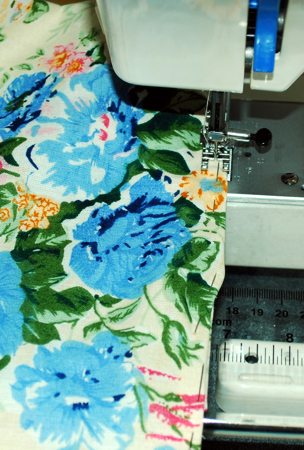
Machine stitch the sides of the outer panel, the sides of the lining and the bottom of the outer case with 1/4" seam allowance. Do not stitch the bottom of the lining or the corners at the bottom of both parts. The edges to stitch are marked in red on the diagram below:
This is what the result should look like:
Fold the corners at the bottom, align the side seams with the bottom seams. Pin. Stitch them closed.
Turn the work right side out through the opening in bottom of the lining.
Topstitch the opening in the lining closed.
Insert the lining into the case via the open zipper. This is why it was important to open the zipper before!


