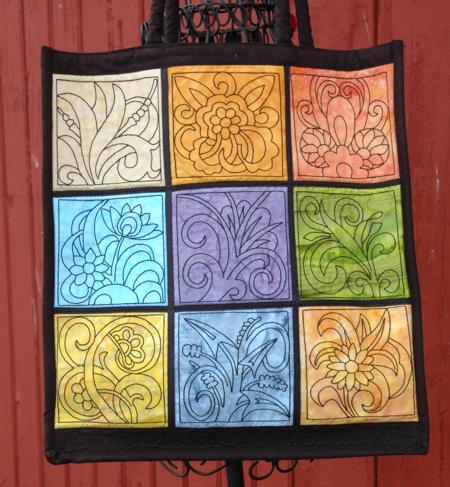
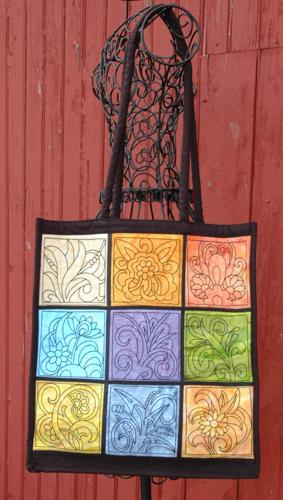
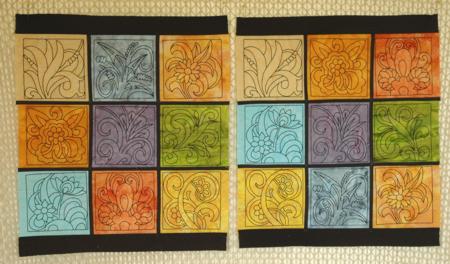
For this charming tote, we used pieces of differently-colored batiks with a black frame that makes it look like stained glass. The designs used are from the Flower Quilt Block Set.
The finished size of the bag is about 14"W x 16 1/2"H x 4"D .
You will need:
Out of black fabric, cut
Stabilize the batik pieces with light-weight iron-on cut-away stabilizer and embroider each design from the Flowers Quilt Block Set twice.
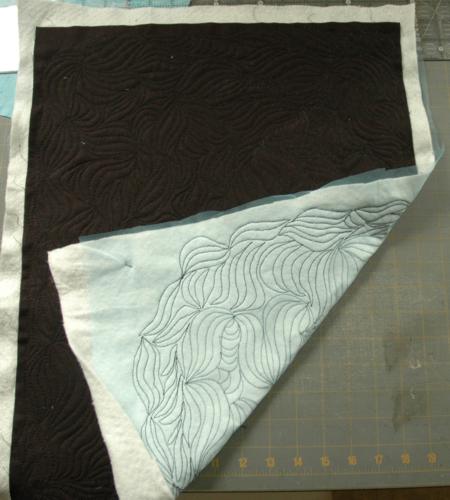
Place the netting pieces on a flat surface (table). Cover with the batting panels. Spread the black pieces over them.
Pin all three layers together with 1" pins. We quilted all over the piece in a free-motion style. Remove the pins while quilting.
Press the work with heavy steam. Make 2 similar parts. Do not trim them at this point.
Press with heavy steam from the side of the black fabric.
Take the two black 6" x 51" strips and the batting strip of the same size. Make a sandwich with the fabric in the middle. Pin all three layers together. Quilt it densely in a free-motion style. Press with steam. Do not trim just yet.
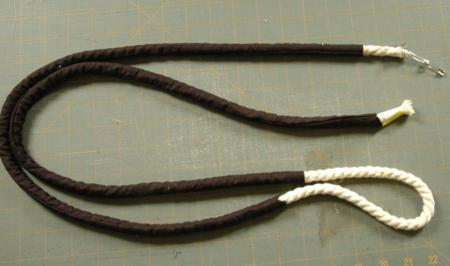
Take the 2 1/2" x 30" strips and fold them lengthwise, face inwards. Stitch the open edge with a seam allowance of 1/4". Turn the tubes right side out.
Thread the cotton cord through the tubes.
Trim the cord, leaving 1/2" of the cord protruding from the tube at each end.
Trim each of the embroidered pieces to a 5" x 5" square. Remove the stabilizer outside the embroidery.
Lay the 9 squares out in 3 rows, with 3 squares in each row.

Sew the blocks in rows, then sew the rows together. Seam allowance is 1/4". Press the seams.
Cut the fusible tape into 8 pieces, each 14 1/2" long. Position 4 fusible tape pieces over the vertical seams and press according to the manufacture's instructions. Position the remaining 4 fusible tape pieces over the horizontal seams and press according to the manufacture's instructions.

Take black 2" x 14 1/2" strips and sew them to the upper and lower edges of each panel.
Measure the embroidered panels, they should be about 14 1/2" x 18". It doesn't matter if they're a little larger or smaller, but they must be of the same size. Trim the black panels you made earlier to the size of the embroidered panels.
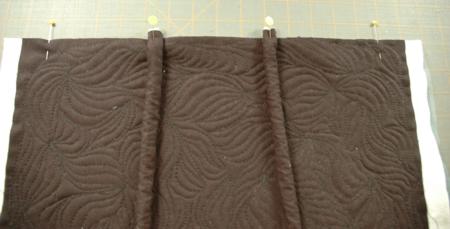
Position the handles on the upper edge of the black panels approximately 4" from the left and right sides. Pin in place.
Topstitch in place 1/4" from the upper edge.
Lay the black panels face up and cover them with the embroidered panels, face down. Align all edges. Pin. Topstitch together along the upper edge twice: 1/4" and 3/8" from the edge.
Unfold the pieces and fold again, this time with the embroidered panel facing up. Press the upper seam carefully.
Pin the embroidered panels and the lining panels together, aligning all edges.
Quilt through all 4 layers. We stitched along all the black strips: along the fusible tape we used a zig-zag stitch, and we did the upper and lower black strips in a free-motion style.
Check that both panels are of the same size. Measure the length of the sides and the bottom. Note your measurements. The panel should be around 14 1/2" x 17 1/4".
Take the quilted 6" x 51" strips and trim it to 4 1/2" x the length of the two sides and the bottom. In our tote, this was 17 1/4" + 14 1/2" + 17 1/4" = 49"
Finish the short edges of the strip with the binding.
Pin the strip along the edges of the first panel. Stitch with a seam allowance of 1/4".
Repeat for the second panel. Please note that the raw edges are towards the outside of the bag.
Finish the raw edges with the binding.