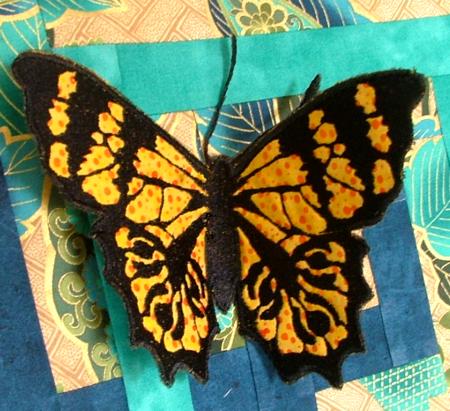
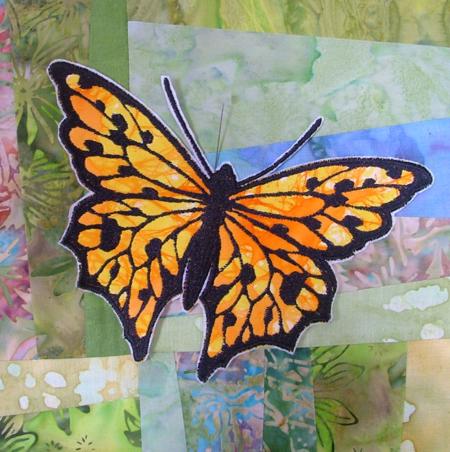
These are instructions on how to embroider the Applique Butterflies.
The set is avalable in 3 sizes: 2 sizes for large 130 x 180 mm (5" x 7") hoop and 1 size for mega hoop.
| Large Hoop: Size: 130mm x 90mm (5.00" x 3.46") Stitches: 15000 Colors/Stops: 3 |
Full Large Hoop: Size: 129mm x 179mm (4.96" x 6.88") Stitches: 17000 Colors/Stops: 3 |
Mega Hoop: Size: 210mm x 150mm (8.08" x 5.77") Stitches: 20000 Colors/Stops: 3 |
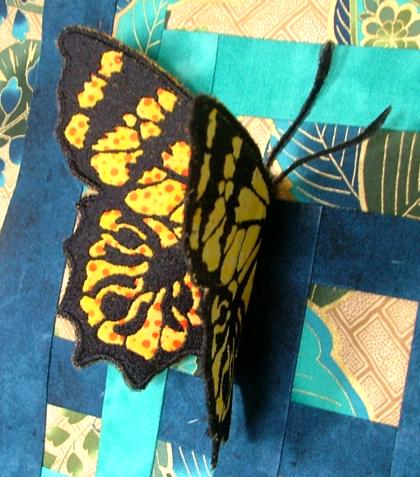
All butterflies from the set are embroidered in the same way. You can embroider them as regular applique or as 3D ornaments.
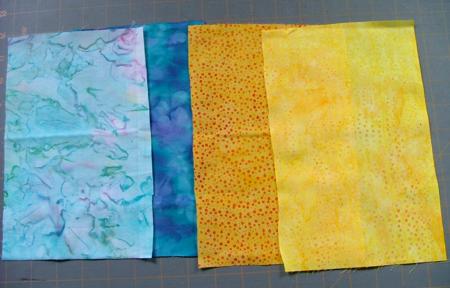
You will need base fabric, fabric for the applique, embroidery stabilizer and embroidery polyester or rayon threads. We recommend to use batiks with gradation of colors - your butterflies will look more attractive.
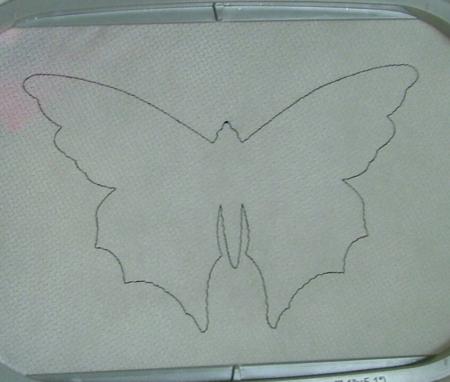
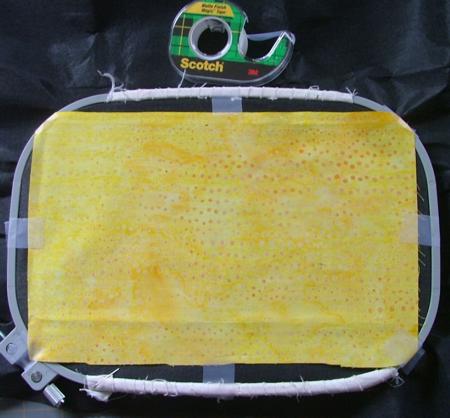
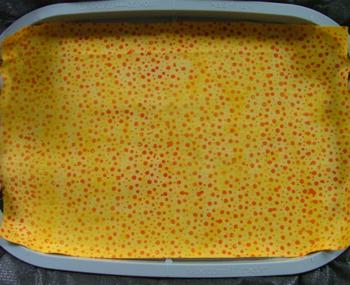
Step One: Hoop stabilized base fabric.
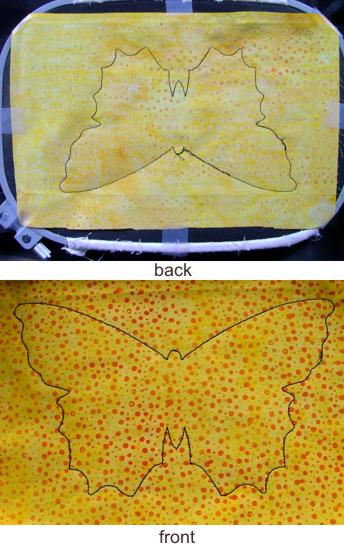
Upload a design file into your machine. Start embroidering. The machine will embroider the outline of the butterfly and stop.
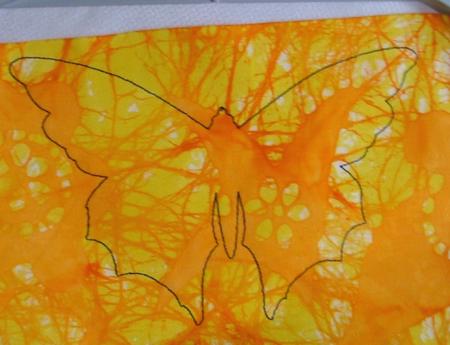
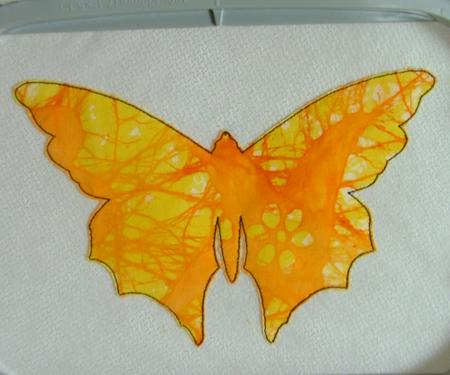
Step Two: Take the hoop from the machine and cover the outline with the applique fabric.
The second color will embroider the same outline of the butterfly over the applique fabric and stop.
Step Three: Take the hoop from the machine. With a pair of sharp scissors cut away the fabric around the outline as shown on the picture below.
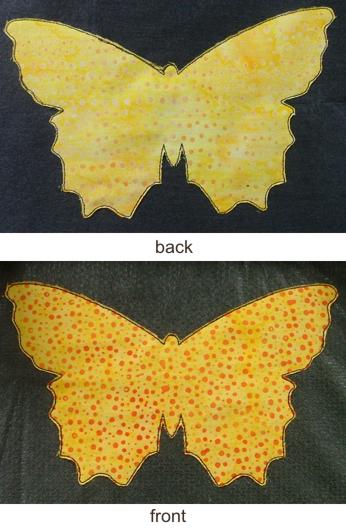
Step Four: The next color will finish the raw edges of the butterfly. Choose a color that works for your project.

To embroider the designs as free-standing 3D ornaments, you will need water-soluble mesh or black cut-away stabilizer. We used Sulky Soft'n Sheer Cut-Away Permanent Stabilizer. Please note that it's much easier to dissolve water-soluble mesh than to cut away any stabilizer. You will also need fabric for the upper side and the lower side of the of the butterfly wings.
Use the same thread both in the needle and in the bobbin.
Light scotch tape will also be useful.
Step One: Pre-cut the fabric to the size of the hoop.
Step Two: Hoop 2 layers of watersoluble mesh or 2 layers of cut-away stabilizer. Start the machine. It will embroider the first color - the outline of the design - and stop.
Step Three: Take the hoop from the machine. With light scotch tape, adhere the fabric to the back of the hoop.
Turn the hoop with the right side up and cover the outline with the second piece of fabric.
Start the machine. It will embroider the same outline on the fabric.
Step Four: Take the hoop from the machine and with a pair of sharp scissors, cut away the fabric around the outline both on the back and on the front.
Step Five: Return the hoop to the machine and finish embroidery. DO NOT forget to use the same thread in the needle and in the bobbin.
Step Six: Cut away the butterfly and/or dissolve the water-soluble mesh. Your 3D butterfly is ready!