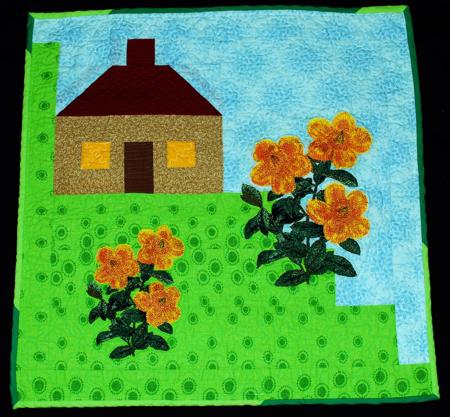
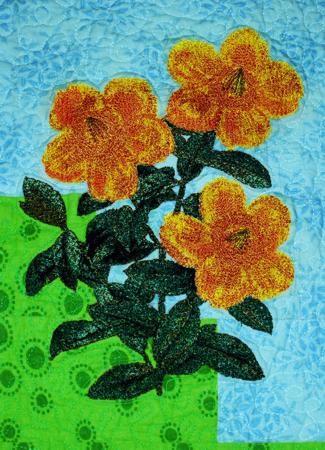
This small, charming, Spring-themed wall quilt features the Rose of Sharon for a large (5" x 7") hoop and mega (6" x 10") hoop.
The finished size of the quilt is about 21 1/2" x 21 1/2" .
You will need:
You will also need batting and fabric for backing and binding.
For embroidery you will need medium-weight cut-away stabilizer and embroidery threads.
For this block you will need sky-blue, brown, taupe and yellow fabric.
Out of blue fabric, cut
Take the blue 2" x 4" strips and the brown 2" x 2" square and sew them into a strip.

Take the brown 3" x 9" strip and the blue 3" x 3" squares. Place the brown strip face up. Position one of the blue squares, face down, on the right end of the strip. Align the edges. With a graph pencil draw a diagonal from the upper left corner to the lower right corner. Stitch along the diagonal. Cut away the fabric leaving 1/4" of seam allowance. Unfold and press.
Repeat for the other side.
Take the four taupe 1 1/2" x 2" strips and two yellow 2" x 2" squares. Sew them into 2 strips: taupe - yellow - taupe.

Take two taupe 2" x 4" strips and sew them to the lower edges of the taupe-yellow strips.
5. Take the brown 2" x 3 1/2" strips and sew it between the taupe-yellow parts. We have the lower part of the house.
Now sew together the first 2 strips, followed by the taupe 2" x 9" strip, followed by the third strip to form the cottage. The finished size is 9" x 9"
Out of sky blue fabric cut a square measuring 9" x 9" and sew it to the right edge of the house block.

Out of green fabric, cut
Sew the green 3 " x 12" and the blue 3" x 6" strips together.
Sew the green 3" x 15" strip and blue 3" x 3" square together.
Sew the new strips together.

Sew the green 3 1/2" x 17 1/2" strip to the lower edge.

Sew this part to the rest of the quilt.
For the borders, cut a green strip measuring 2 1/2" x 17" and sew it to the left edge of the quilt.
Cut a blue strip measuring 2 1/2" x 17" and sew it to the right edge of the quilt.
Cut a green strip measuring 2 1/2" x 21 1/2" and sew it to the lower edge of the quilt.
Cut a blue strip measuring 2 1/2" x 21 1/2" and sew it to the upper edge of the quilt.
After the top is ready, print out screenshots of the Hypericum Flower to use as templates. With the help of the templates, choose positions for the designs.
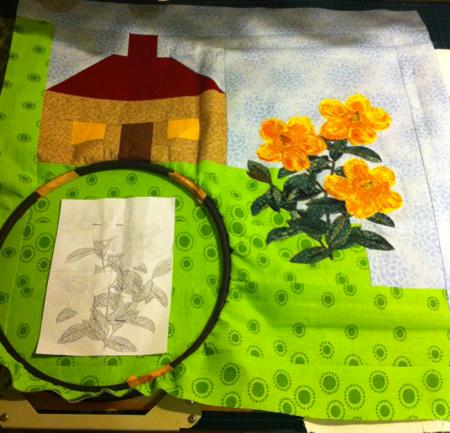
Stabilize the fabric and embroider the designs one by one.
Cut away the excess stabilizer.
Now place the backing/lining on a flat surface (table) face down. Cover with batting. Spread your working piece over it.
Pin all three layers together with 1" pins. We quilted around the embroidery and all over the mat in a free-motion style. Remove the pins while quilting.
Press the work with heavy steam and square the work -- all corners should be 90 degrees and opposite sides should be of the same length.
Finish the raw edges with binding. The quilt is ready.


