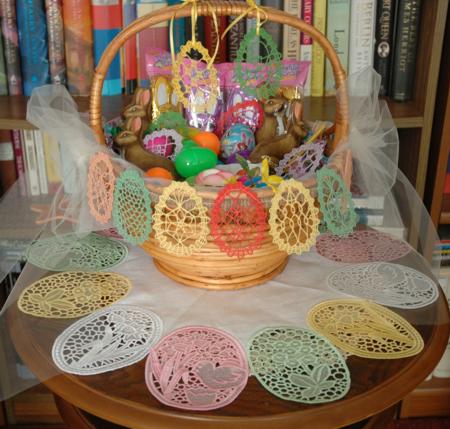
This quick and easy last-minute project features the designs from the FSL Crochet Easter Egg Set
For embroidery you will need water-soluble mesh, such as Fabri-Solvy by Sulky, Avalon Plus by Madeira, Wash-Away, Aqua Magic, etc. and cotton thread for machine embroidery or machine quilting. We like Signature brand machine quilting thread, but similar thread of other brands will also work fine.
For the lining, you will need about 1/4-1/2 yard (depending on the size of the basket) of cotton fabric and tulle ribbon.
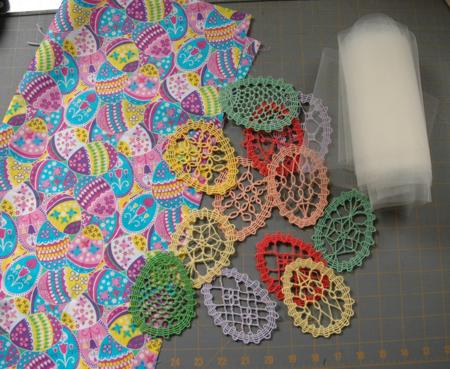
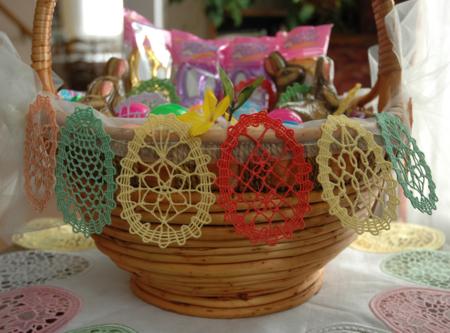
Using cotton thread of different colors, embroider the designs from the FSL Crochet Easter Egg Set as many times as you need to go around the outer edge of the basket. For our basket we needed 12 egg stitch-outs.
Place your basket on a piece of paper and trace the bottom. Cut out this template. Place it on the fabric and trace. Cut out the fabric bottom 1/4" from the traced line.
Measure the height of the basket and the circumference of the upper edge. For our basket, these measurements are 6" by 40". So we cut out a fabric rectangle measuring
6 1/2" x 40 1/2".

Fold the rectangle widthwise, face inwards. Align the short edges. Machine stitch with seam allowance 1/4". Unfold the seam allowance and press. This will result in a tube. Lay it flat and lightly press, the creases will divide it into 2 equal halves.
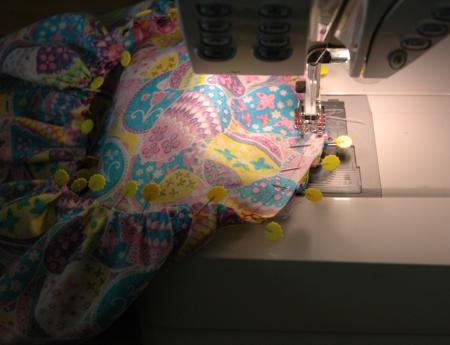
Baste the lower edge of the tube 1/4" from the edge. Pull the thread to make ruffles and to reduce the opening of the tube to the size of the bottom circle. Turn the tube right side inside.
Distribute the ruffles evenly. Align the basted edge of the tube with the edge of the circle. Pin or baste the tube and the circle together.
Sew them together.
Finish the raw edge with zig-zag stitch. You have a basket lining.
Cut the tulle ribbon in 2 pieces. The length depends on the size of the basket. We cut 2 pieces each 40" long. Fold the ribbon in half lenthwise and lightly press.
Position one piece of ribbon along the upper edge of the lining between two pins which mark the the first half of the lining. Leave the ends of the ribbon on both sides unattached. We have 10" of ribbon on each side.
Machine stitch both layers together, start 1" from the crease and finish 1" before the second crease.
Now press the seam towards the fabric. Fold the tulle and cover the seam with its edge. Pin in place. Topstitch through all 3 layers.
Repeat for the second side.
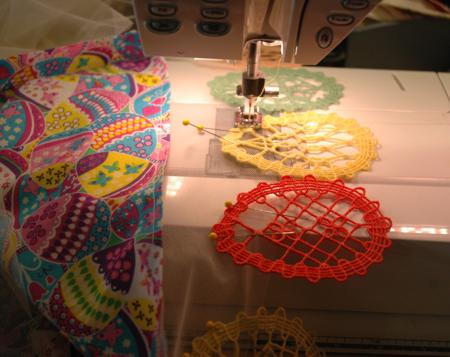
Position the egg stitch-outs on the tulle, pin and topstitch in place.
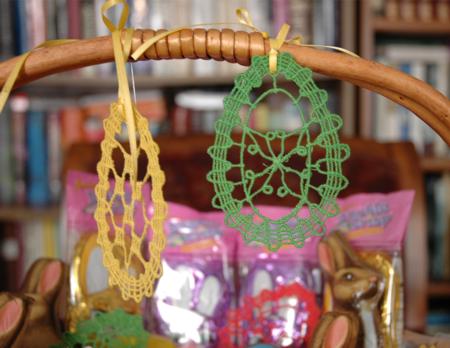
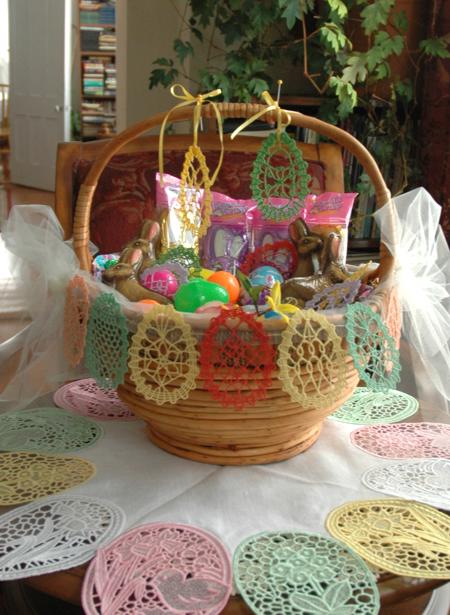
Place the lining in the basket. Tie the ends of the ribbon into bows.
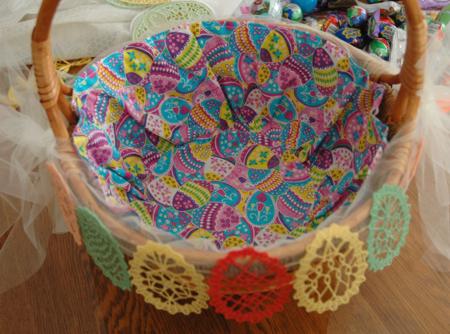
Fill the basket with Easter goodies.
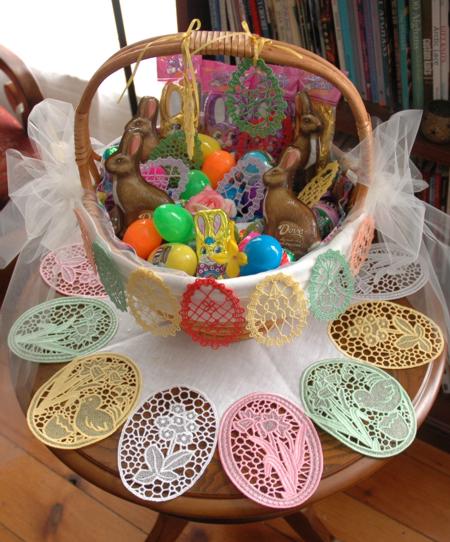
That's all!