This small quilt celebrates jam season. It makes a nice gift for friends who like to make jam or other canning, or a great seasonal decoration for your home.
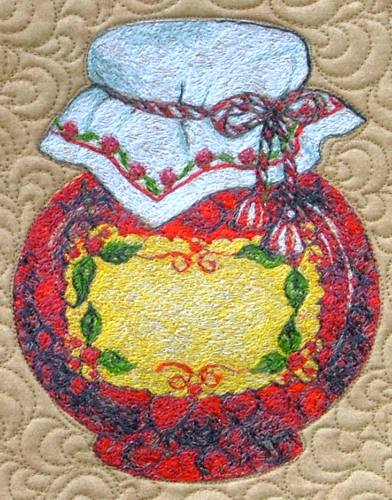
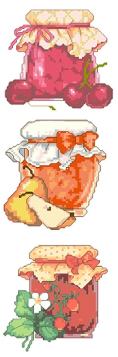
The quilt features the Jam Jar design in the photo-stitch technique for a large hoop (5" x 7").
The finished size of the quilt is 12" x 13".
You will need scraps of fabrics. For the central part with embroidery we used a tan-colored piece. For the borders we used raspberry-colored fabric and for the binding - green-and-yellow fabric.
You will also need a piece of batting and fabric for the backing.
For embroidery you will need light-weight cut-away stabilizer and embroidery threads. Instead of stabilizer and batting you can use a piece of polyester craft felt.
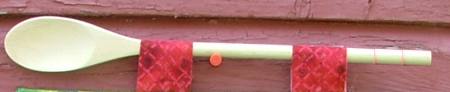
For the hanger, we used a wooden spoon or spatula available in any kitchenware store. To fasten the hanger, you can use ribbons or cut strips out of scraps.
Cutting:
Out of tan fabric cut a rectangle measuring 8" x 9 1/2". Out of raspberry fabric cut 2 strips measuring 2 1/2" x 8" and 2 strips measuring 2 1/2" x 13". Out of green-and-yellow fabric cut strips 2" wide and sew them into a strip about 60" long.
Assembly:
Sew the 2 1/2" x 8" raspberry strips to the upper and lower edges of the tan piece.
Sew the 2 1/2" x 13" rasberry strips to the left and right edges of the tan piece.
Embroidery:
Stabilize the top with light-weight cut-away stabilizer and embroider Jam Jar design in the center.
Alternatively, you can use a piece of craft felt. Use a piece not less than 13" x 14" and it will work both as stabilizer and batting.
Quilting and Finishing:
Now place the backing/lining on a flat surface (table) face down. Cover with batting. Spread your working piece over it.
Pin all three layers together with 1" pins. We quilted around the embroidery and all over the top in a free-motion style. Remove the pins while quilting.
Press the work with heavy steam and square the work -- all corners should be 90 degrees and opposite sides should be of the same length.
Finish the raw edges with binding.
Cut several strips or ribbon pieces, make loops and sew them to the upper edge on the back of the quilt. Insert the spoon in the loops.
Enjoy!
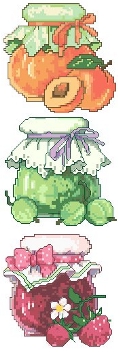
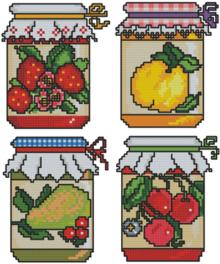
In the Kitchen section of our Catalog we have more designs suitable for the project, such as