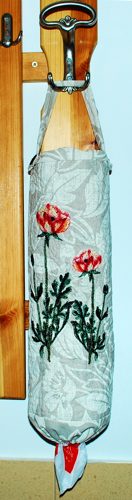
If you're like us and store and re-use disposable plastic bags from the store, this convenient organizer provides an attractive way to store them until they're needed.
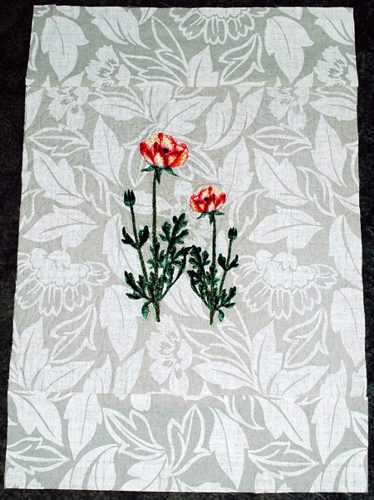
The organizer features the Poppy design for a large hoop (5" x 7") and a mega hoop (6" x 10").
The finished size of the tote is about 25" high and about 7" in diameter.
We used about 1 yard of light-colored cotton fabric for the outer bag and the lining.
You will also need two buttons and elastic tape.
For embroidery you will need medium-weight cut-away stabilizer and embroidery threads.
Out of fabric, cut 2 squares measuring 21" x 21", 2 strips measuring 6" x 20" and one strip measuring 3" x 20" for the handle.
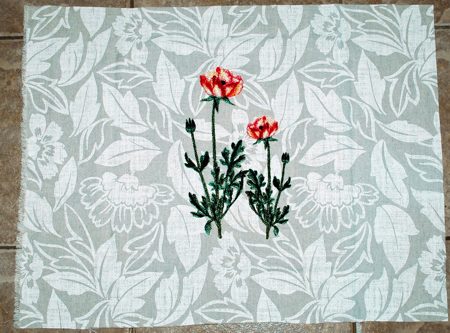
Stabilize one of the squares and embroider the Poppy designs in the center of the square.
Cut away the excess stabilizer.
Quilting:
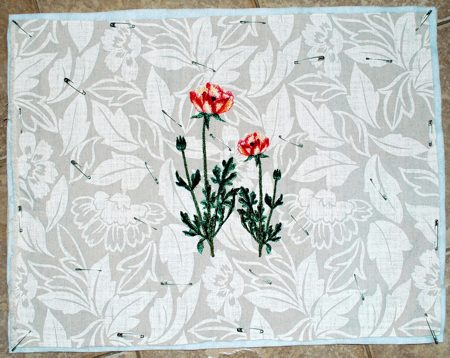
Now place the lining square on a flat surface (table) face down. Cover with batting and spread the embroidered square on top.
Pin all layers together with 1" pins. We quilted around the embroidery and all over the squares in a free-motion style. Remove the pins while quilting.
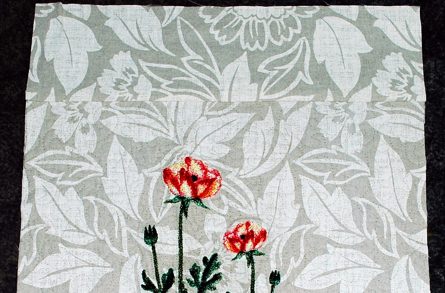
When you are finished, press with heavy steam and trim the square to 20" x 20".
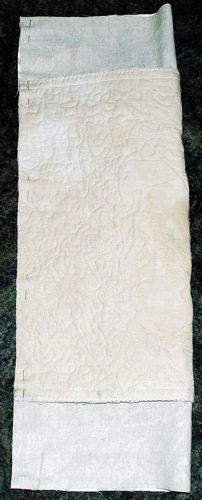
On your working table, place the embroidered square face up. Position the 6" x 20" strips along the upper and lower edges. Pin in place. Sew together with seam allowance slightly larger than 1/4".
Finish the raw edges with zig-zag stitch. Unfold and press.
Fold the upper edge 1/4" back and press. Fold again, now 3/4", and press again.
Repeat for the lower edge. Unfold.
Fold the working piece lengthwise, face inwards. Align the edges and pin.
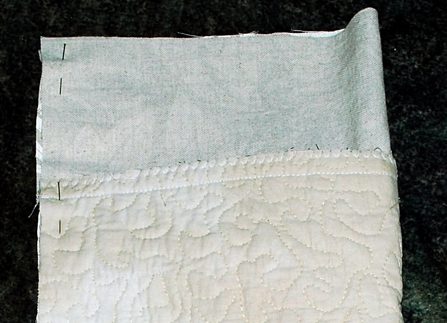
Sew the seam closed. Open the seam and press it open.
Fold the upper edge along the crease lines. Top-stitch in place along the folded edge, leaving about 1/2" unstitched. Repeat for the lower edge.
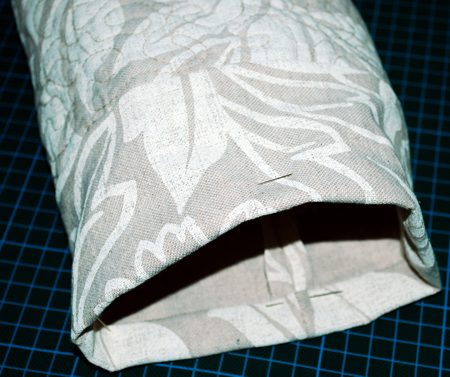
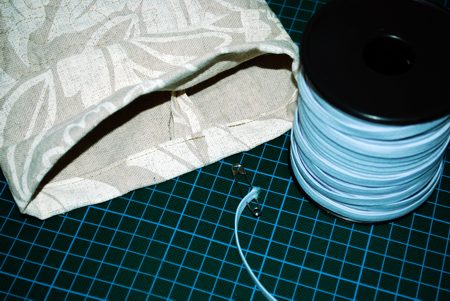
Insert elastic tape into the sleeves at each end of the tube.
The elastic tape on the top should be longer, to leave a large opening.
The elastic tape on the bottom should be shorter, to leave a small opening.
Handle:
Fold the 3" x 20" strip in half lengthwise and press firmly to mark the center. Unfold. Fold the edges to the central line. Press. Fold again. Top-stitch along both long edges, 1/8" from each edge.
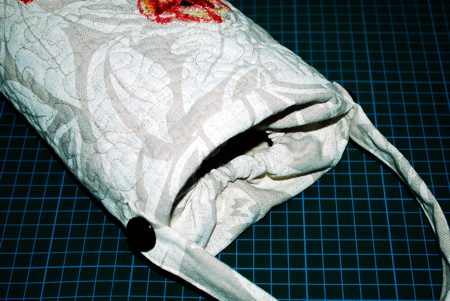
Handstitch the ends of the handle to the upper side of the bag, just over the quilted part.
Sew the buttons for decoration.
Hang the bag in the kitchen. Insert plastic bags into it from the top. When you need them, take them out one-by-one from the bottom.
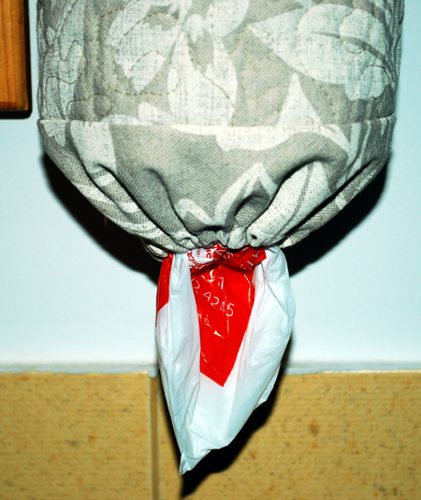
Enjoy!


