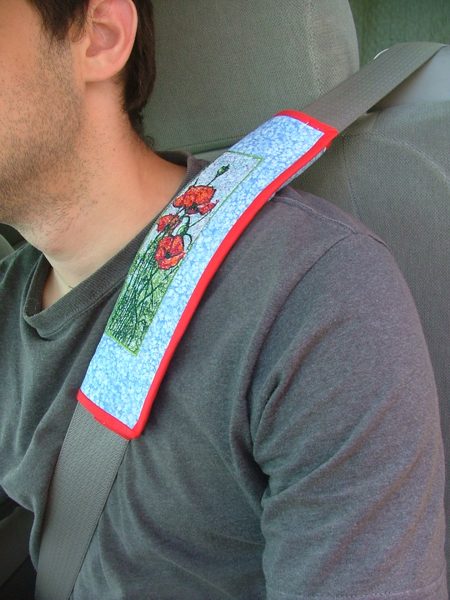
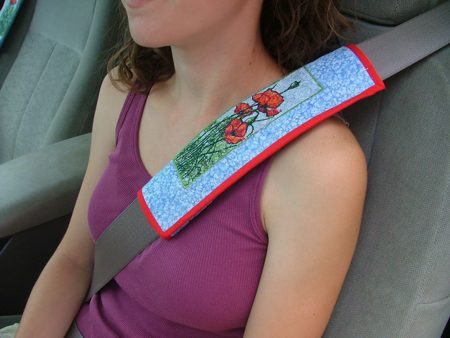
This is a very easy and quick project for a very handy item: a safety belt pad. The pad makes the seatbelt more comfortable to wear and it can be decorated any way you like to give the interior of your car more color.
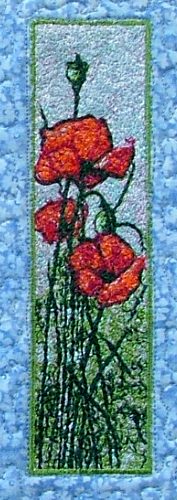
Safety belts are 2" wide, so narrow bookmark designs are good for the project. Our pads feature the Red Poppy Bookmarks for a large (5" x 7") hoop.
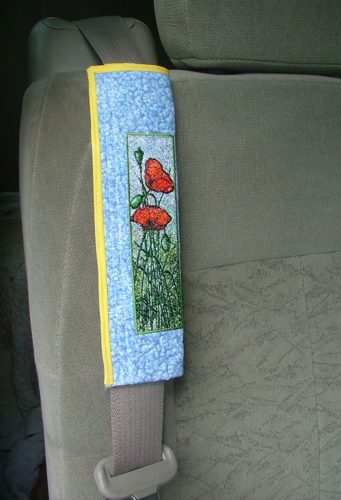
The finished size of the pads is 7" x 10 1/2" . You can make them longer, if you need.
You will need 1/4 yard of light-colored cotton fabric, low-loft polyester batting or polyester craft felt and binding. You will also need Velcro tape.
For embroidery you will need cut-away stabilizer and embroidery threads. Note that if you use craft felt, you do not need any stabilizer.
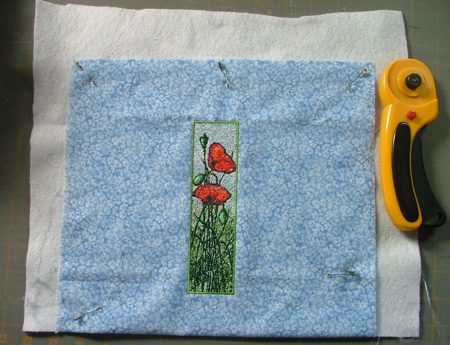
For each pad, cut a piece fabric you'll be able to hoop safely - usually about 10" x 12" - for the top. Out of polyester craft felt cut a piece slightly larger - about 10 1/2" x 12 1/2".
Stabilize the fabric and embroider a design from the Red Poppy Bookmark Set.
If you use a stabilizer, cut away the excess stabilizer around the embroidery. If you use felt instead of stabilizer, do not cut it, as it will be used for batting.
Quilting:
Now place the backing/lining on a flat surface (table) face down. Cover with batting. Spread your working piece over it.
Pin all three layers together with 1" pins. We quilted around the embroidery and all over the mat in a free-motion style. Remove the pins while quilting. Press with heavy steam.
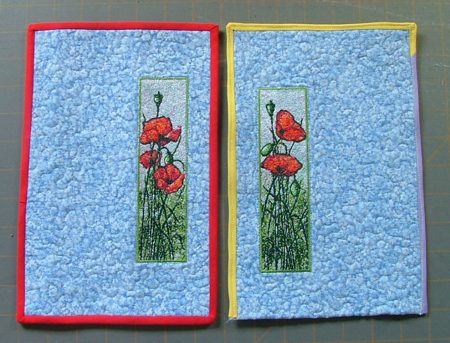
When you are done, with a rotary cutter and a ruler trim the working piece to 7" x 10 1/2" (or longer). For a driver's side pad leave a 3/4"-1" margin on the right of the embroidery and a 4" margin on the left of the embroidery. For the passenger side pad leave a 3/4" - 1" margin on the left of the embroidery and a 4" margin on the right of the embroidery.
Finish the raw edges with binding.
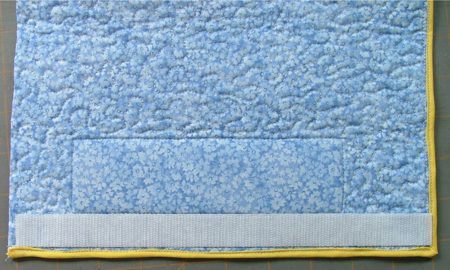
Cut a velcro tape slightly shorter than the length of your pad. Attach one half of the Velcro tape to the back side of the pad on edge closer to the embroidery.
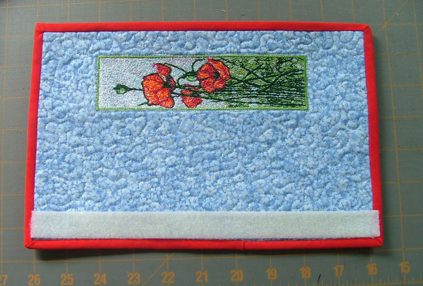
Attach the second part of the tape to the face side along the edge further from the embroidery.
Wrap the pads around belts and use the Velcro to attach them.